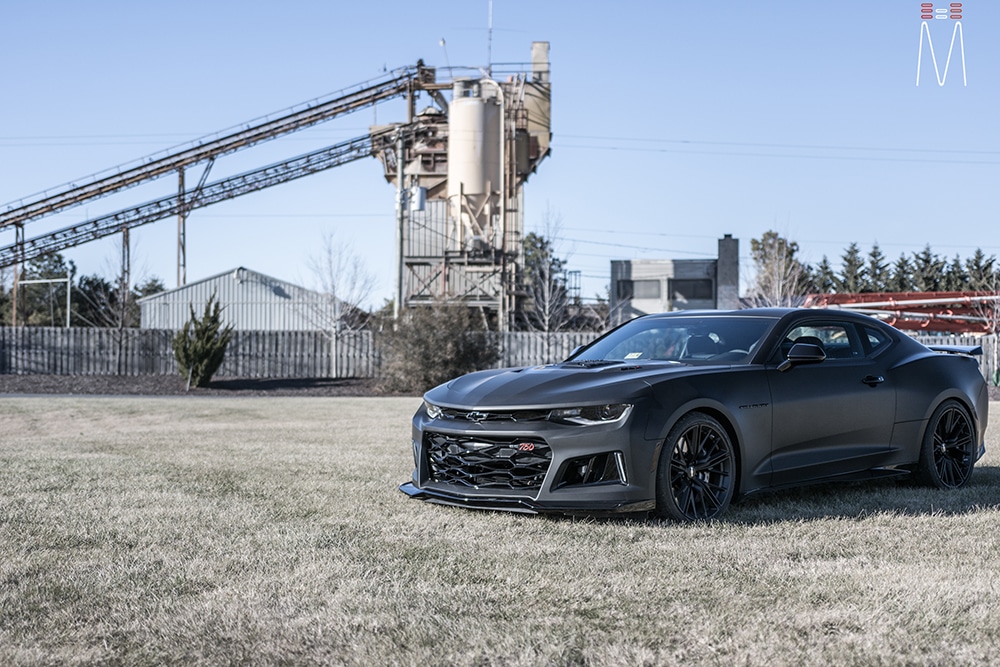
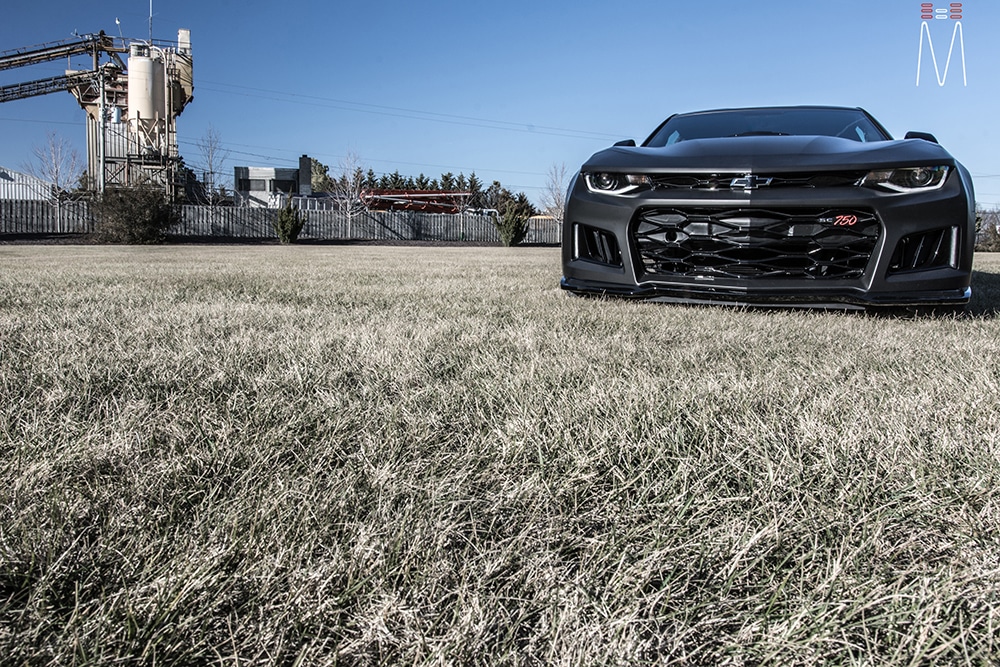
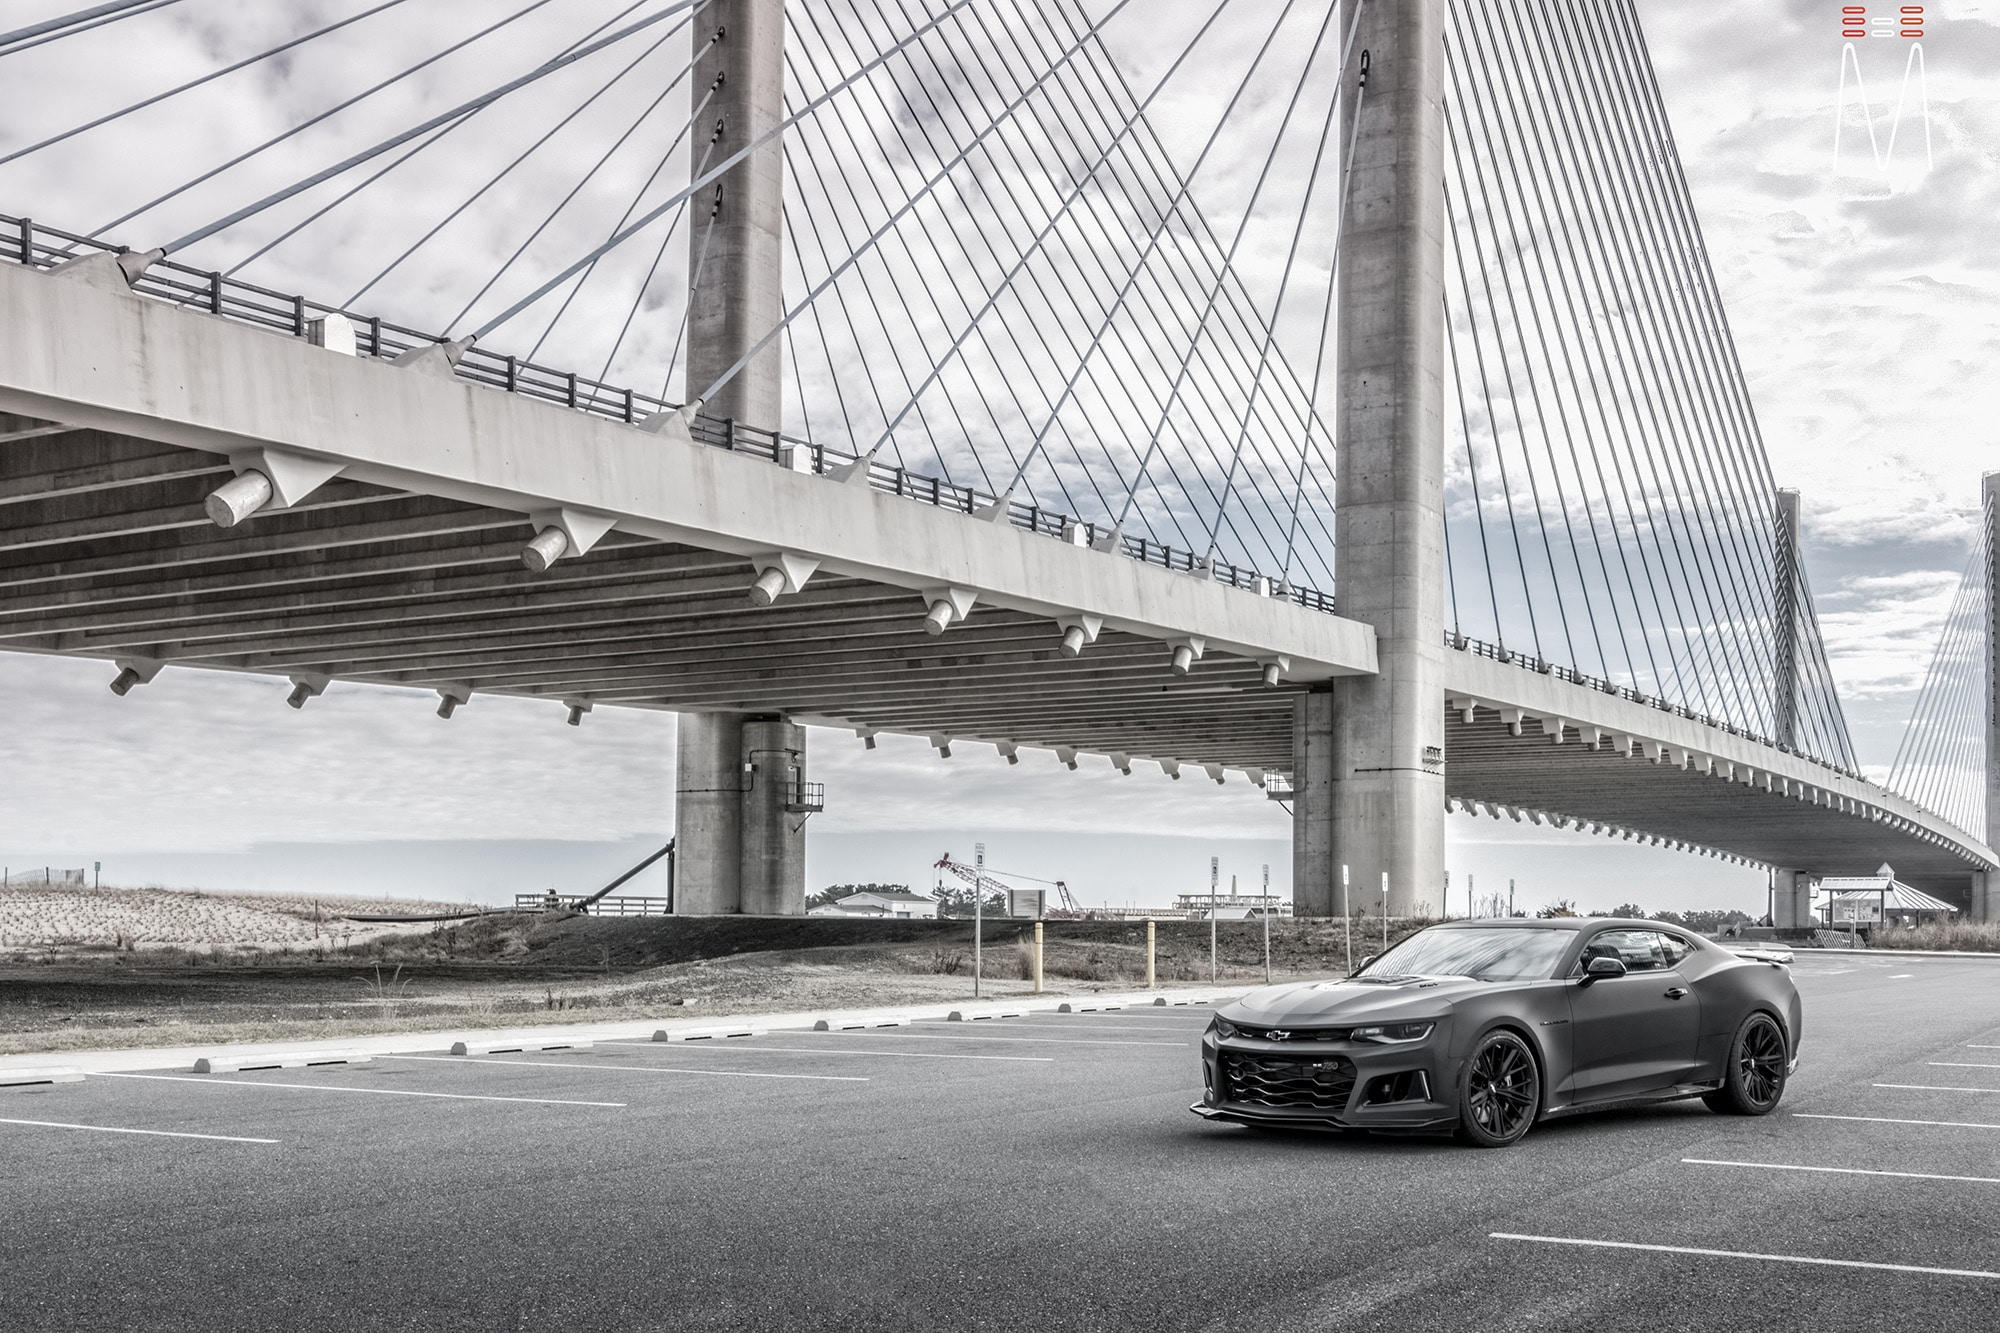
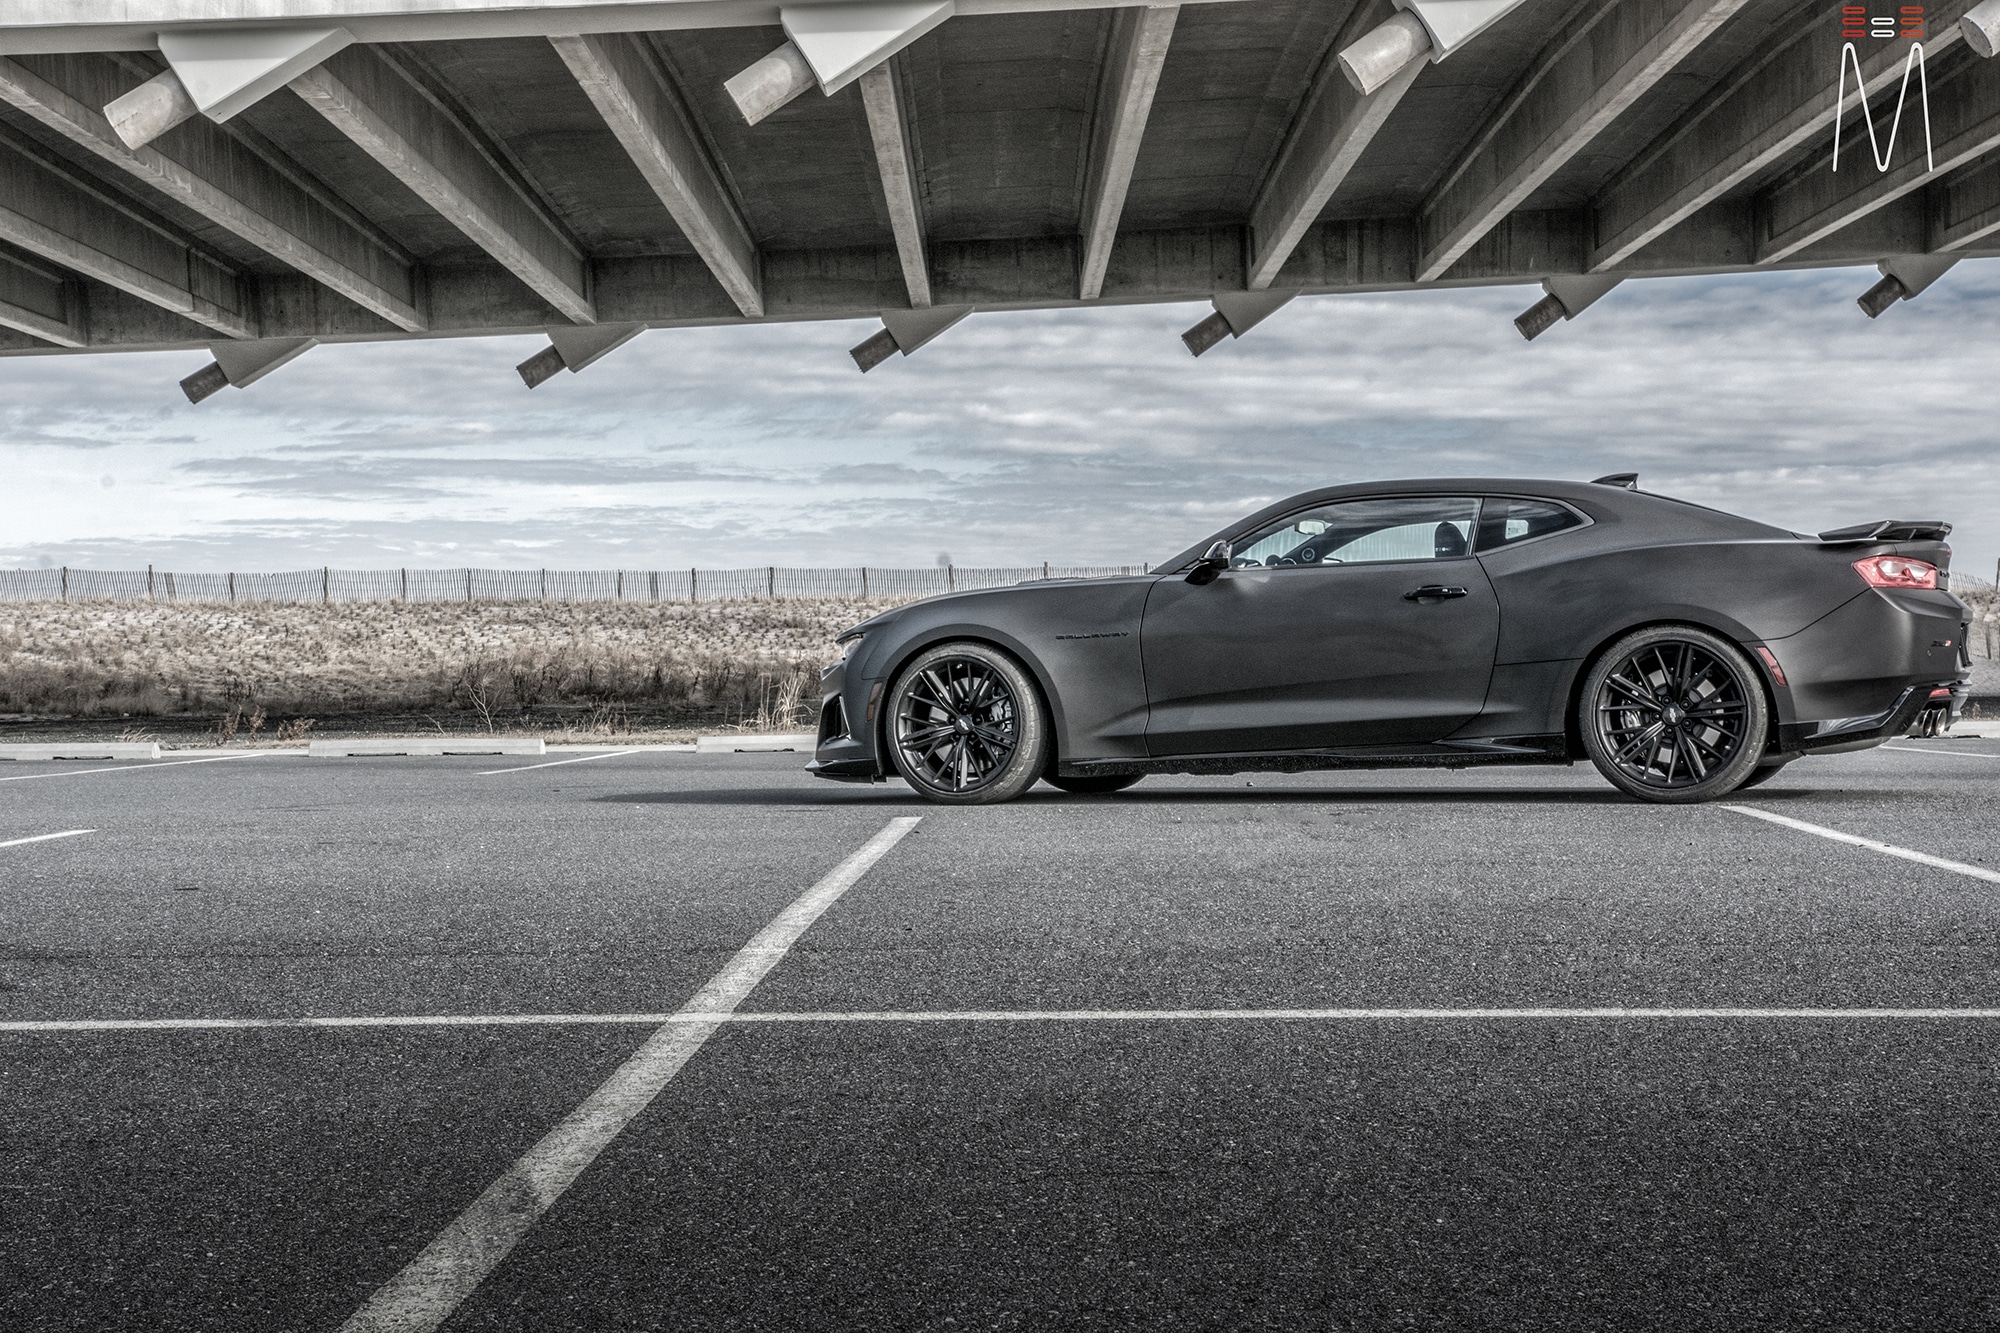
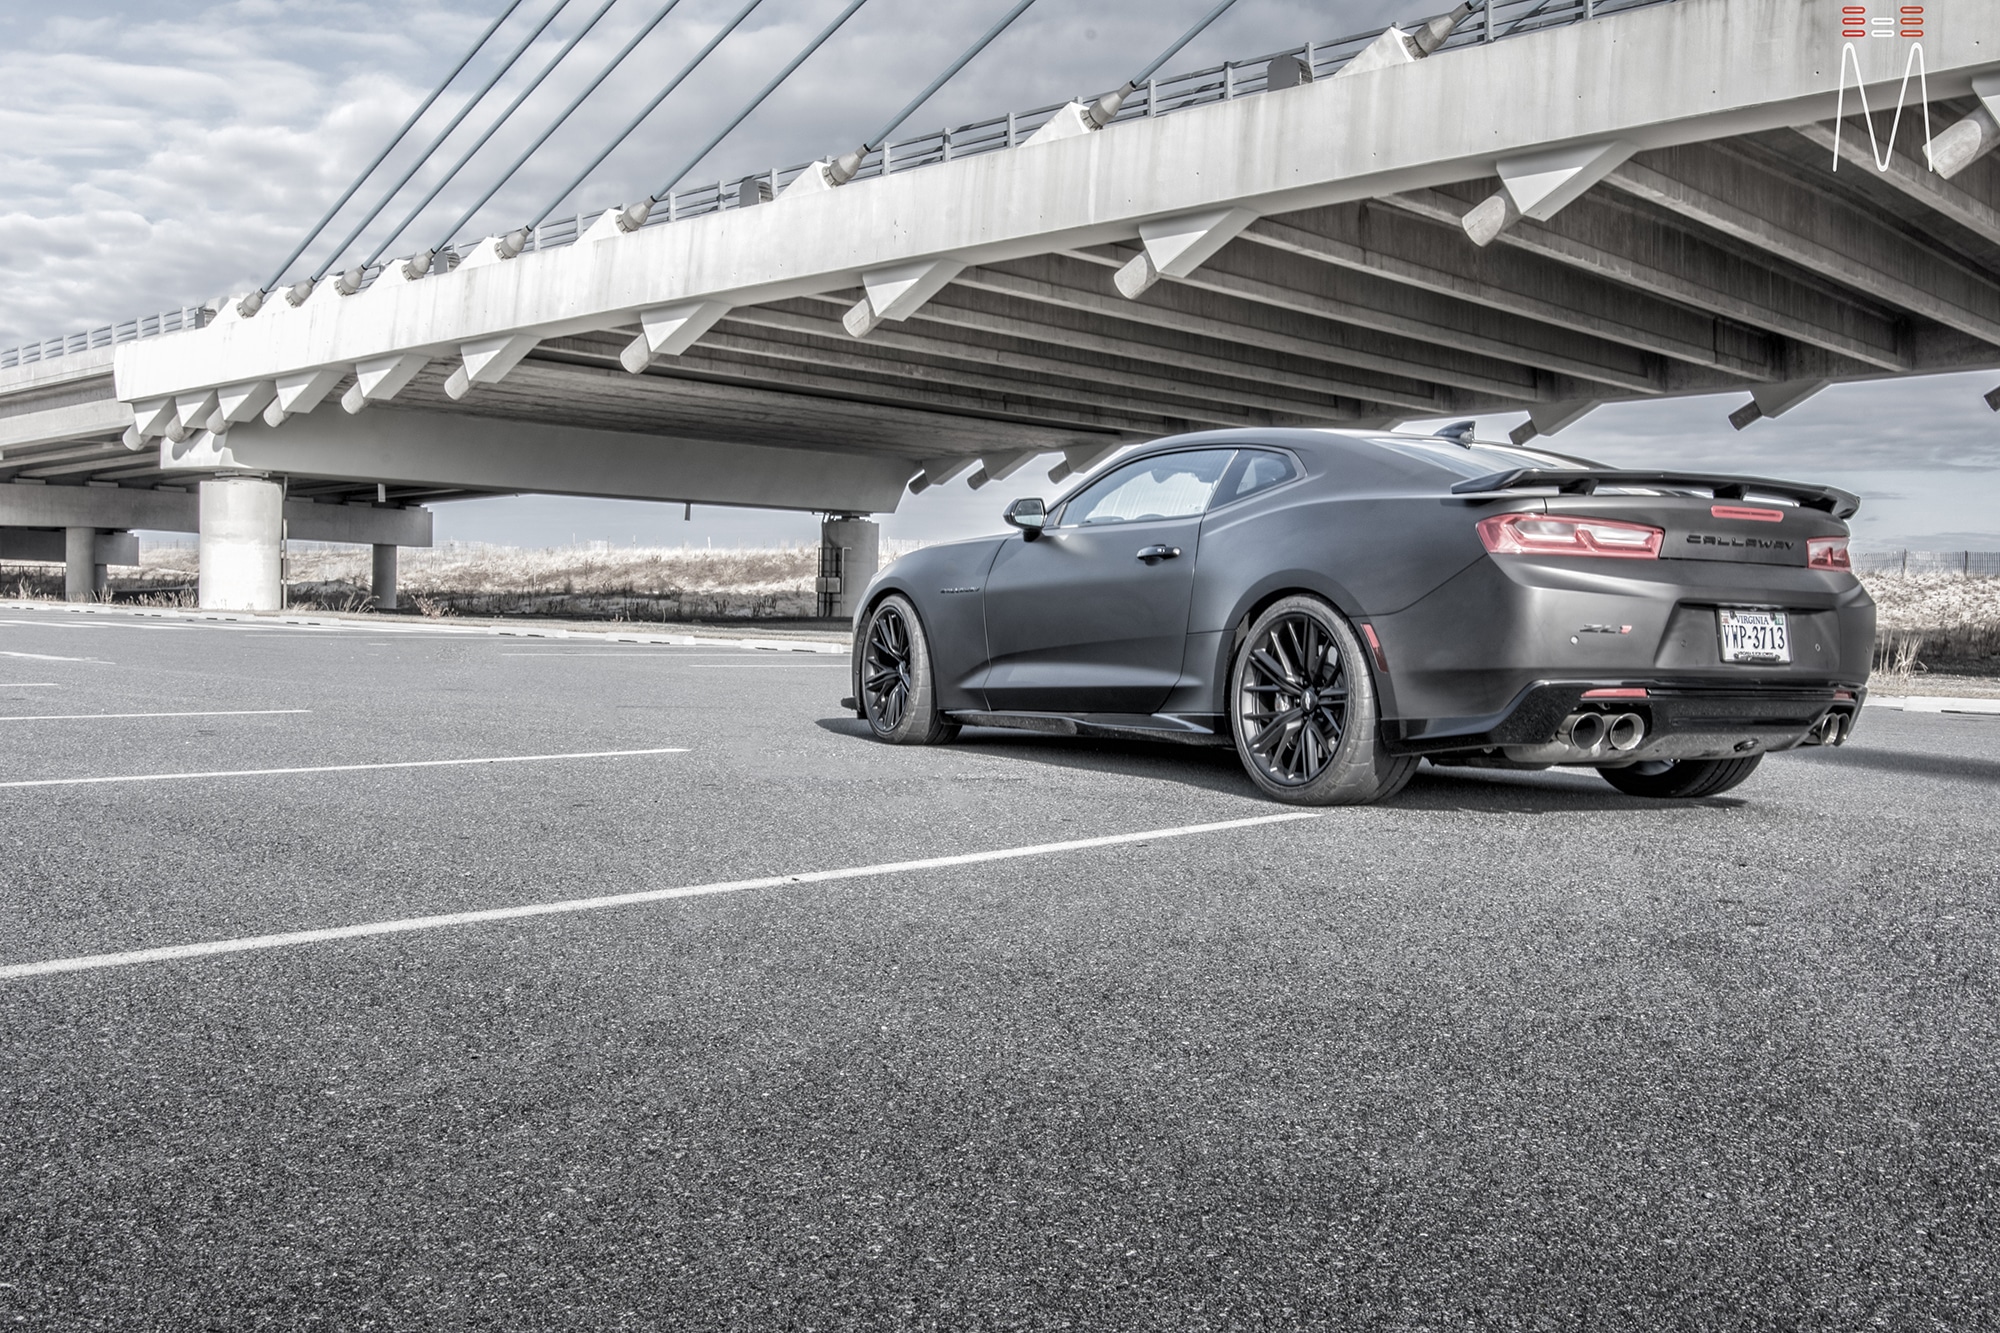
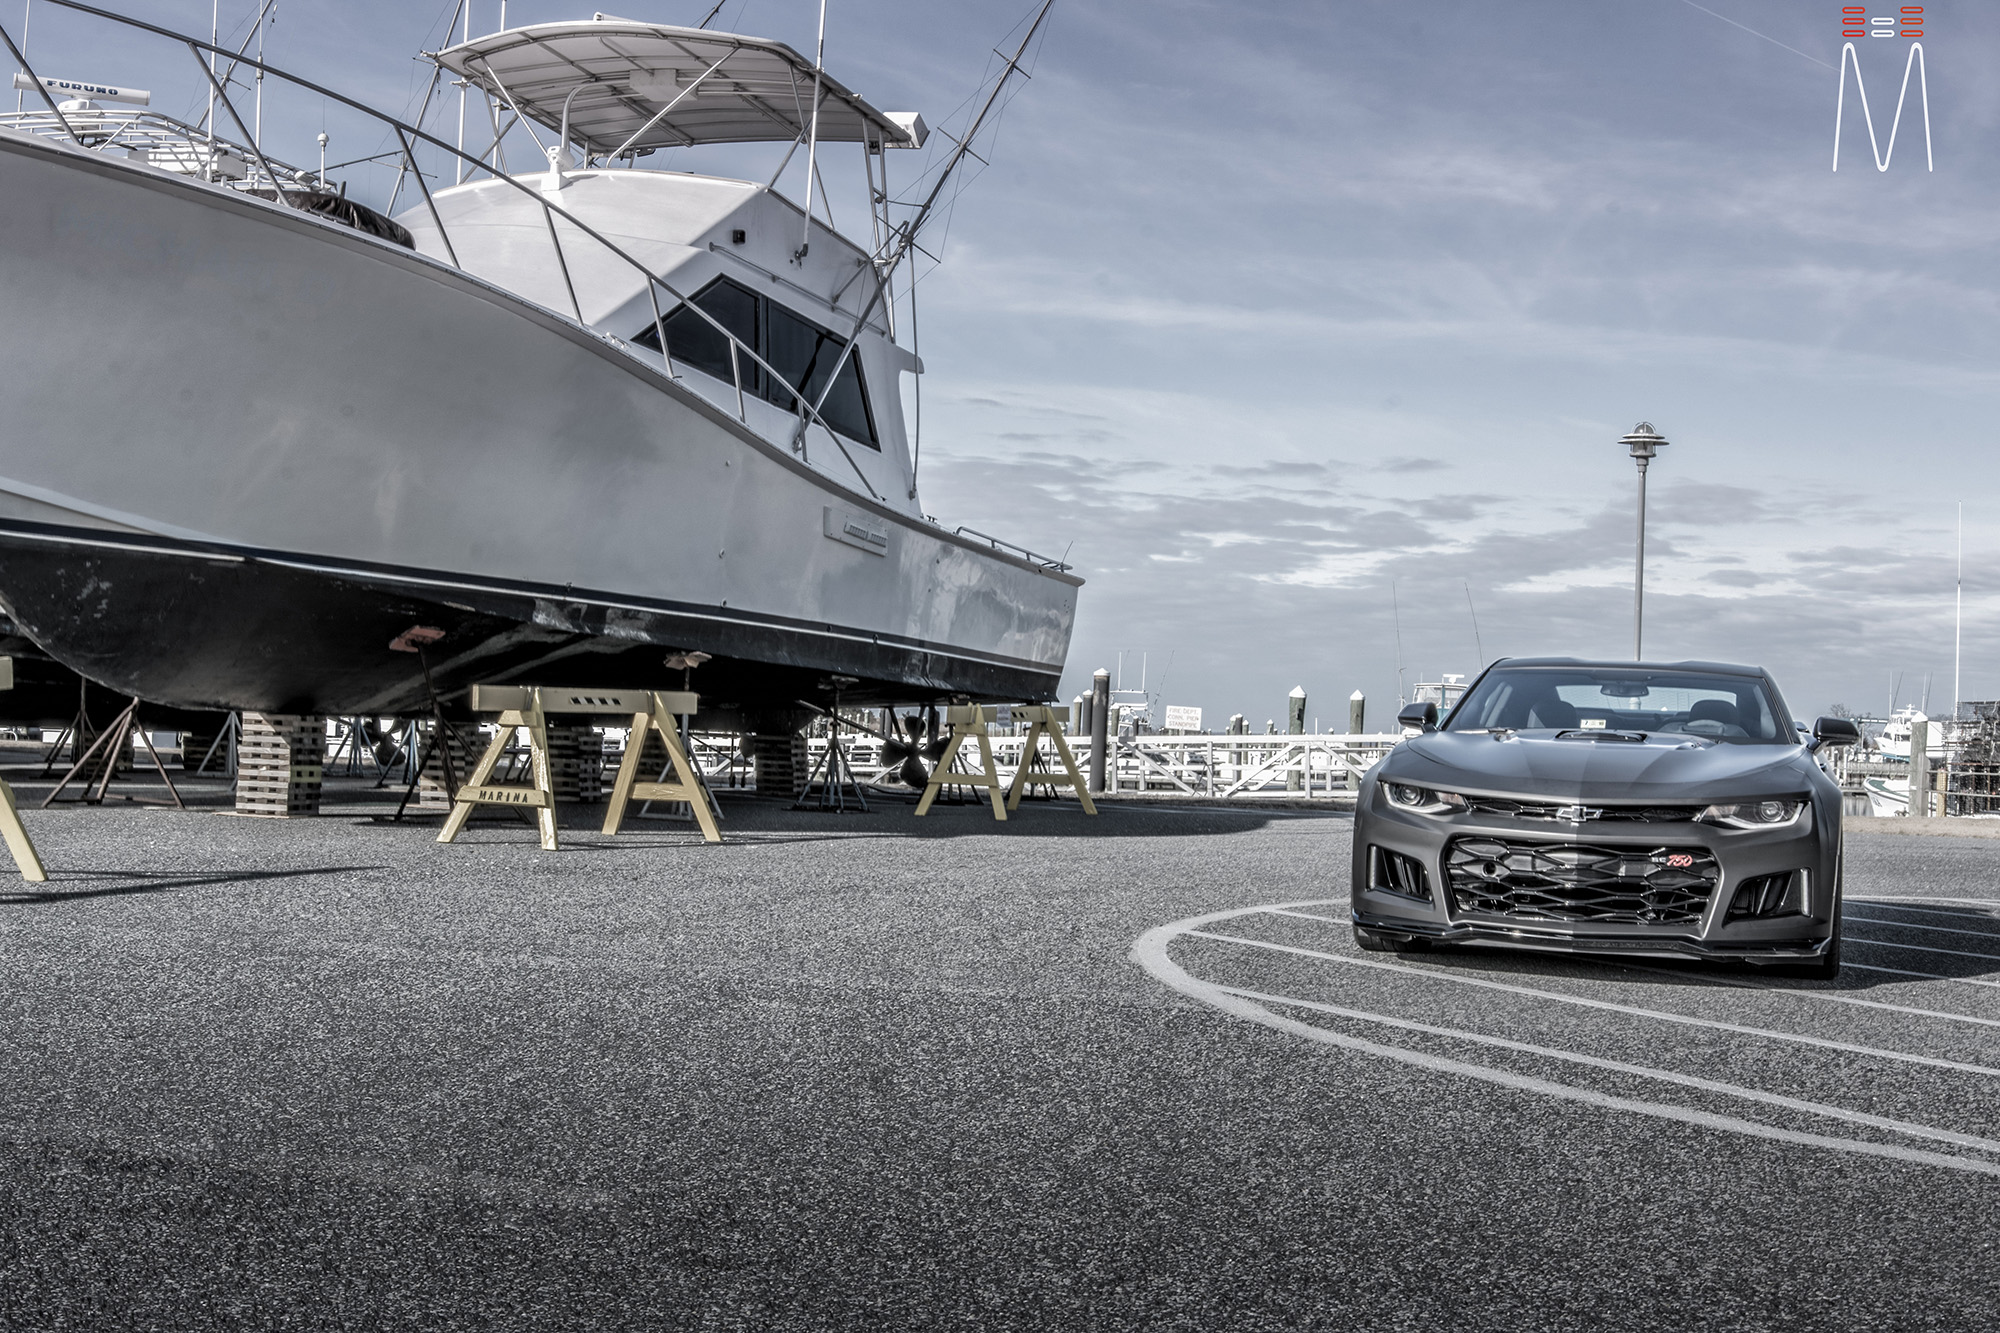
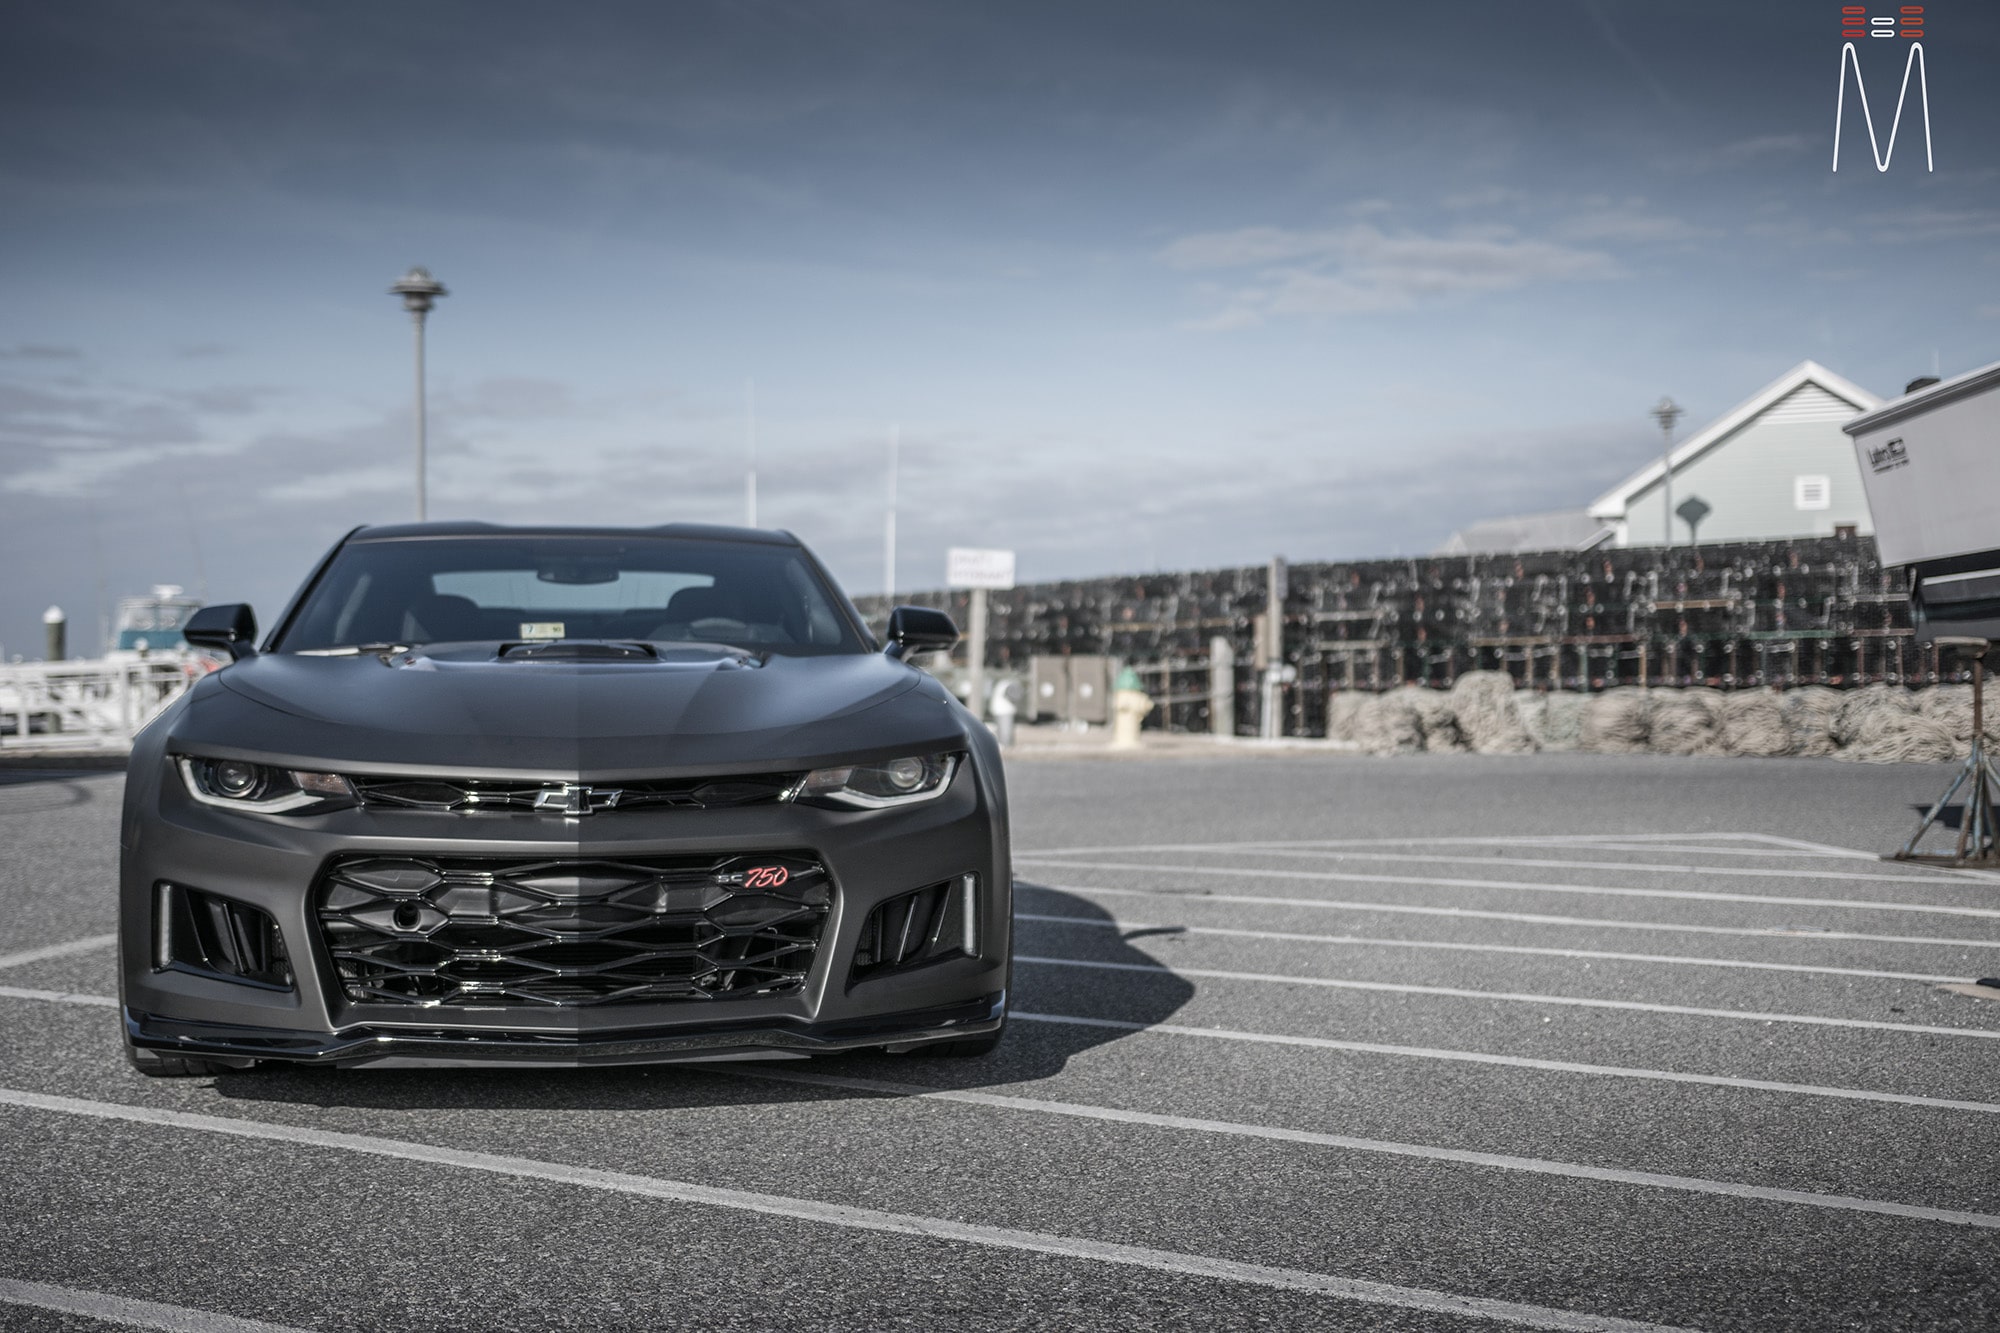
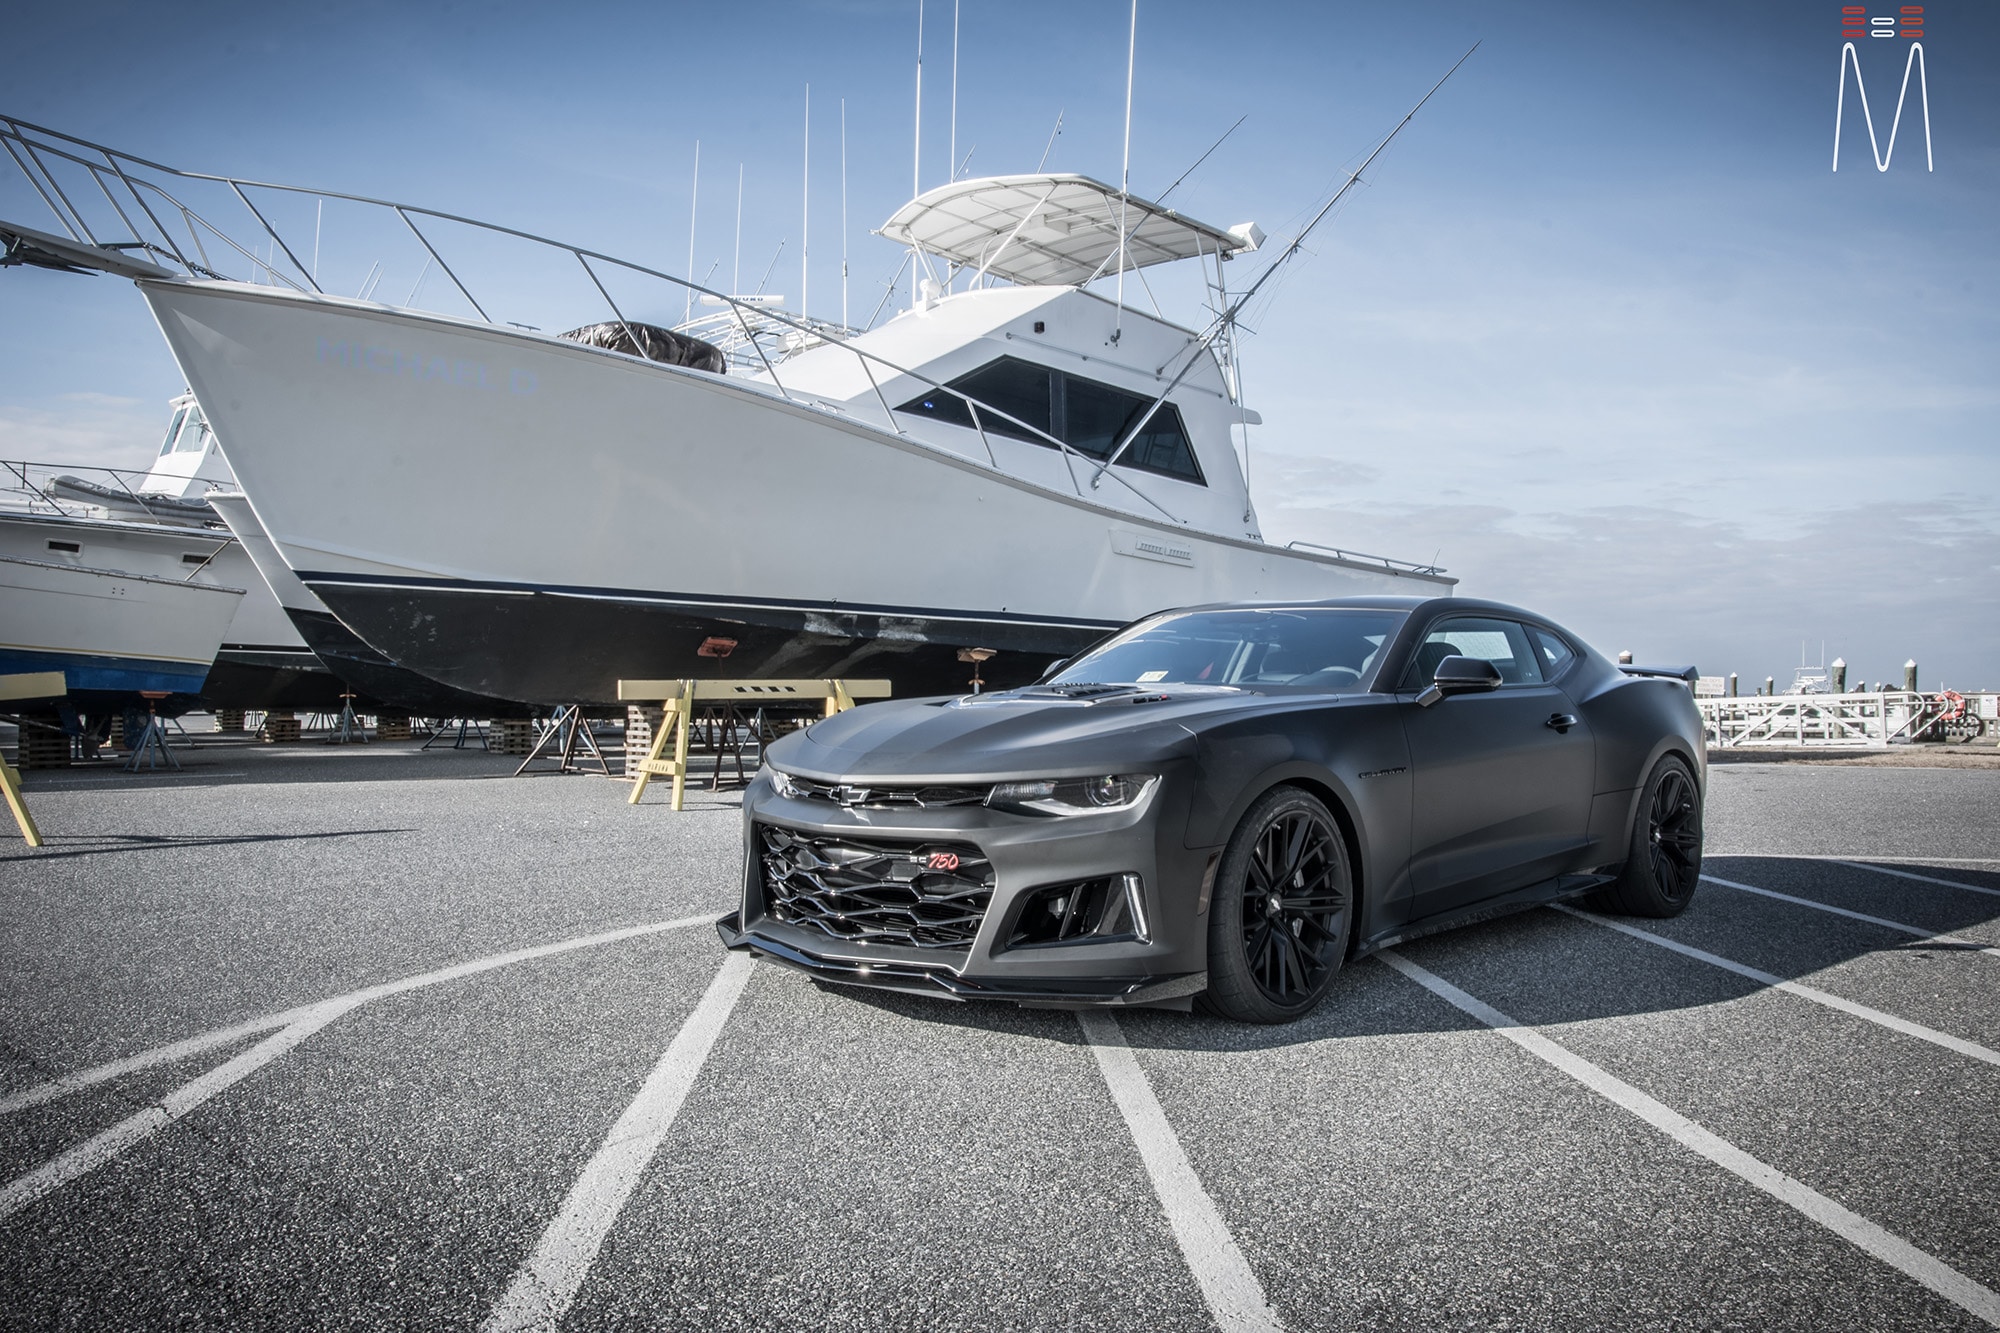
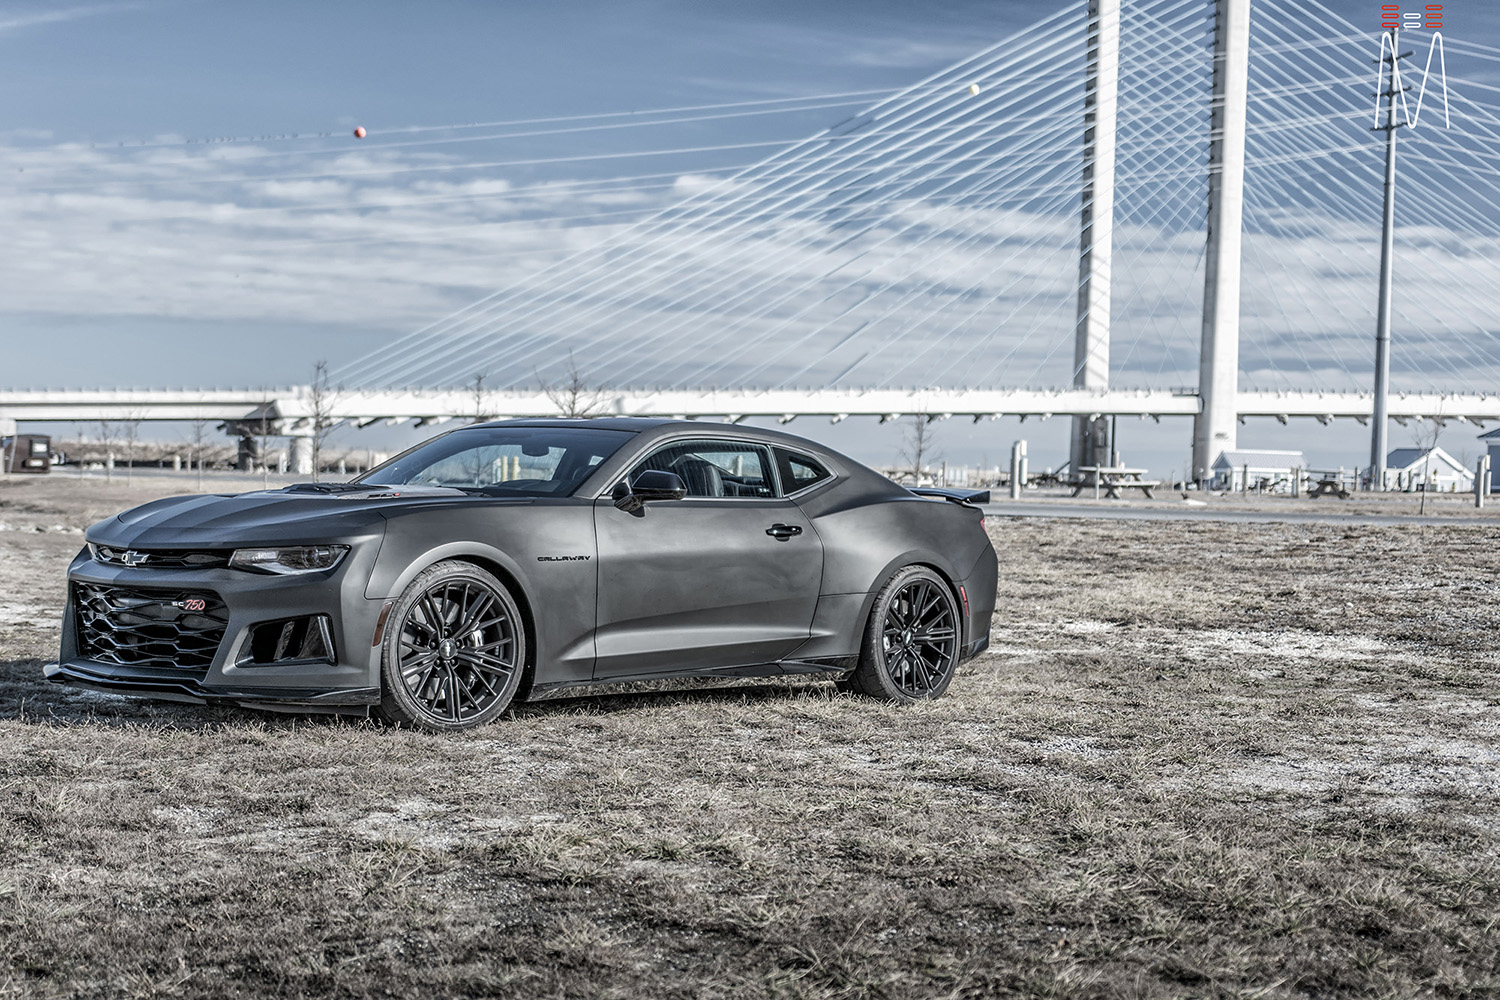
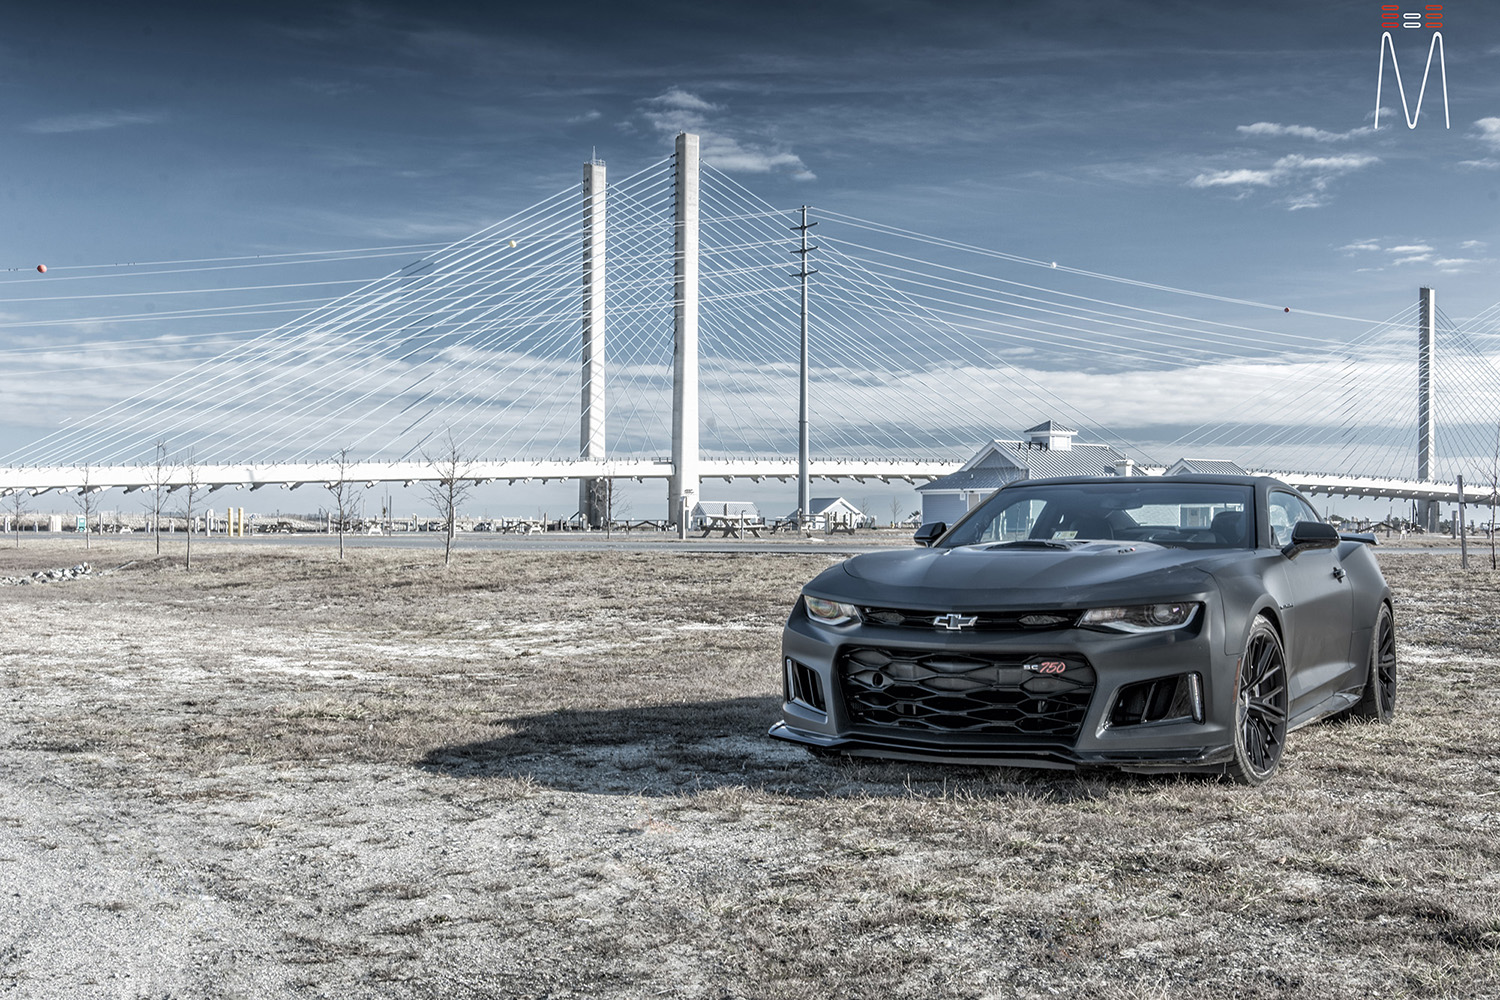
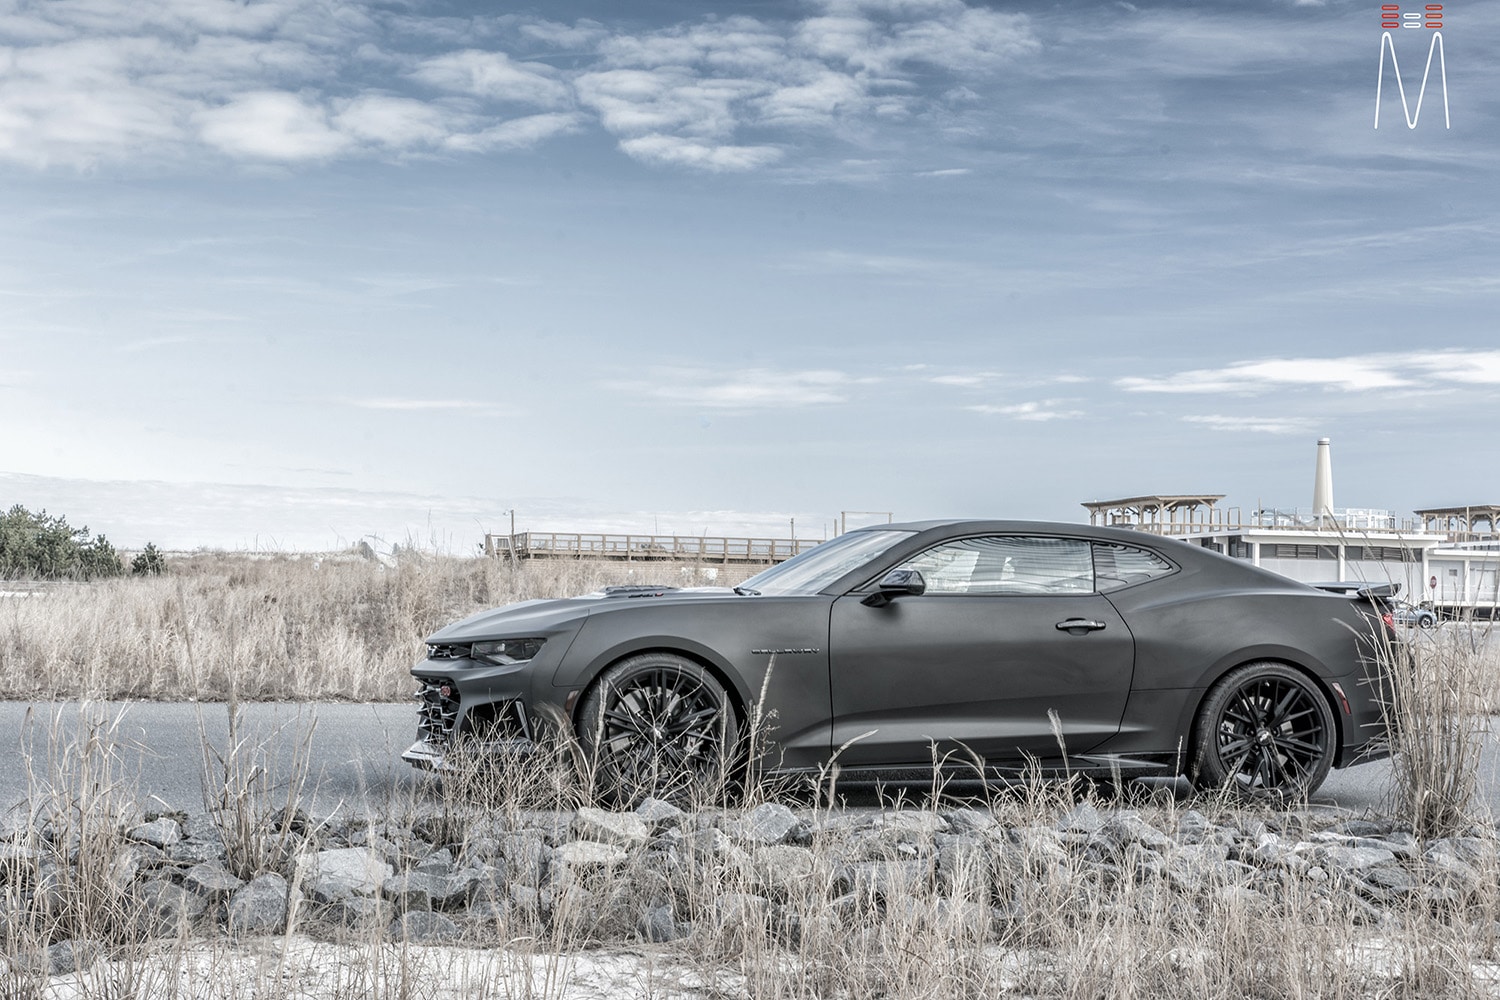
Car Details:
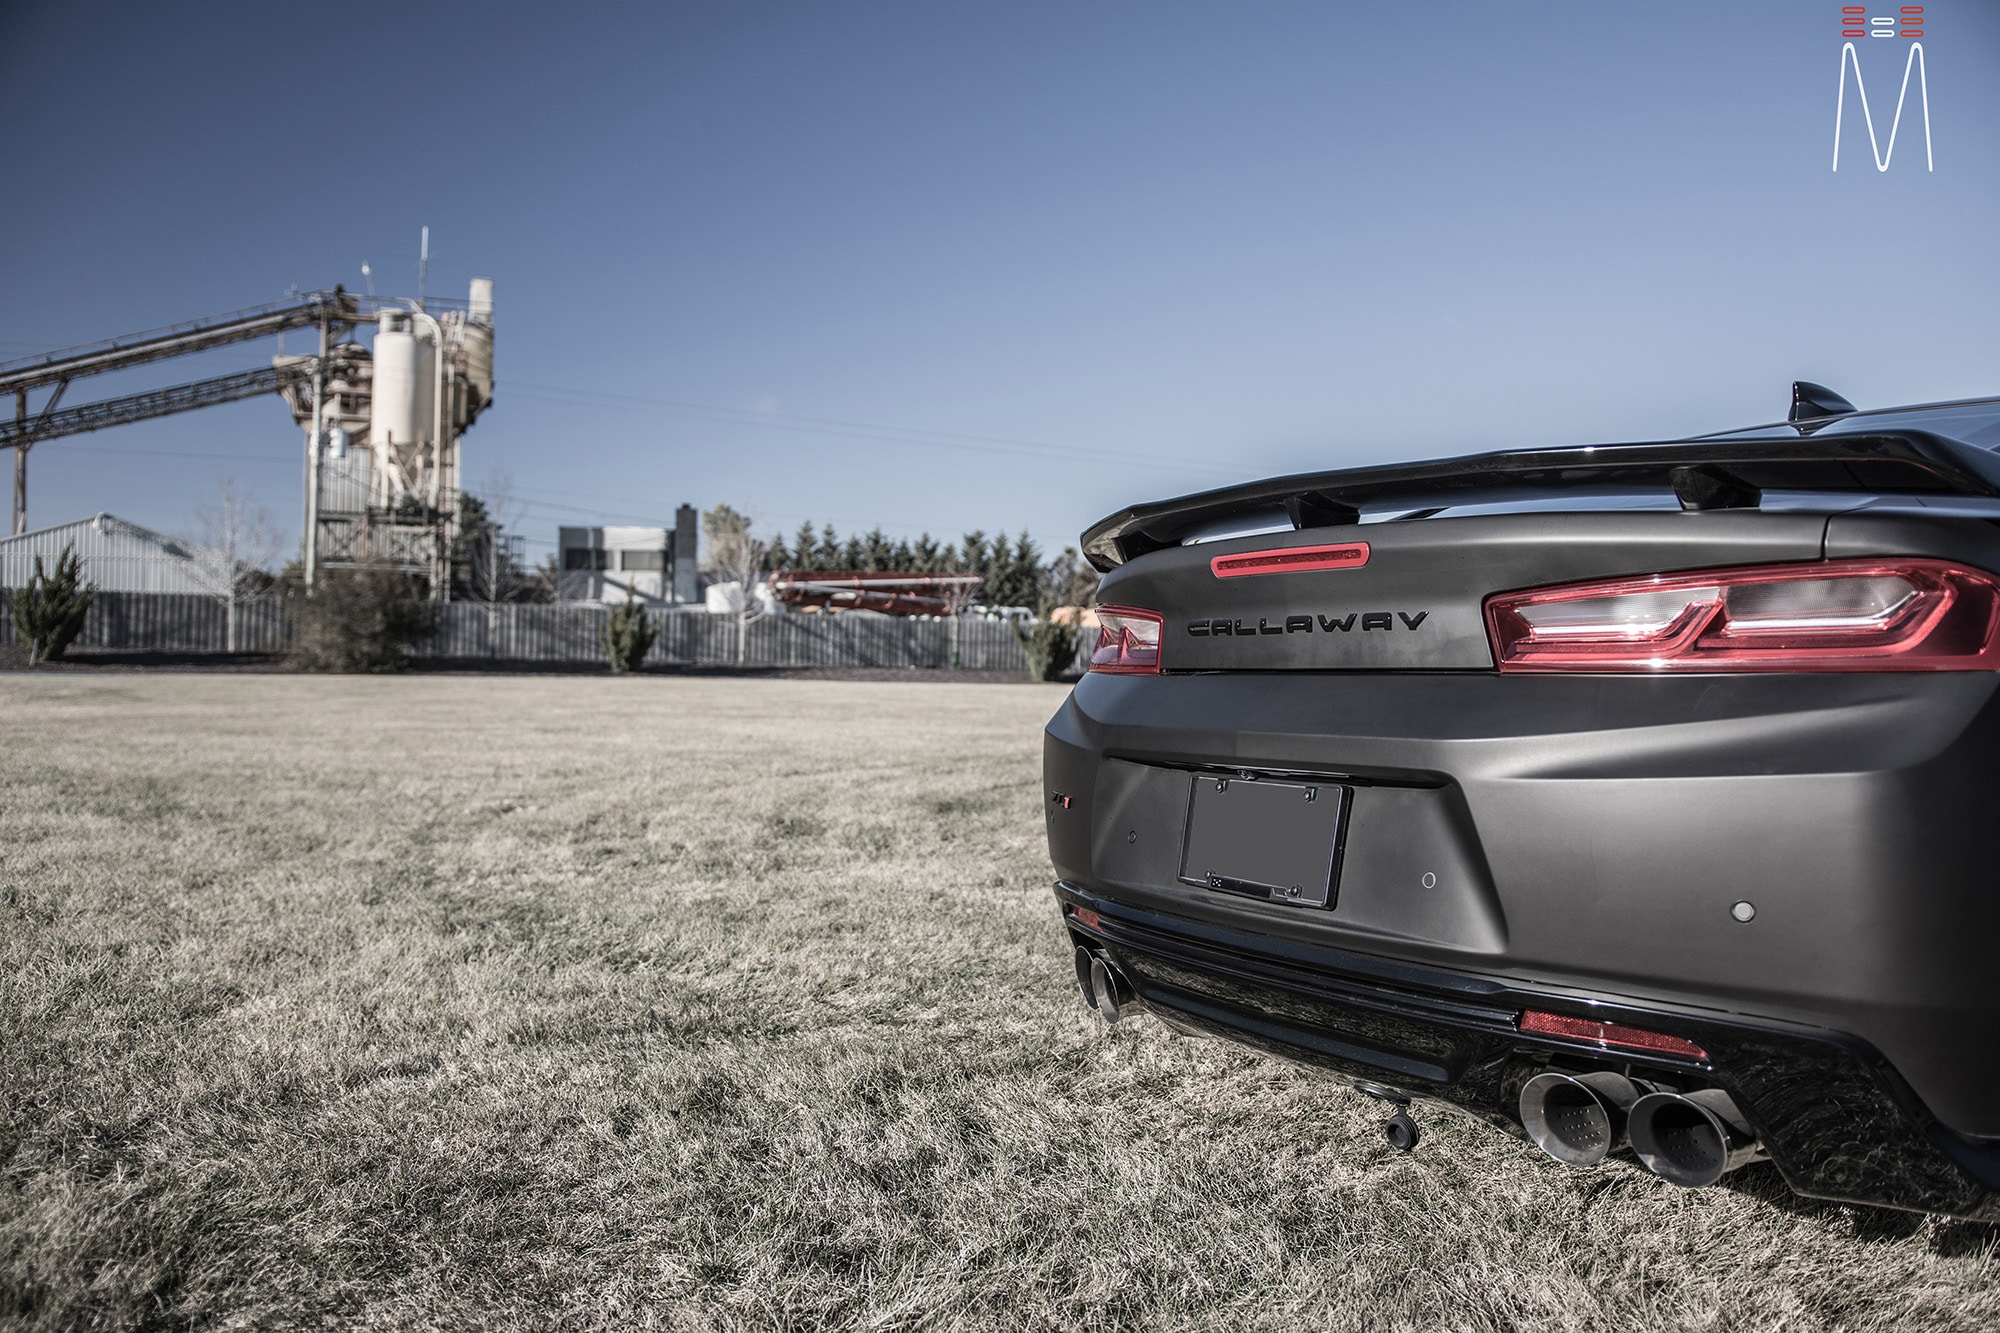
Chevy Callaway Camaro ZL1 – ↓ JUMP TO PHOTO GALLERY ↓
Install Credits:
Matt Schaeffer
matt@sound-fx.net
https://www.instagram.com/therealmatty_s/
Sound FX
17665 Coastal Highway
Lewes, DE 19958
(302) 729-2495
Notes:
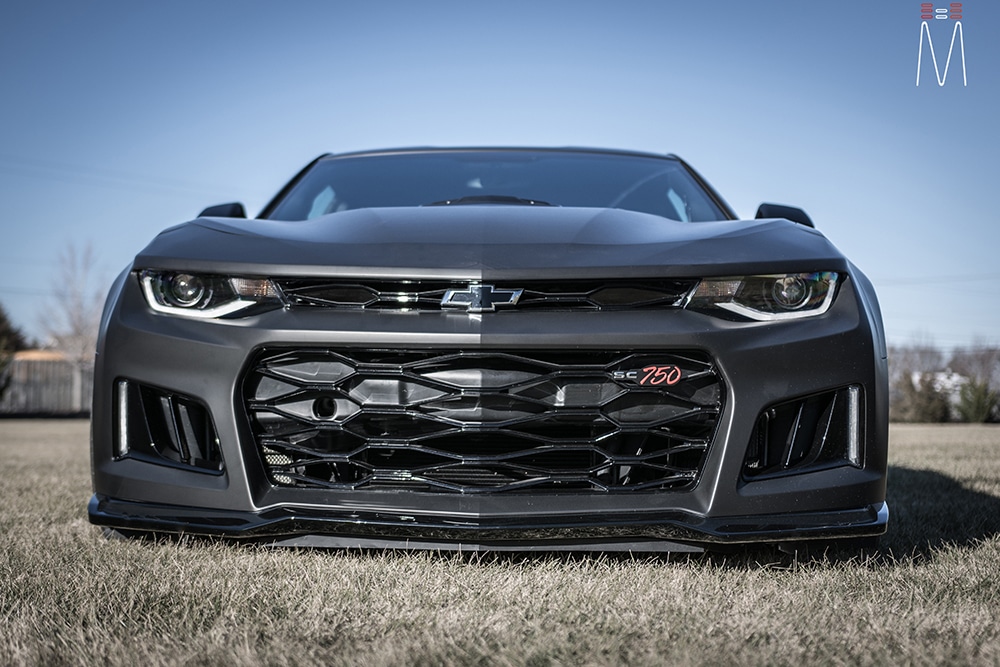
“This job was a massive undertaking. A complete Musaic Audiophile Conversion combined with our custom Radar and Laser Integration. We engineered our equipment to blend into the factory DNA of the vehicles OEM design.
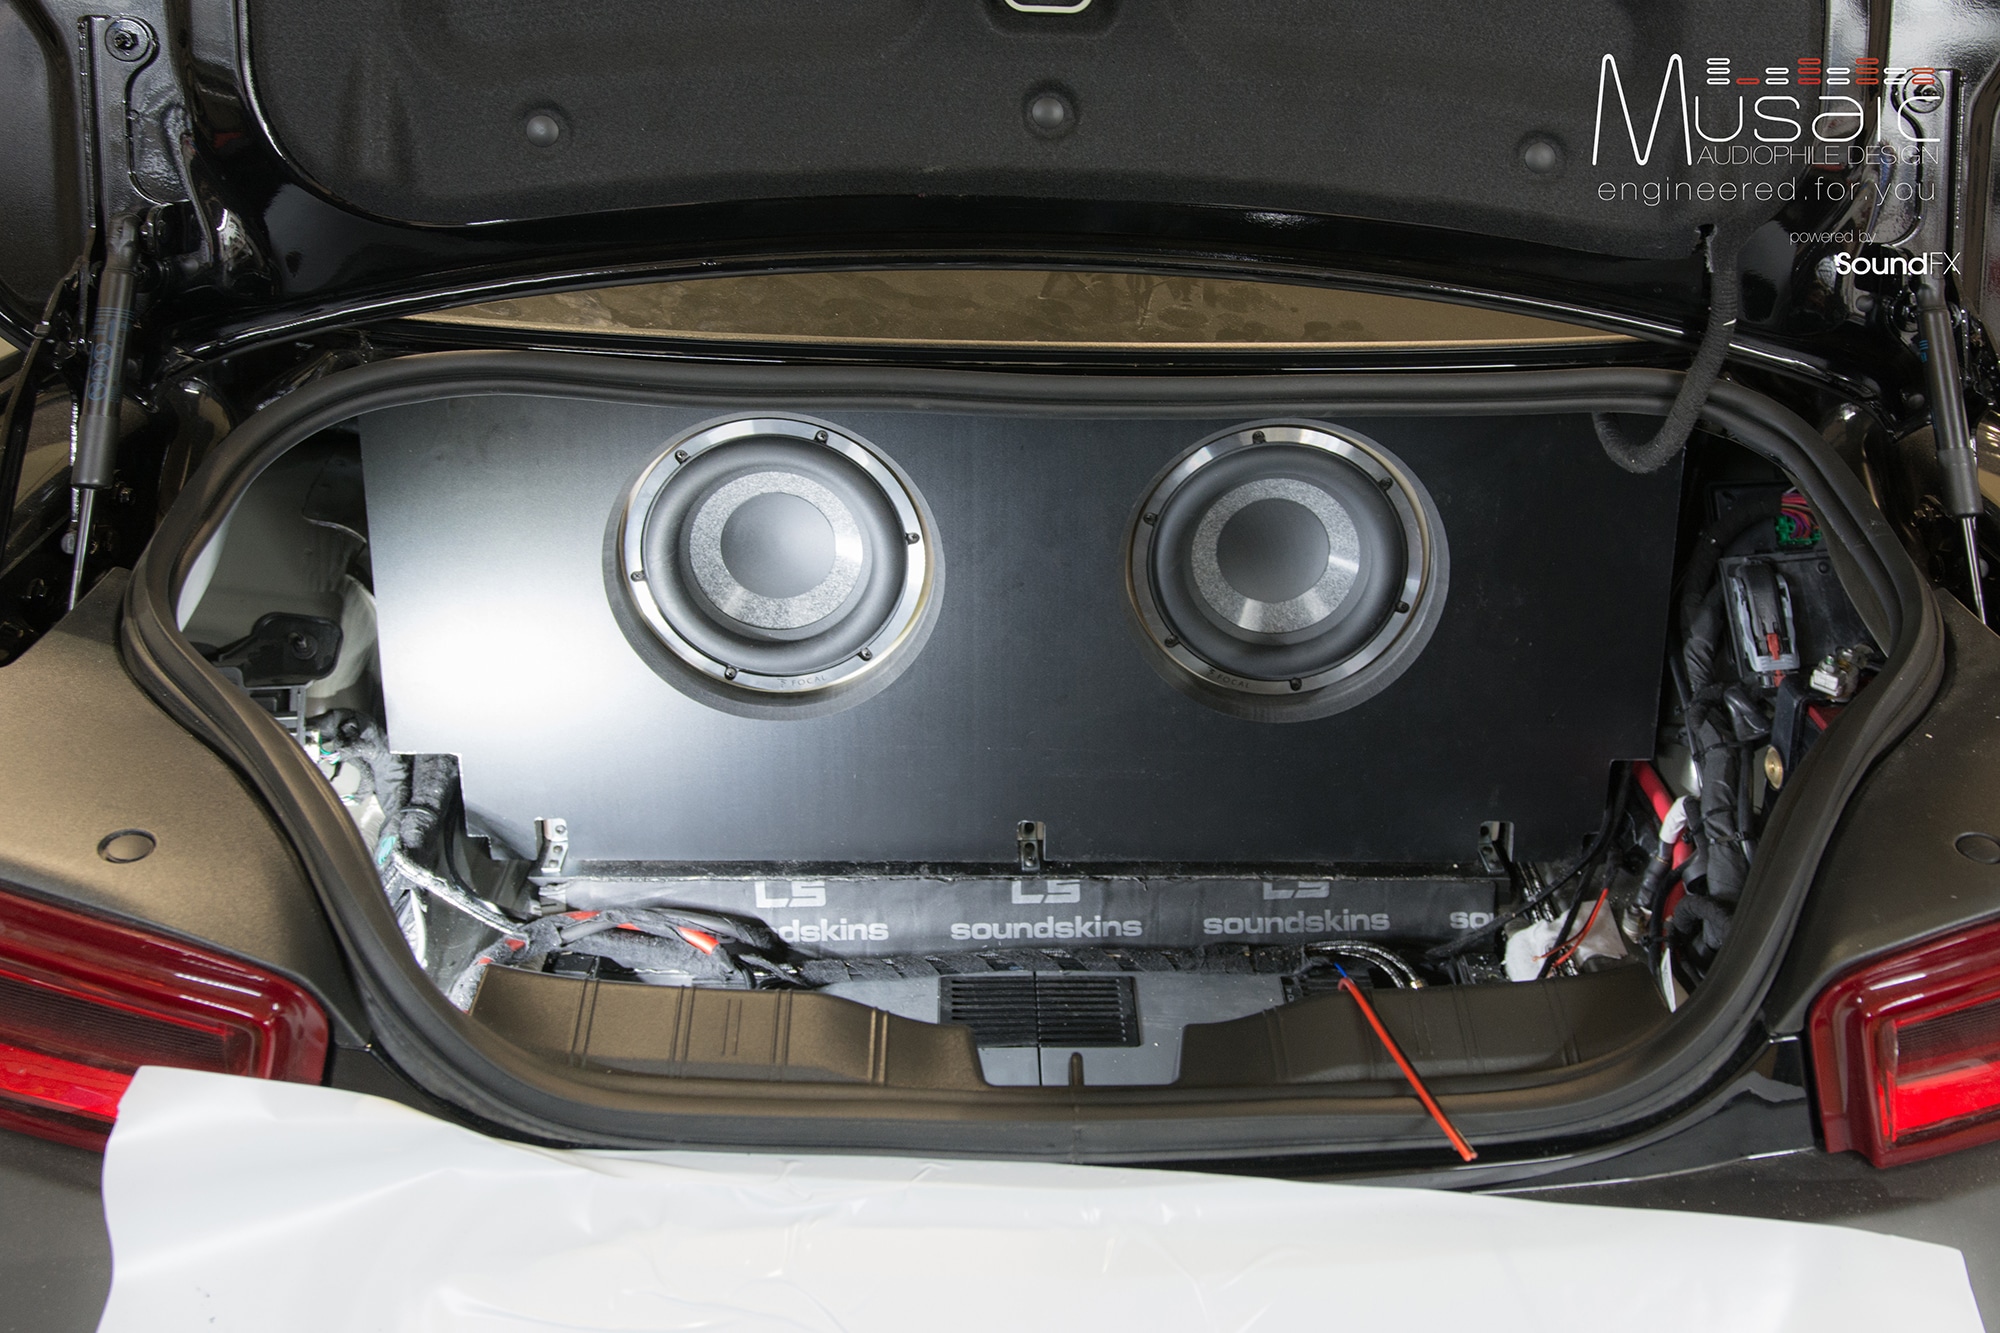
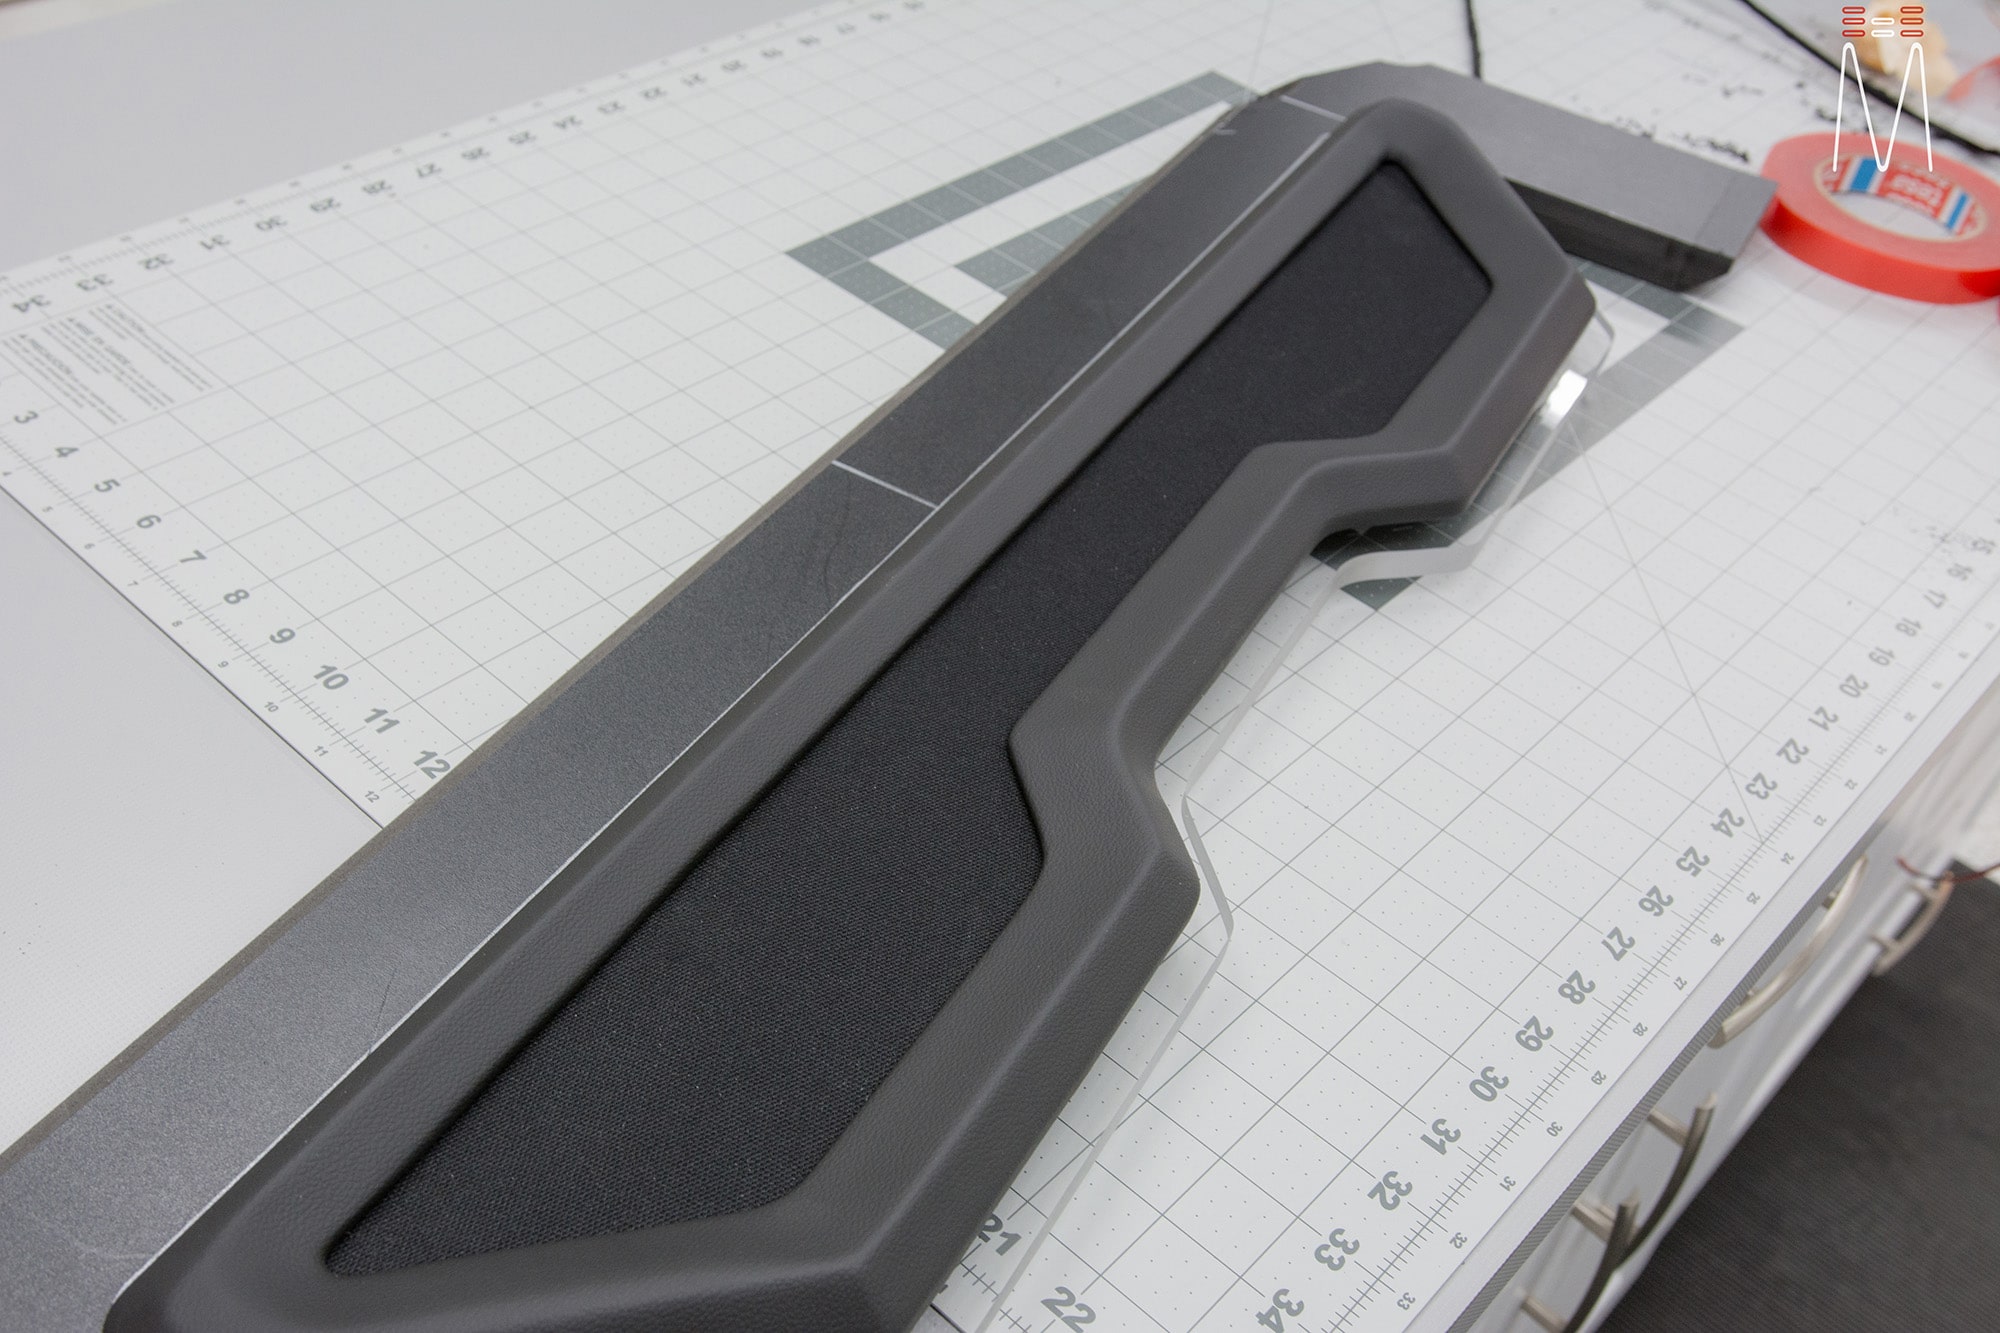
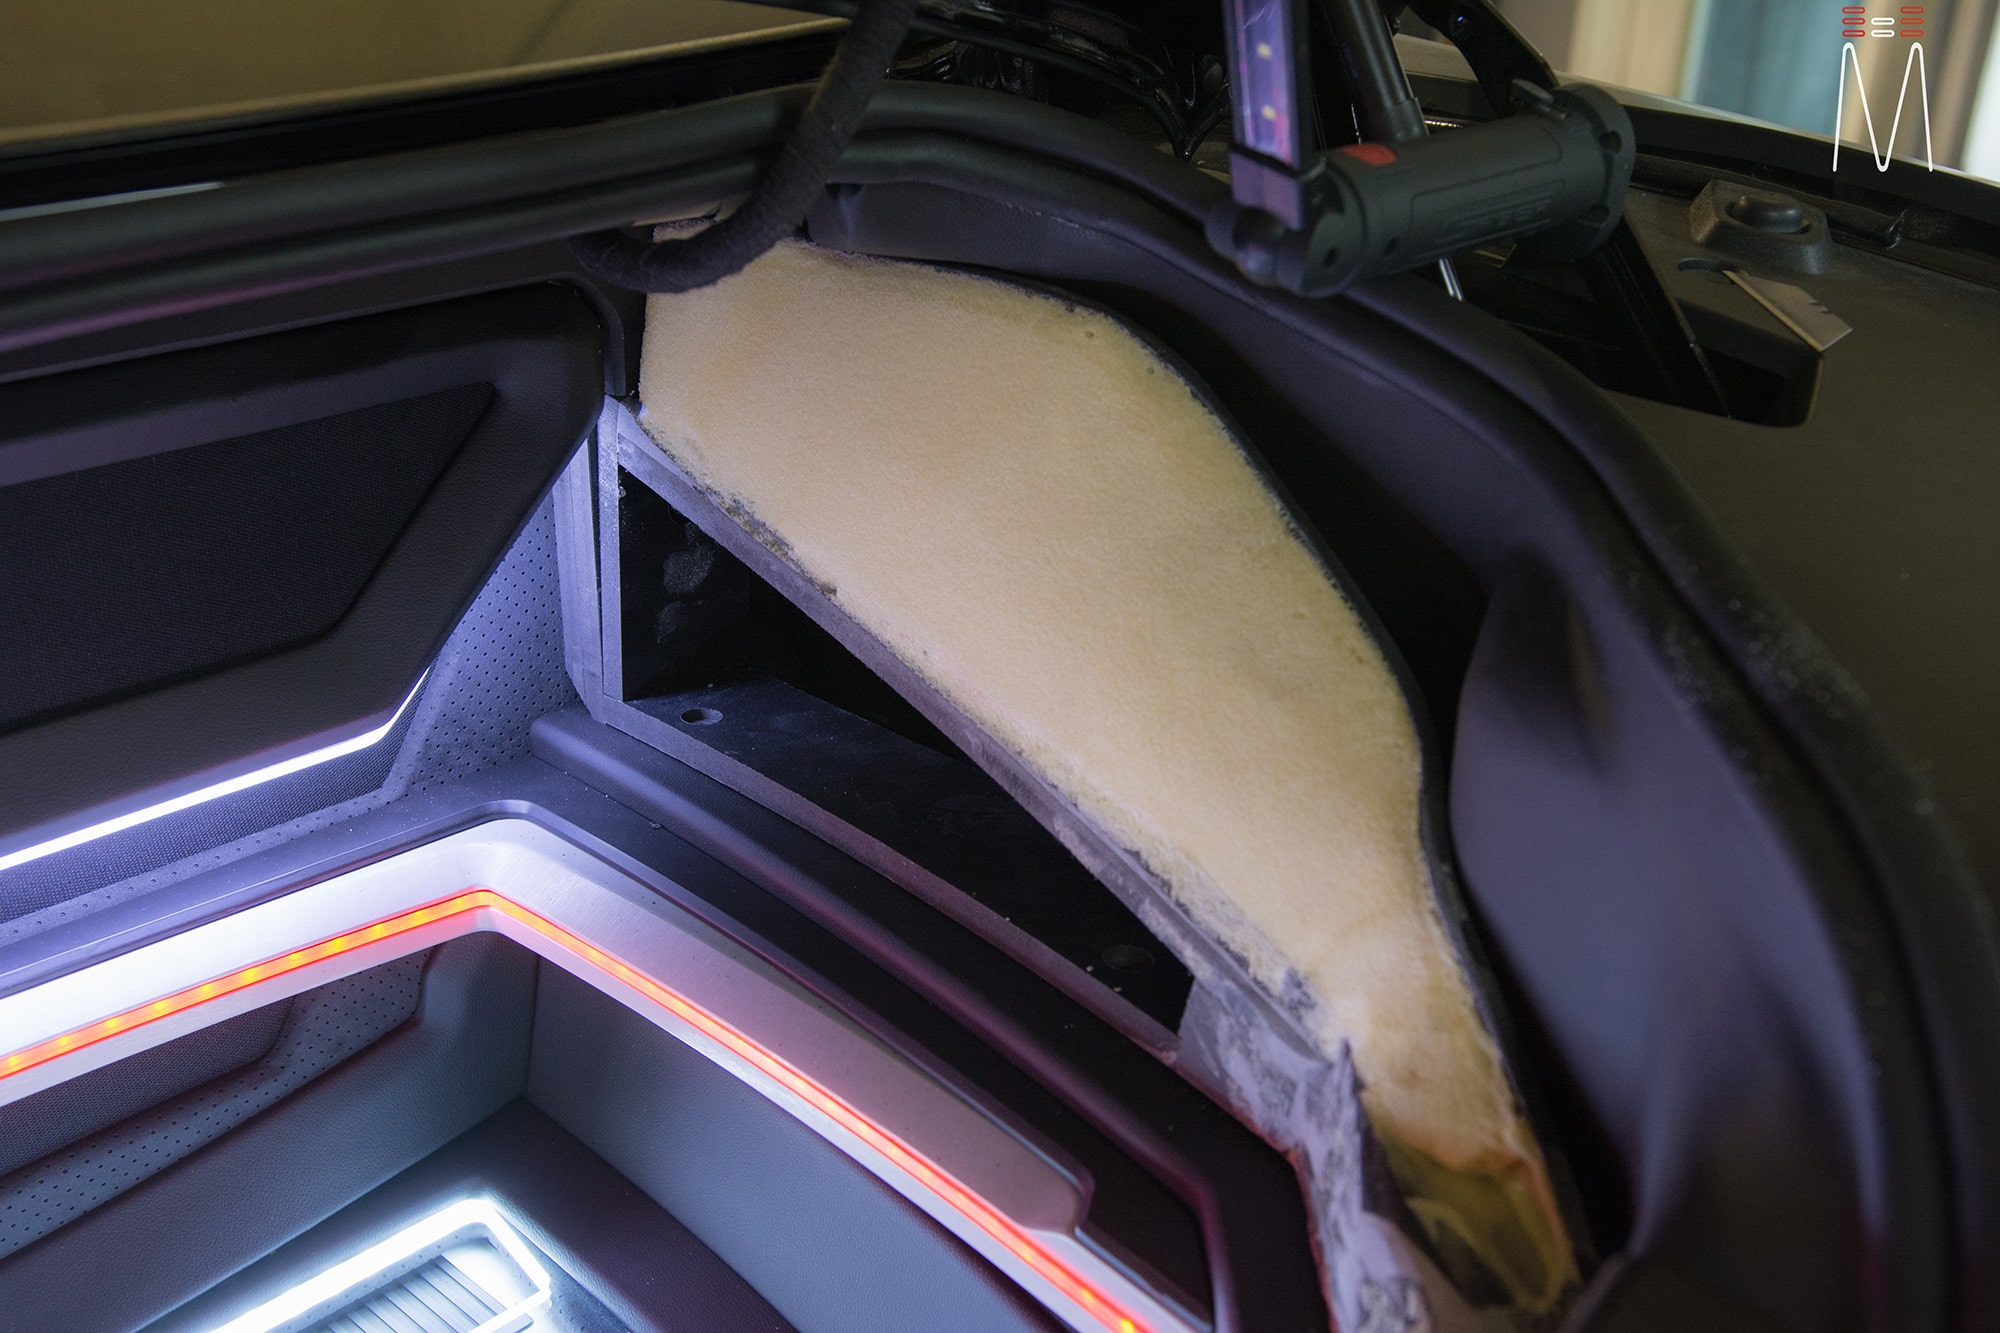
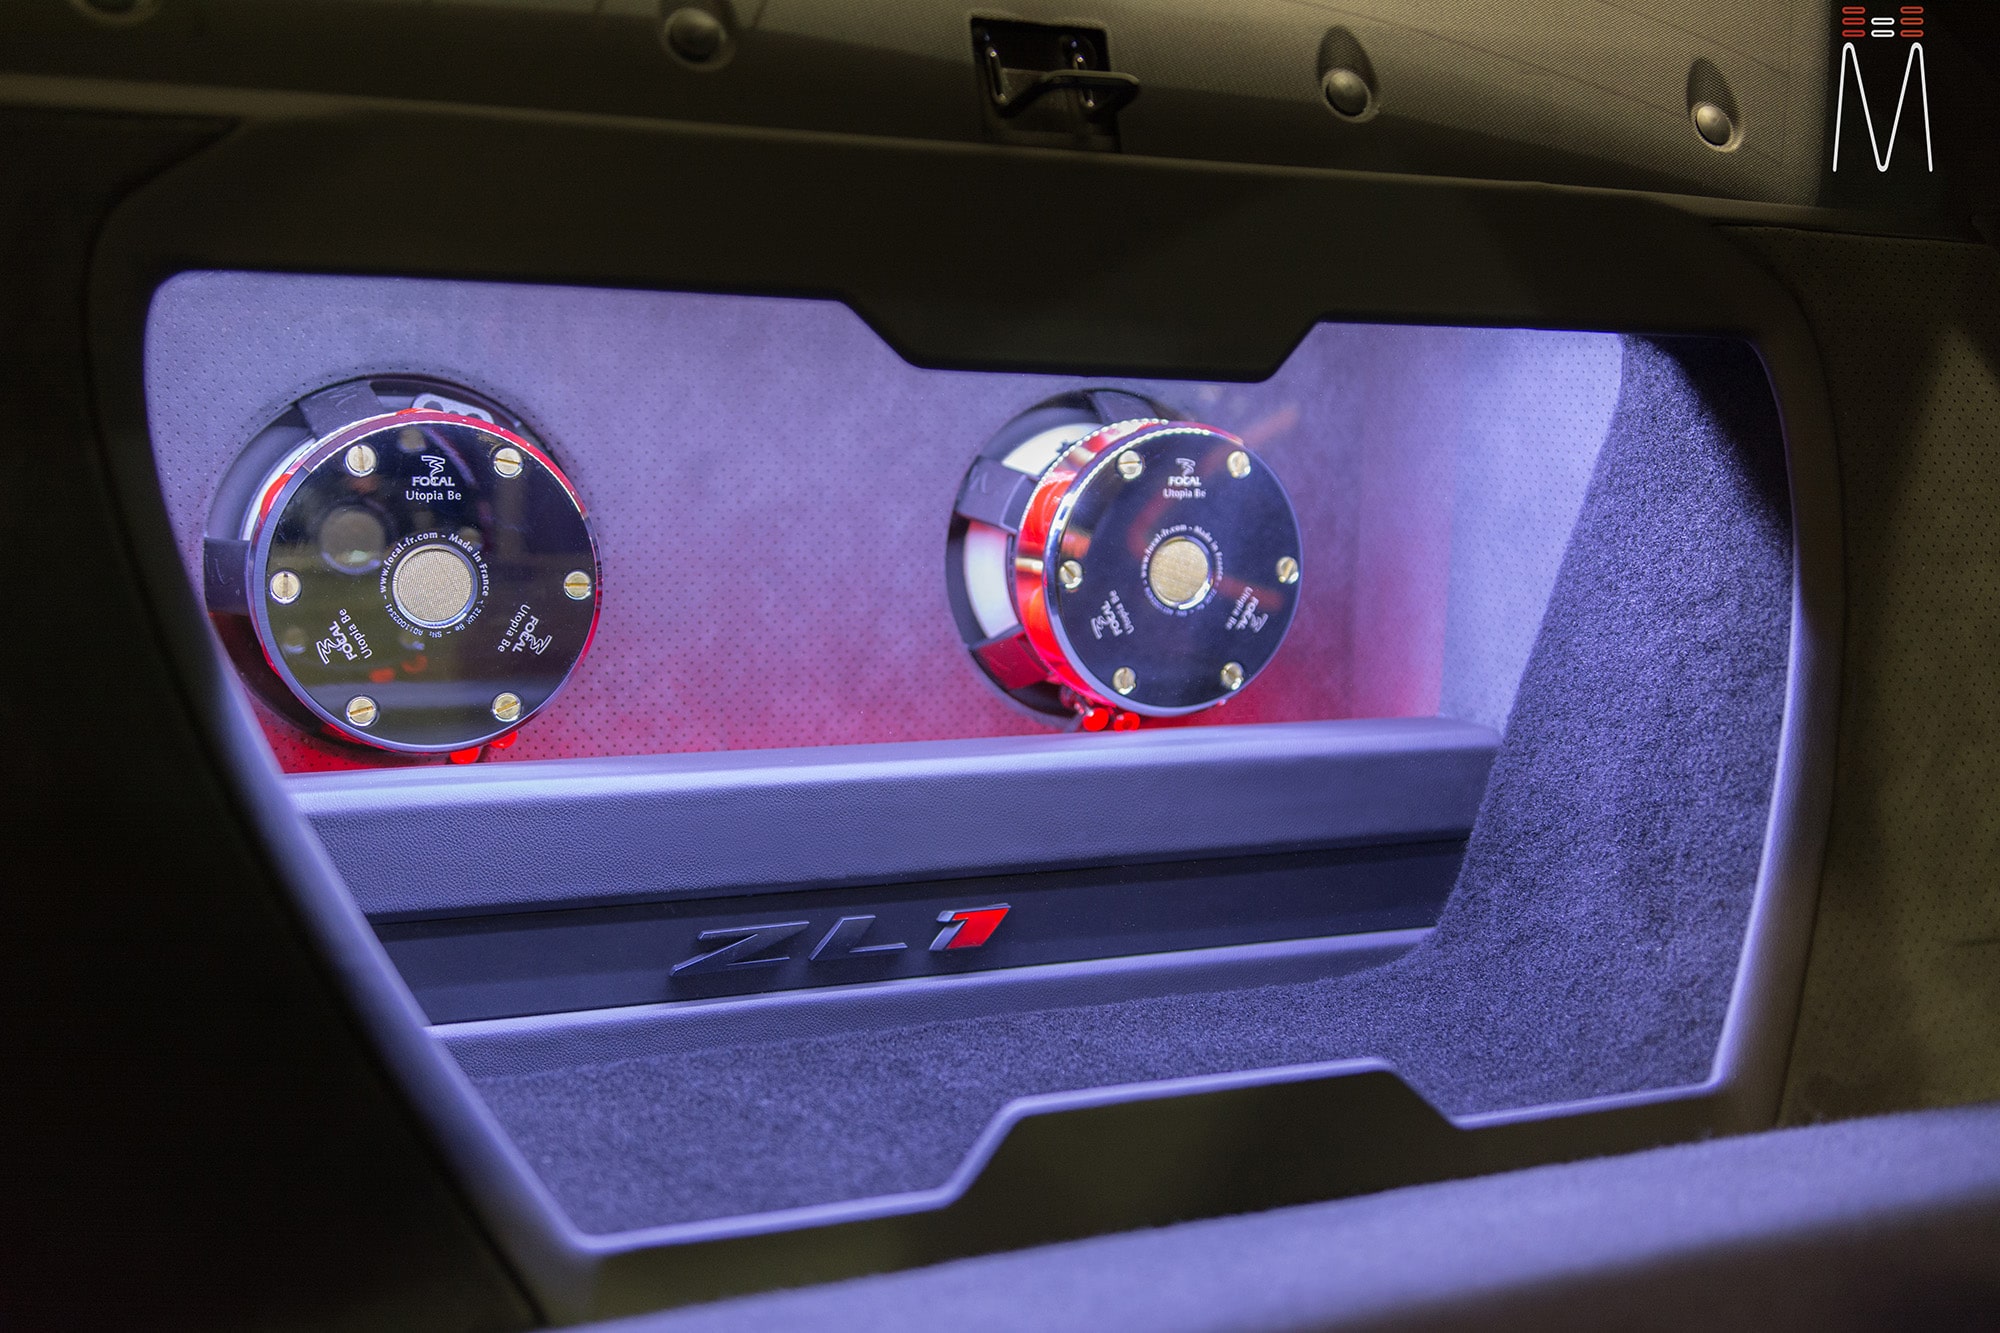
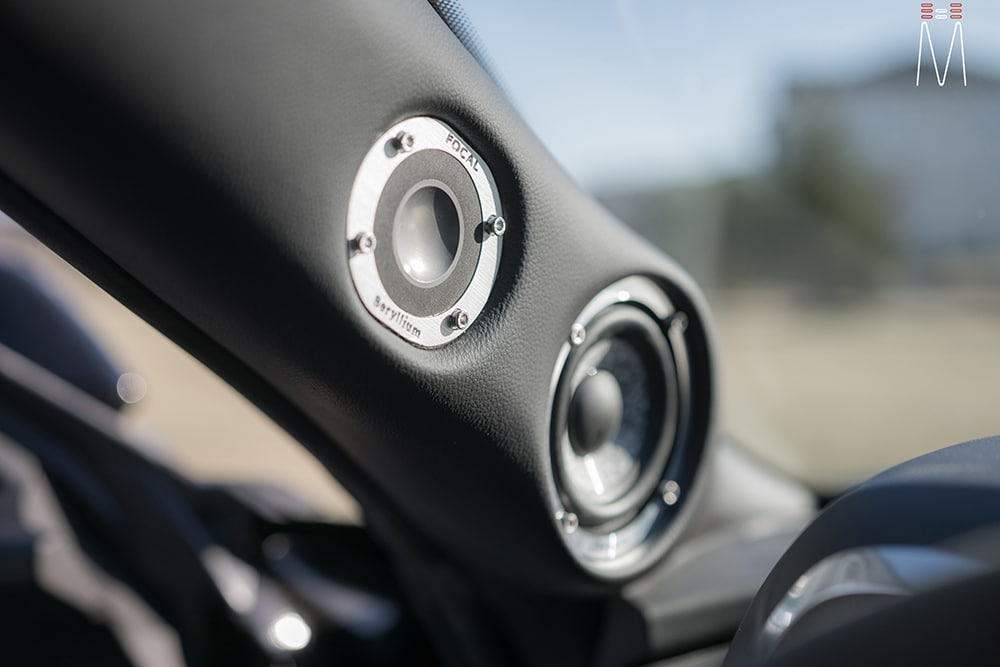
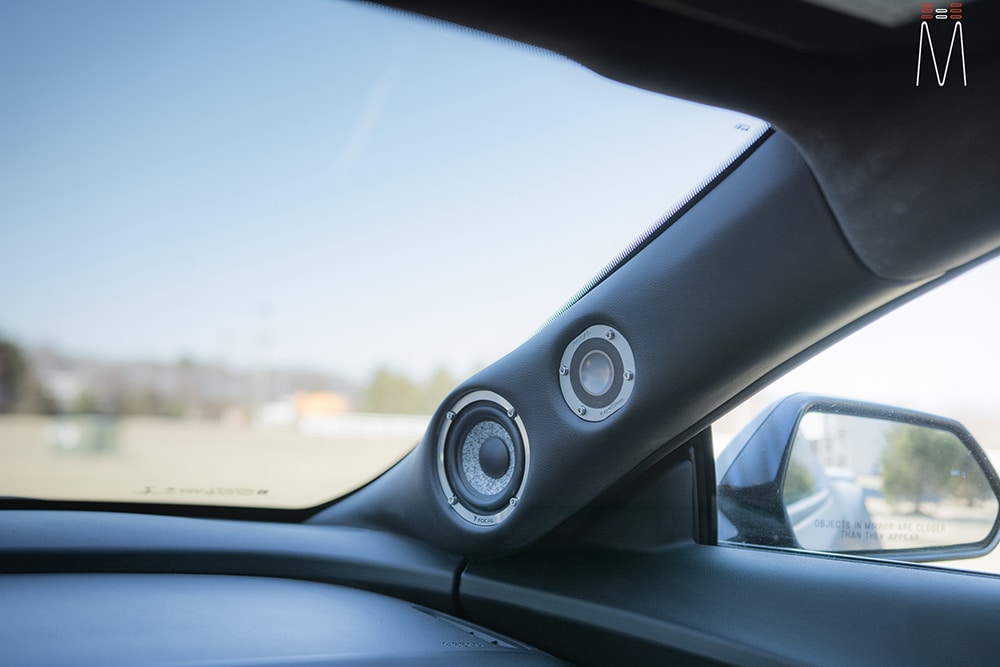
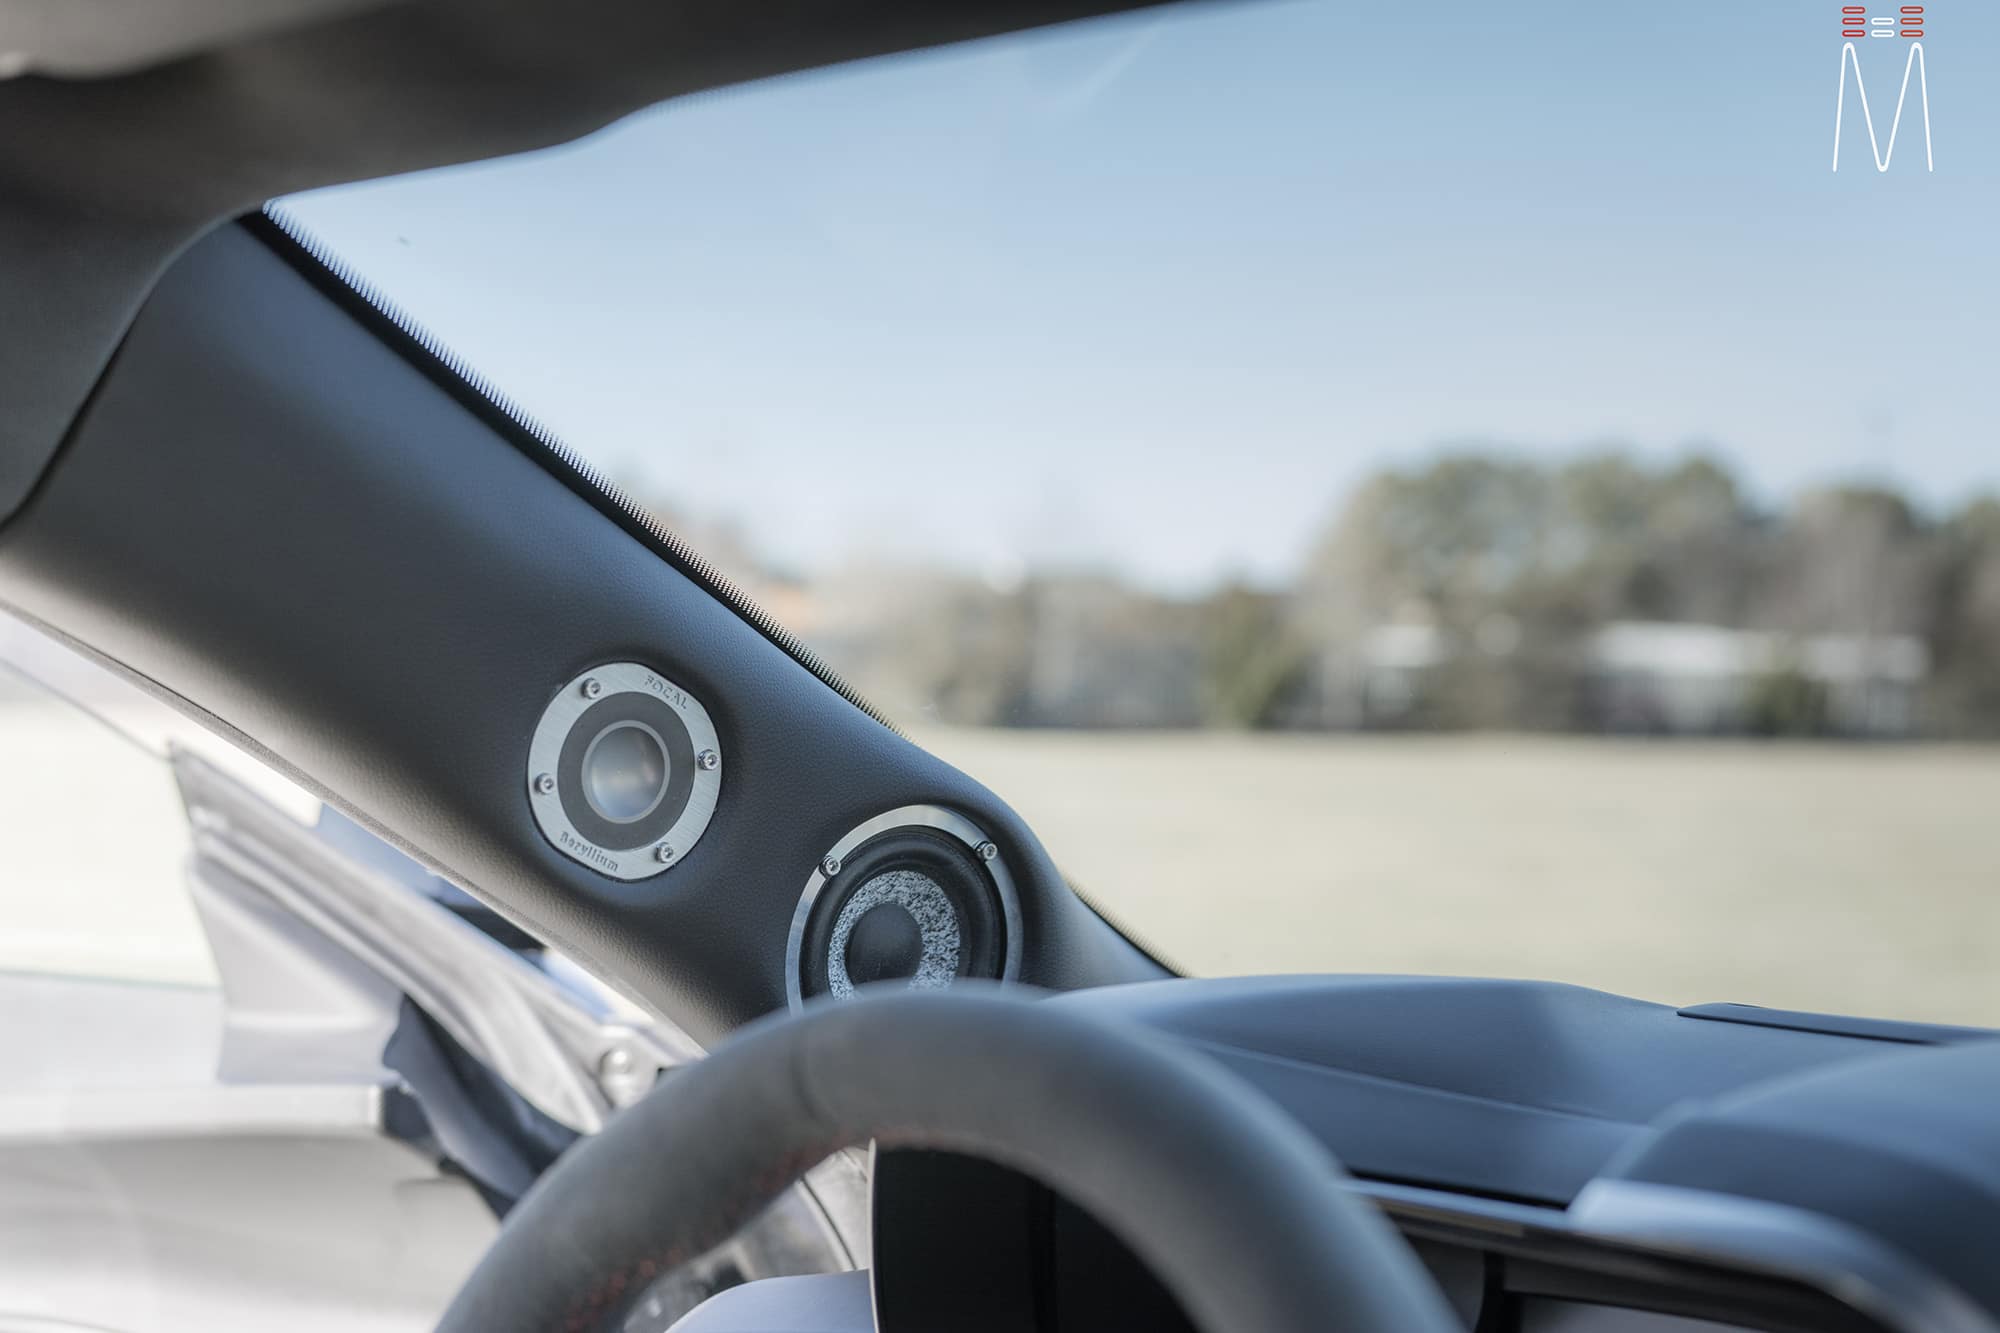
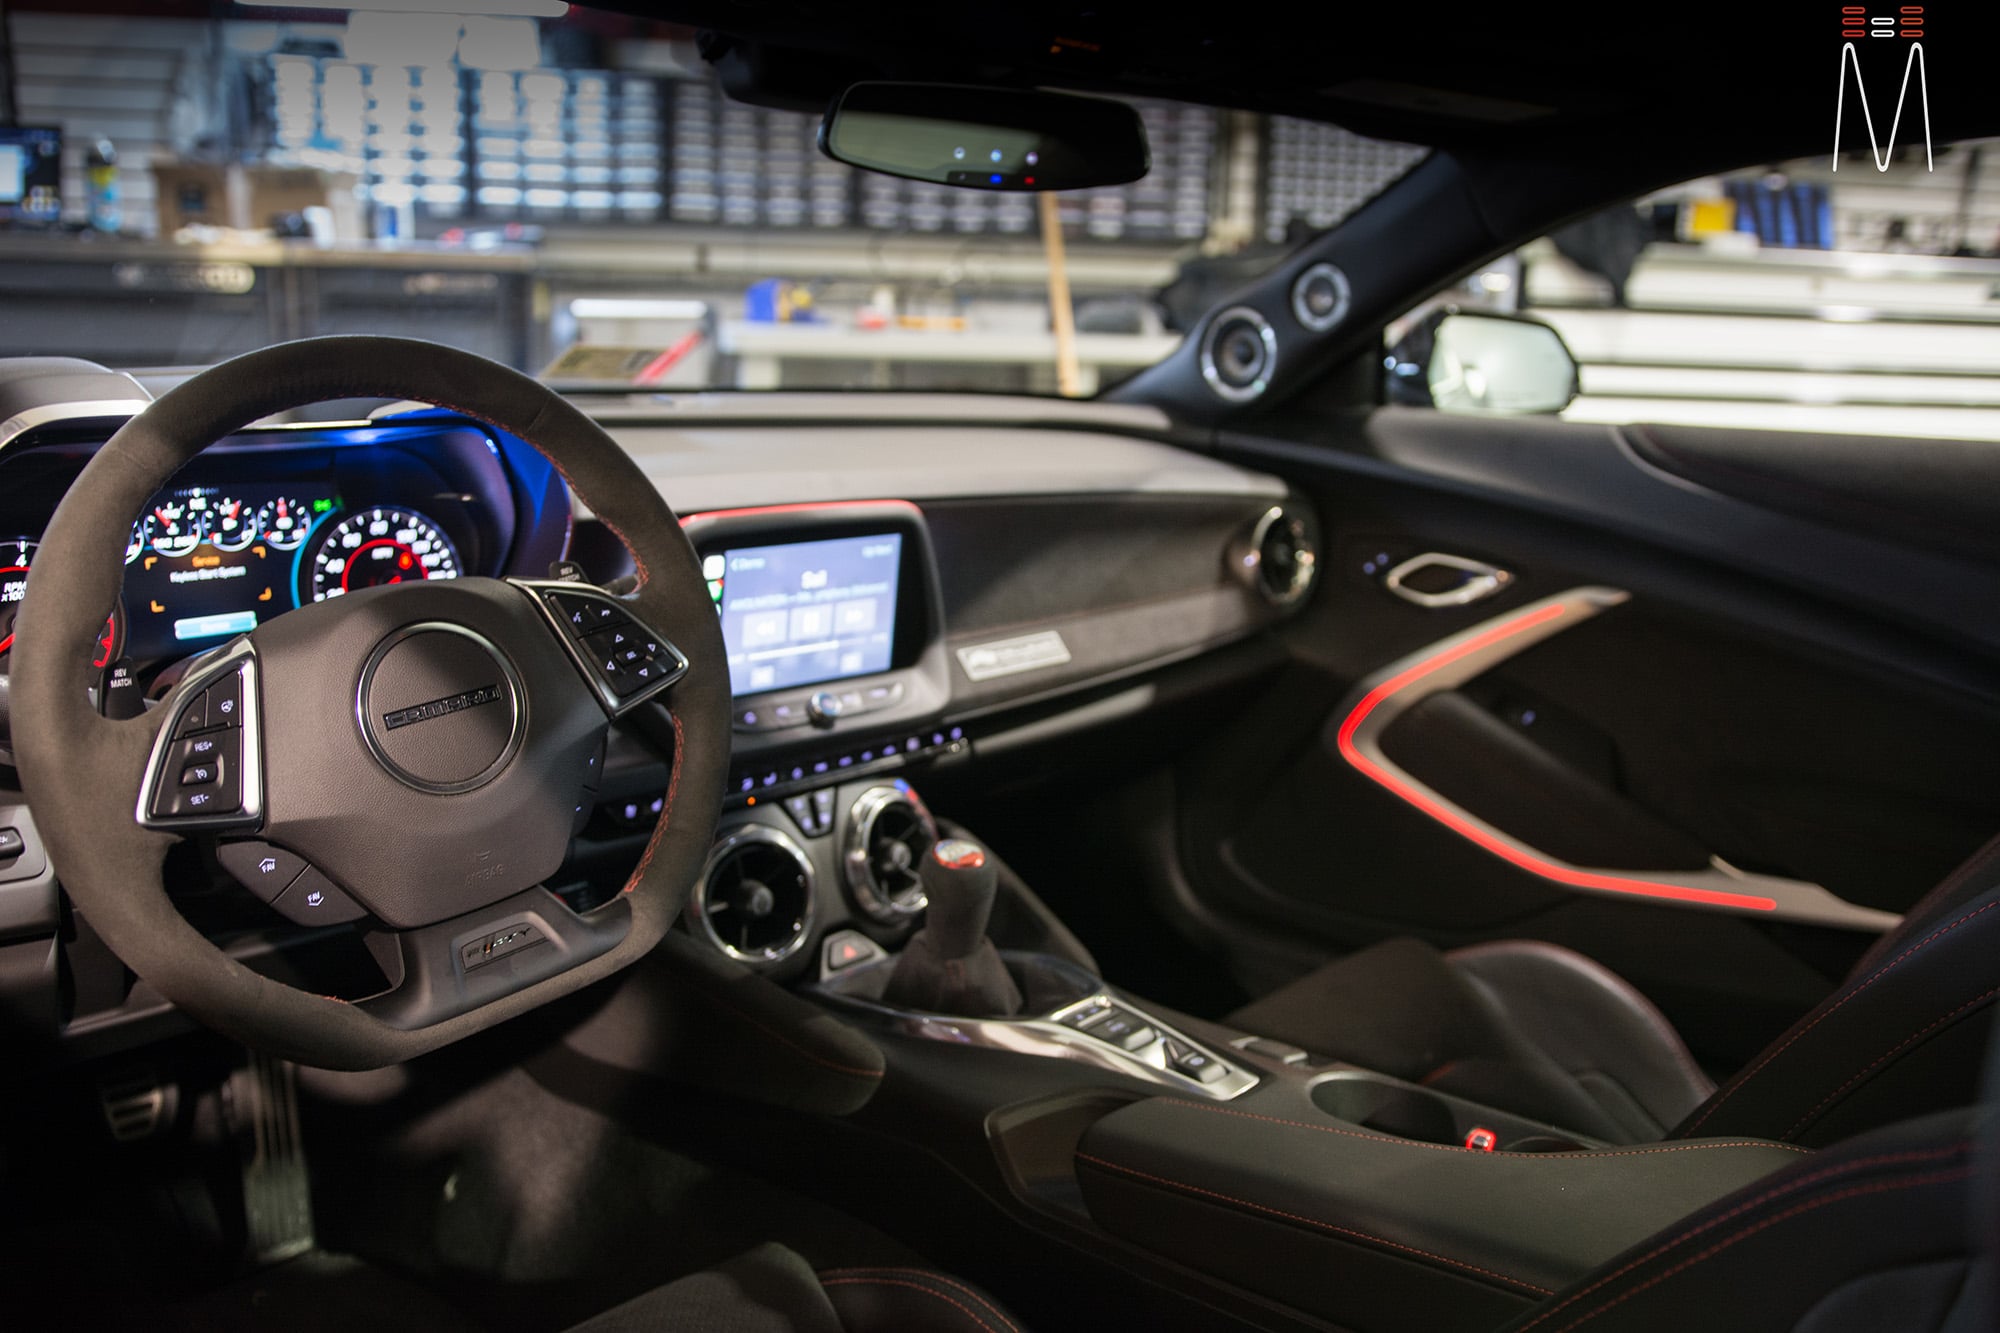
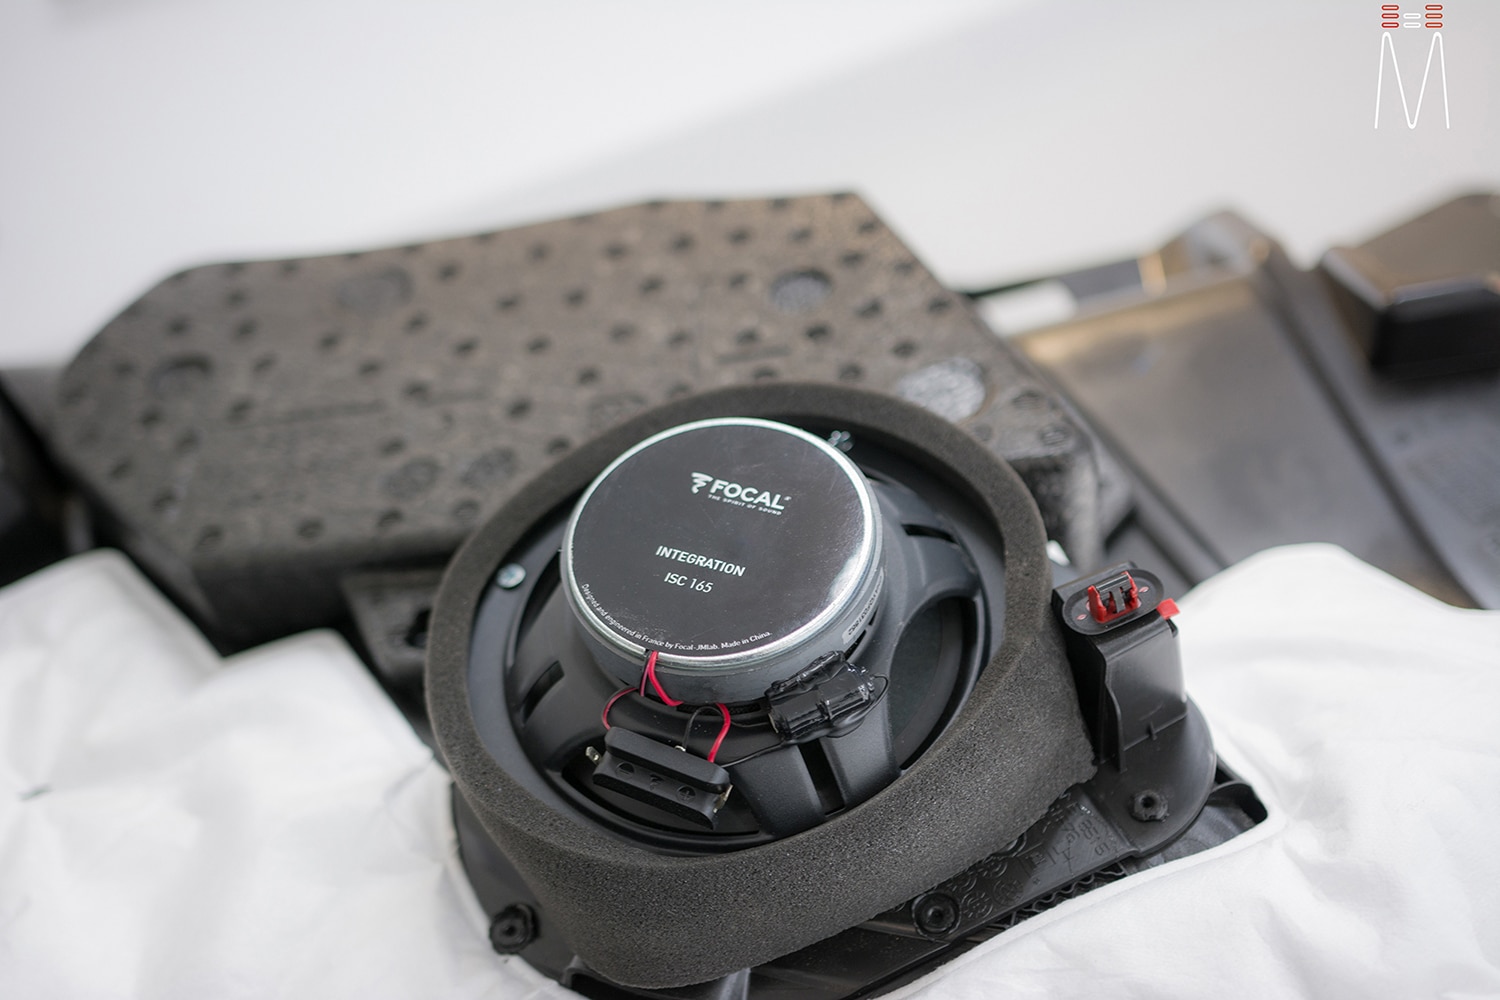
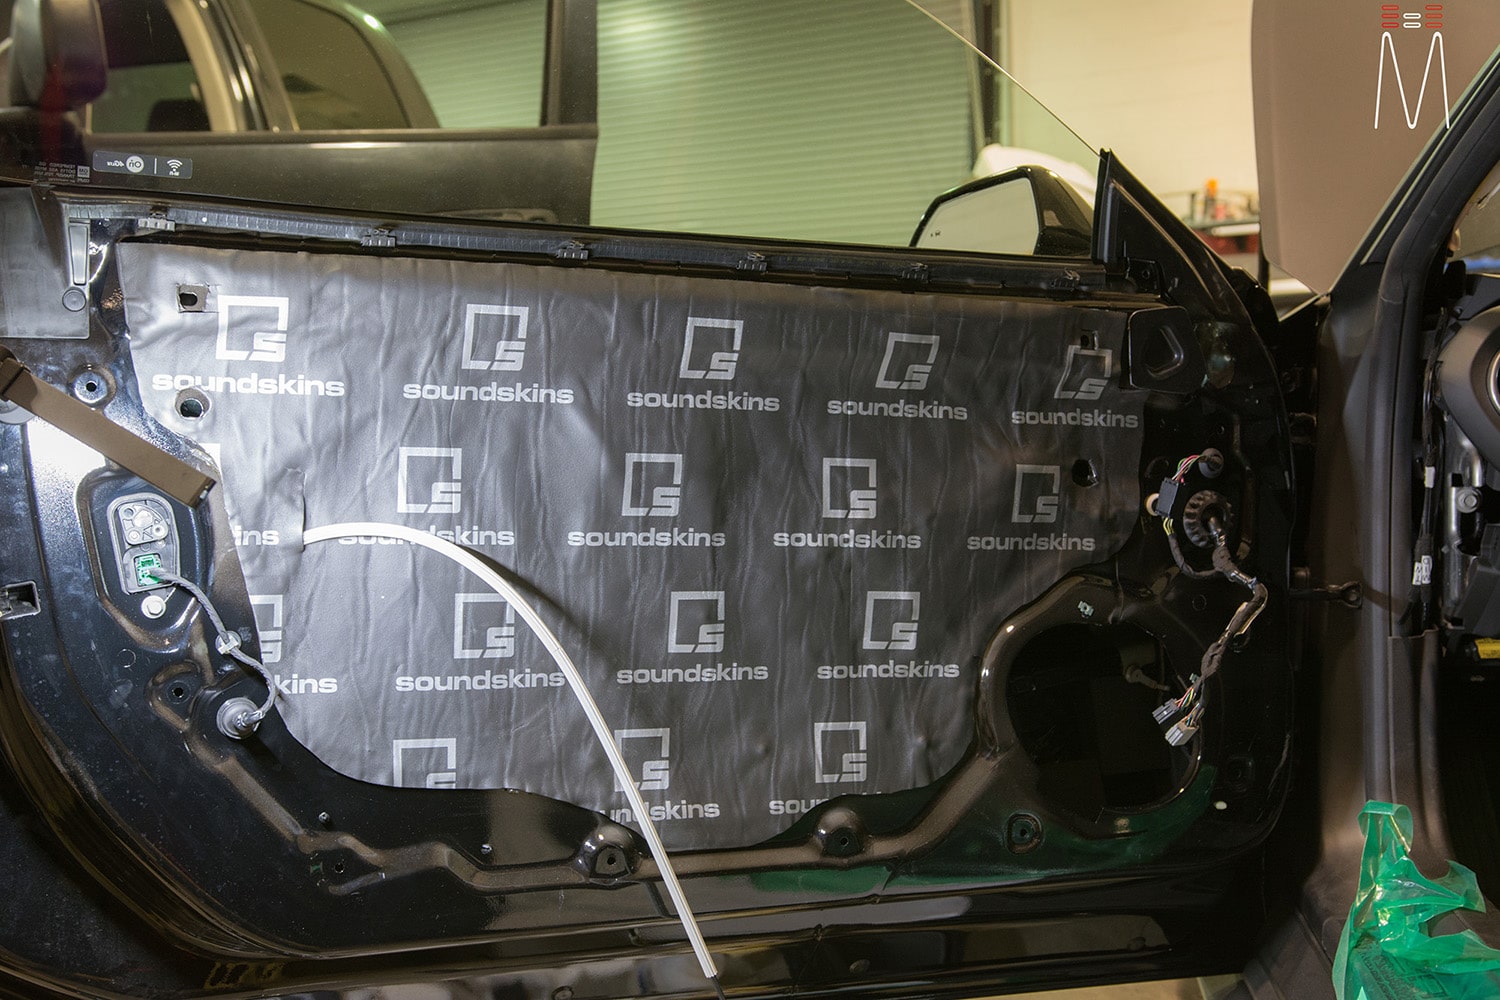
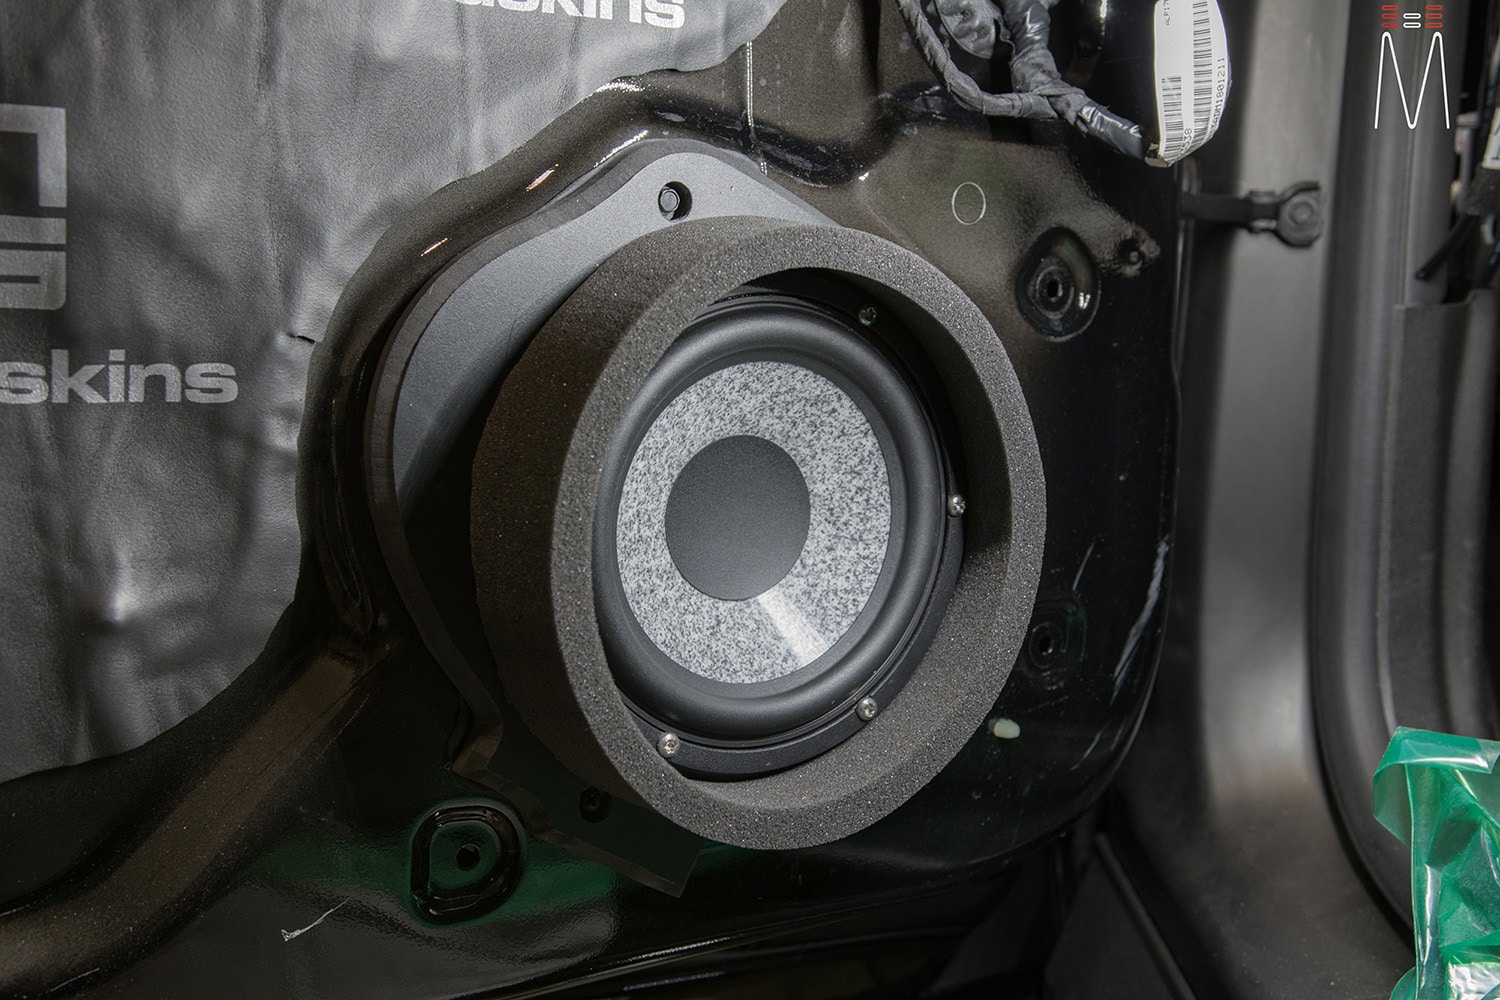
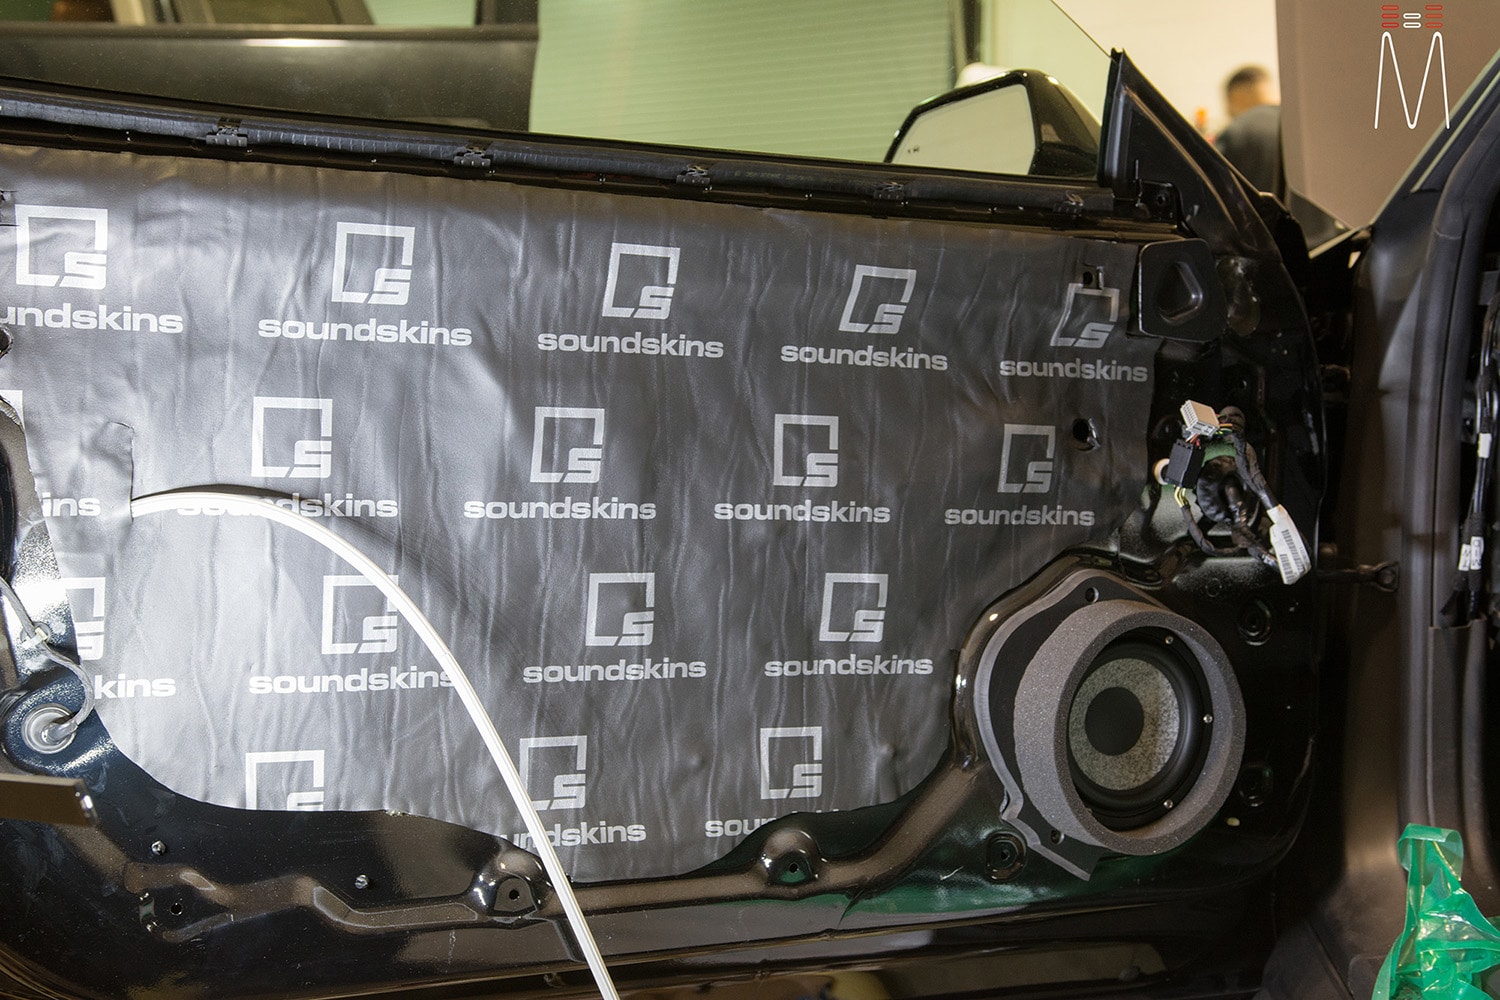
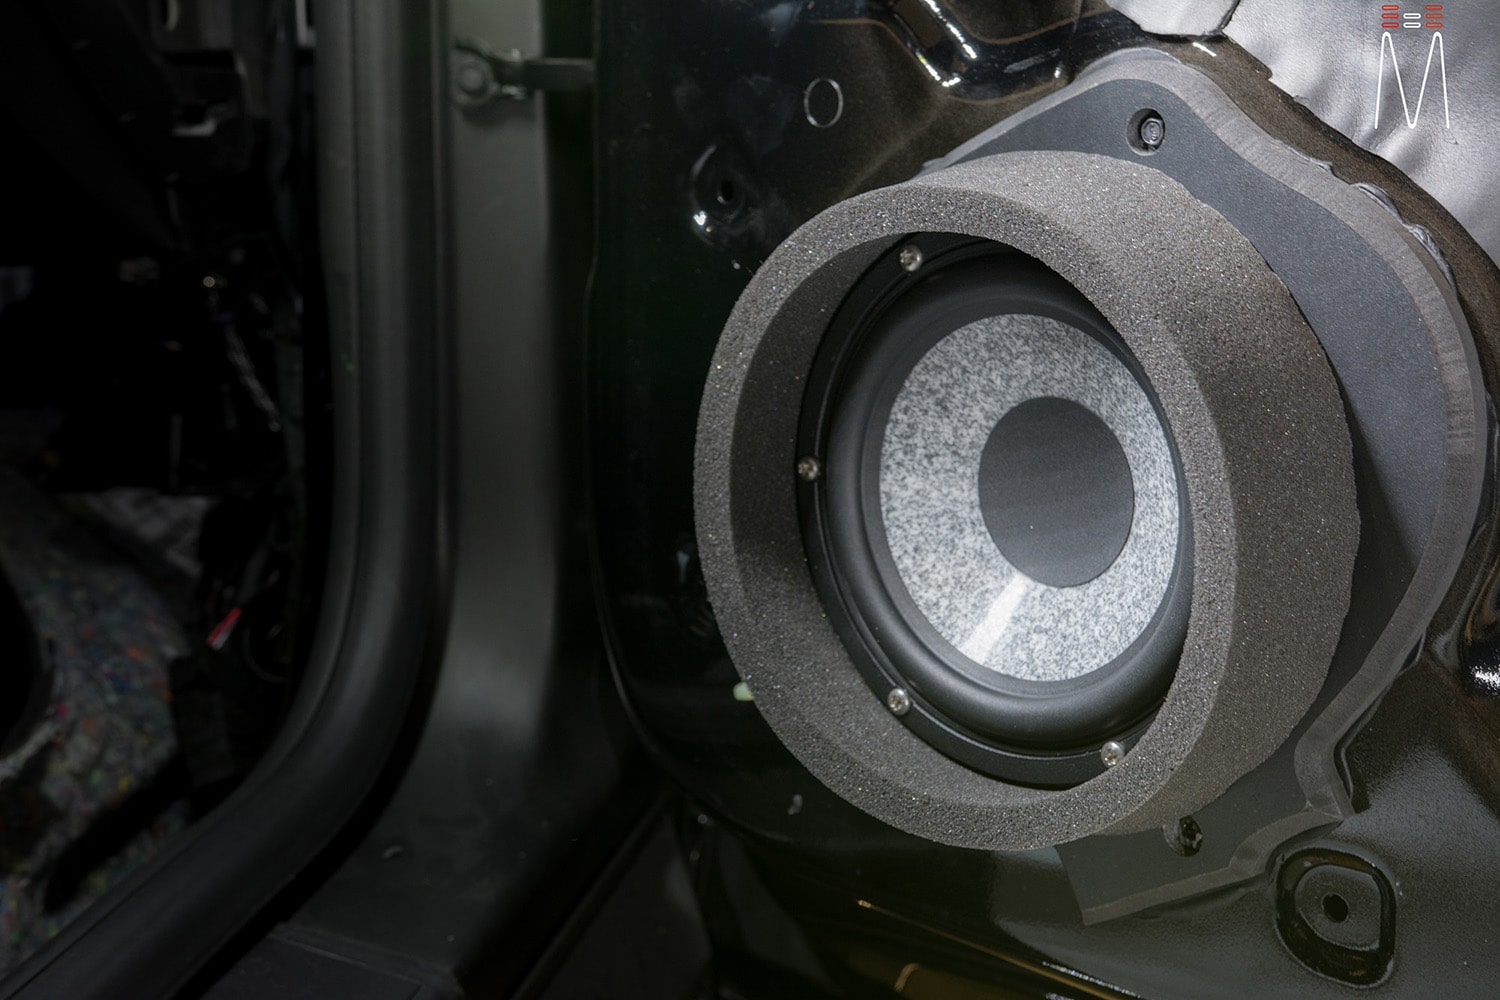
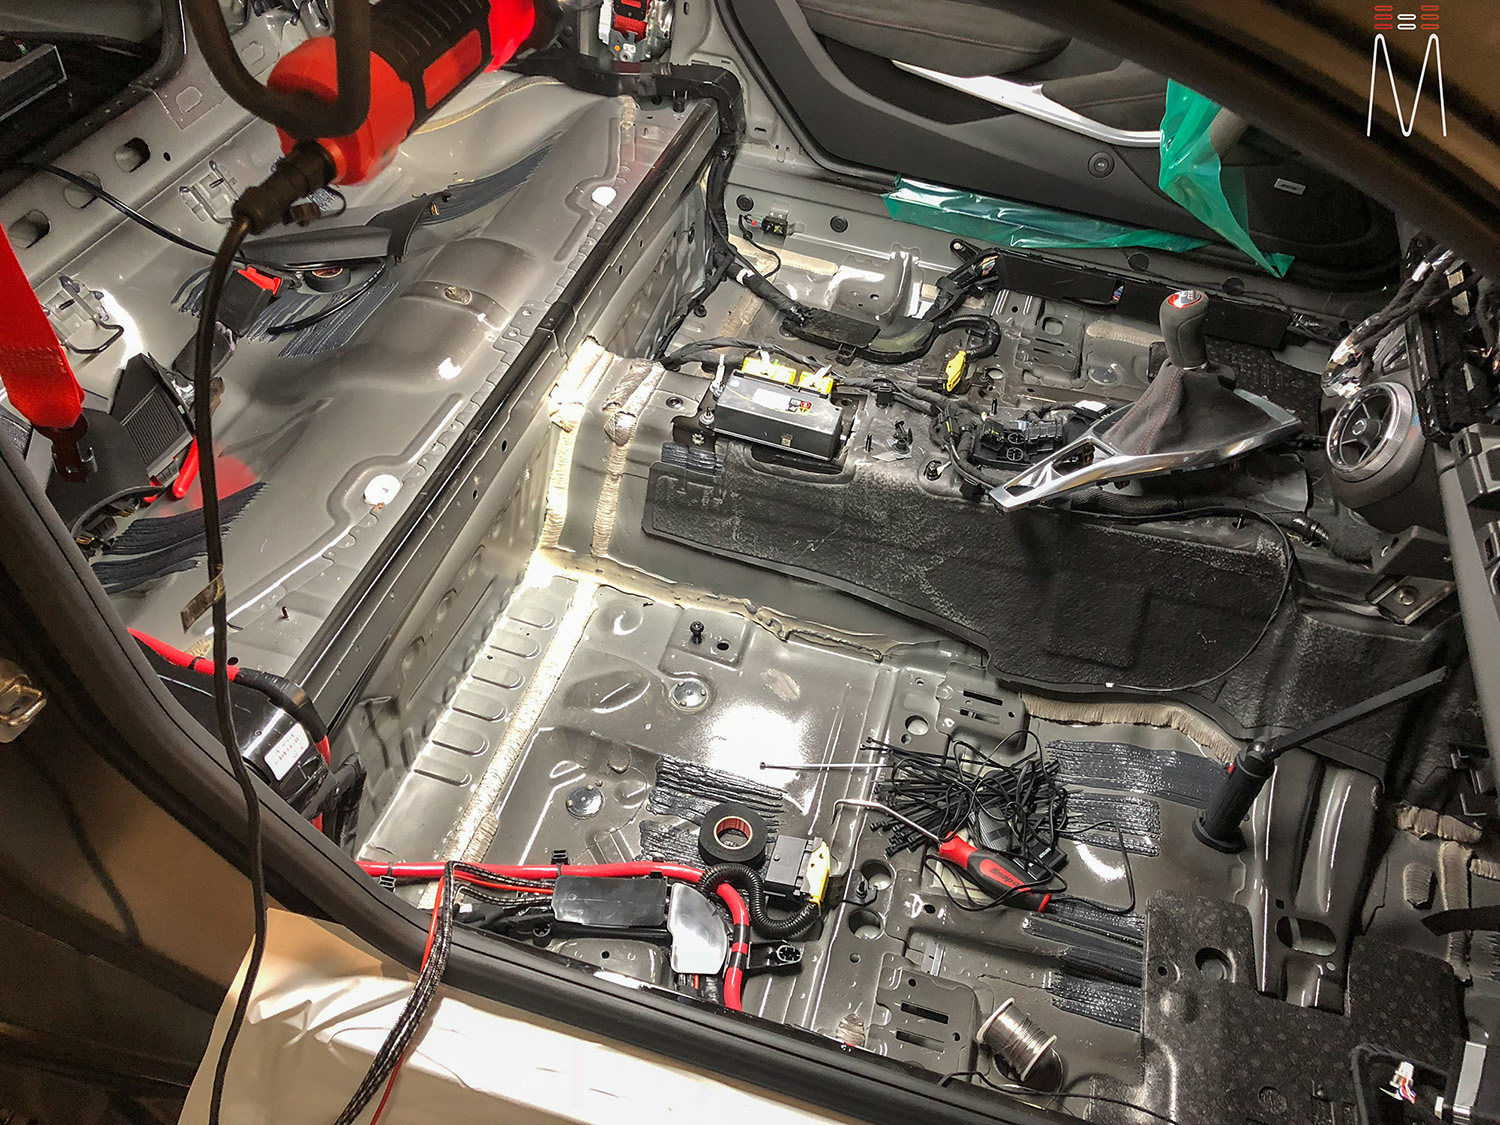
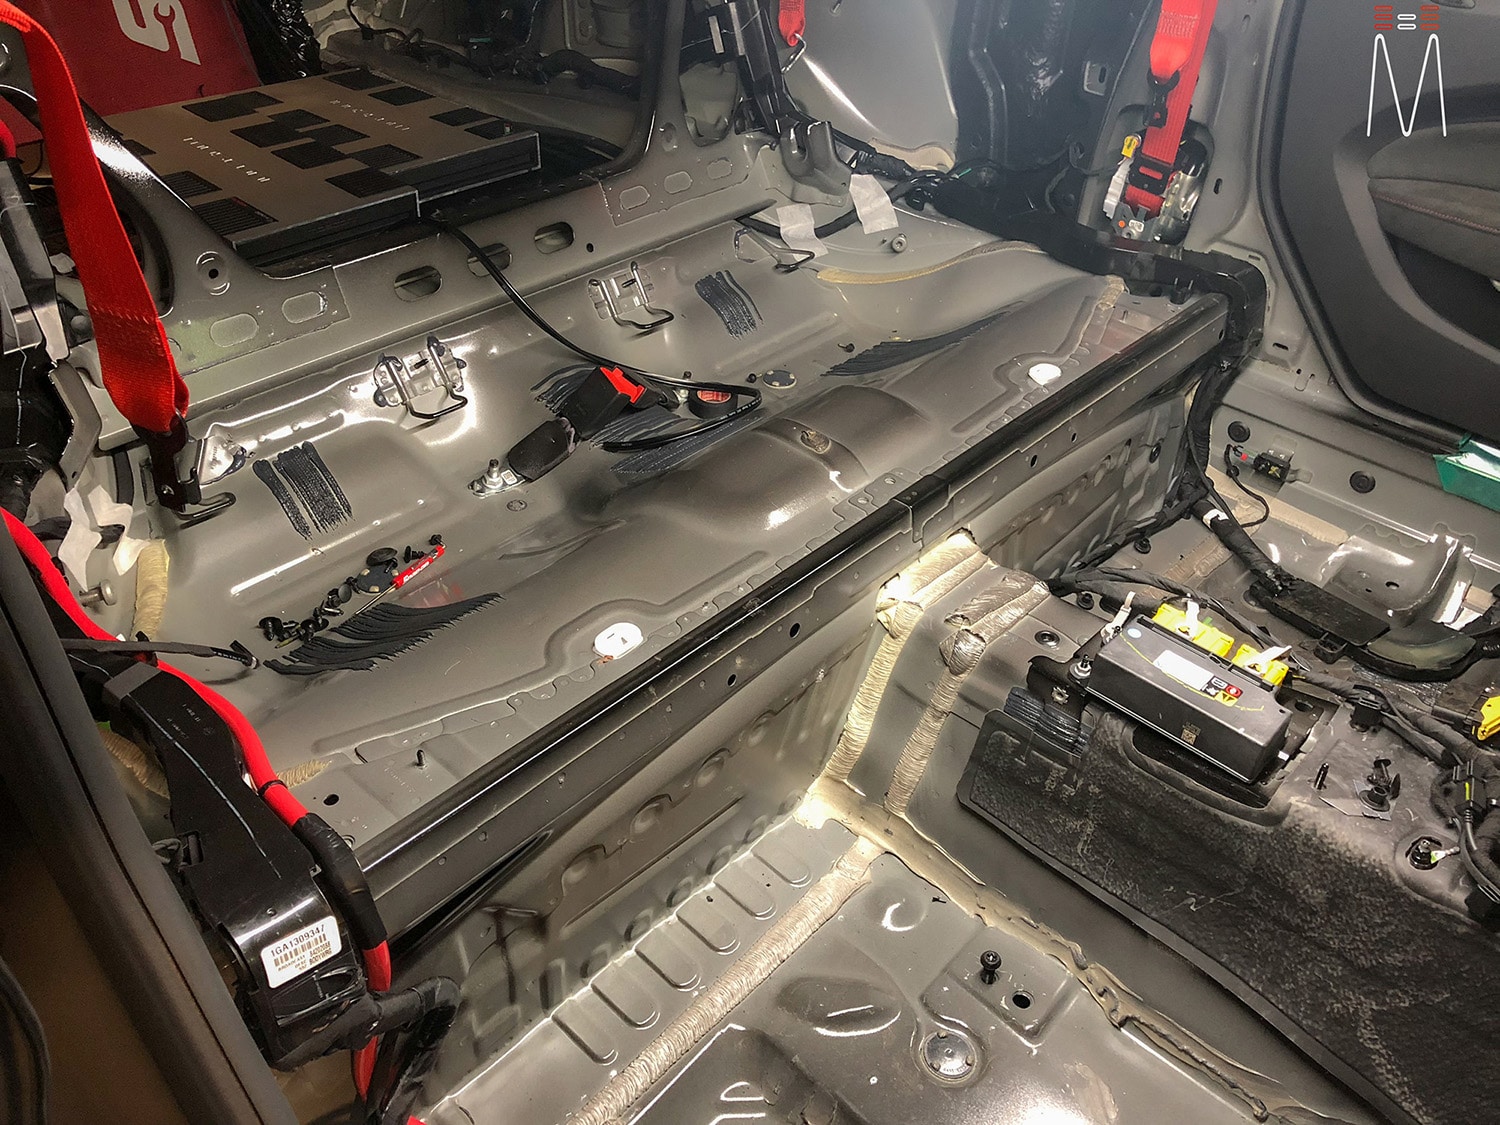
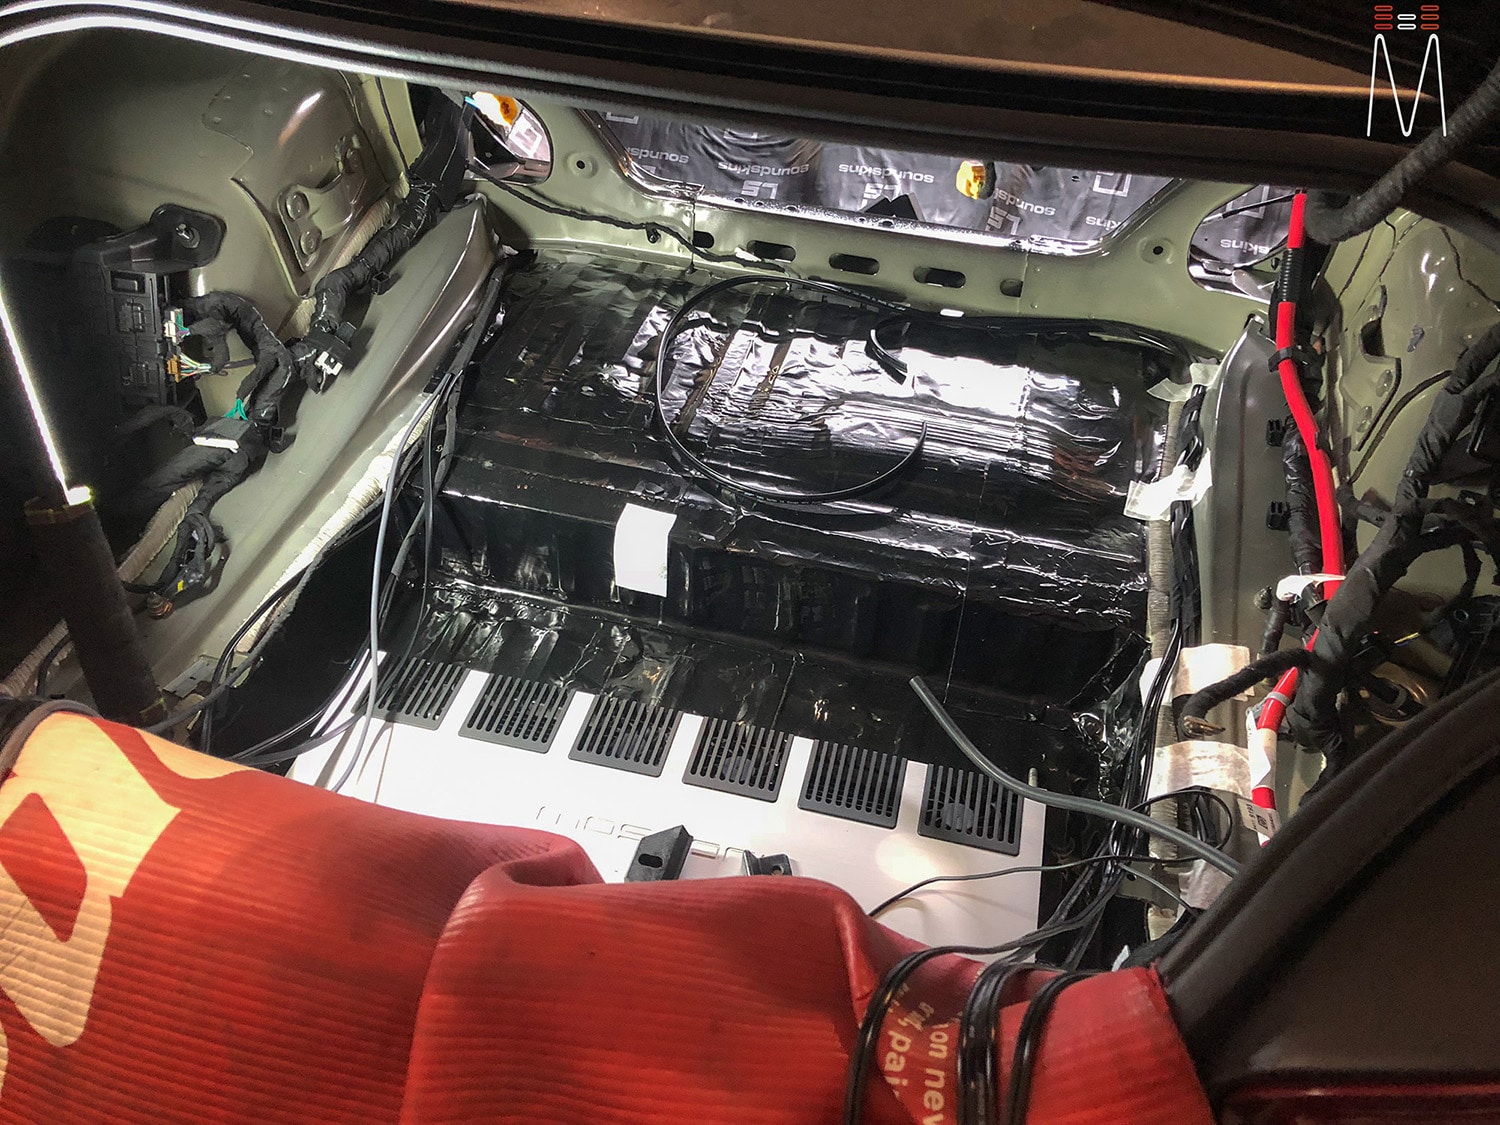
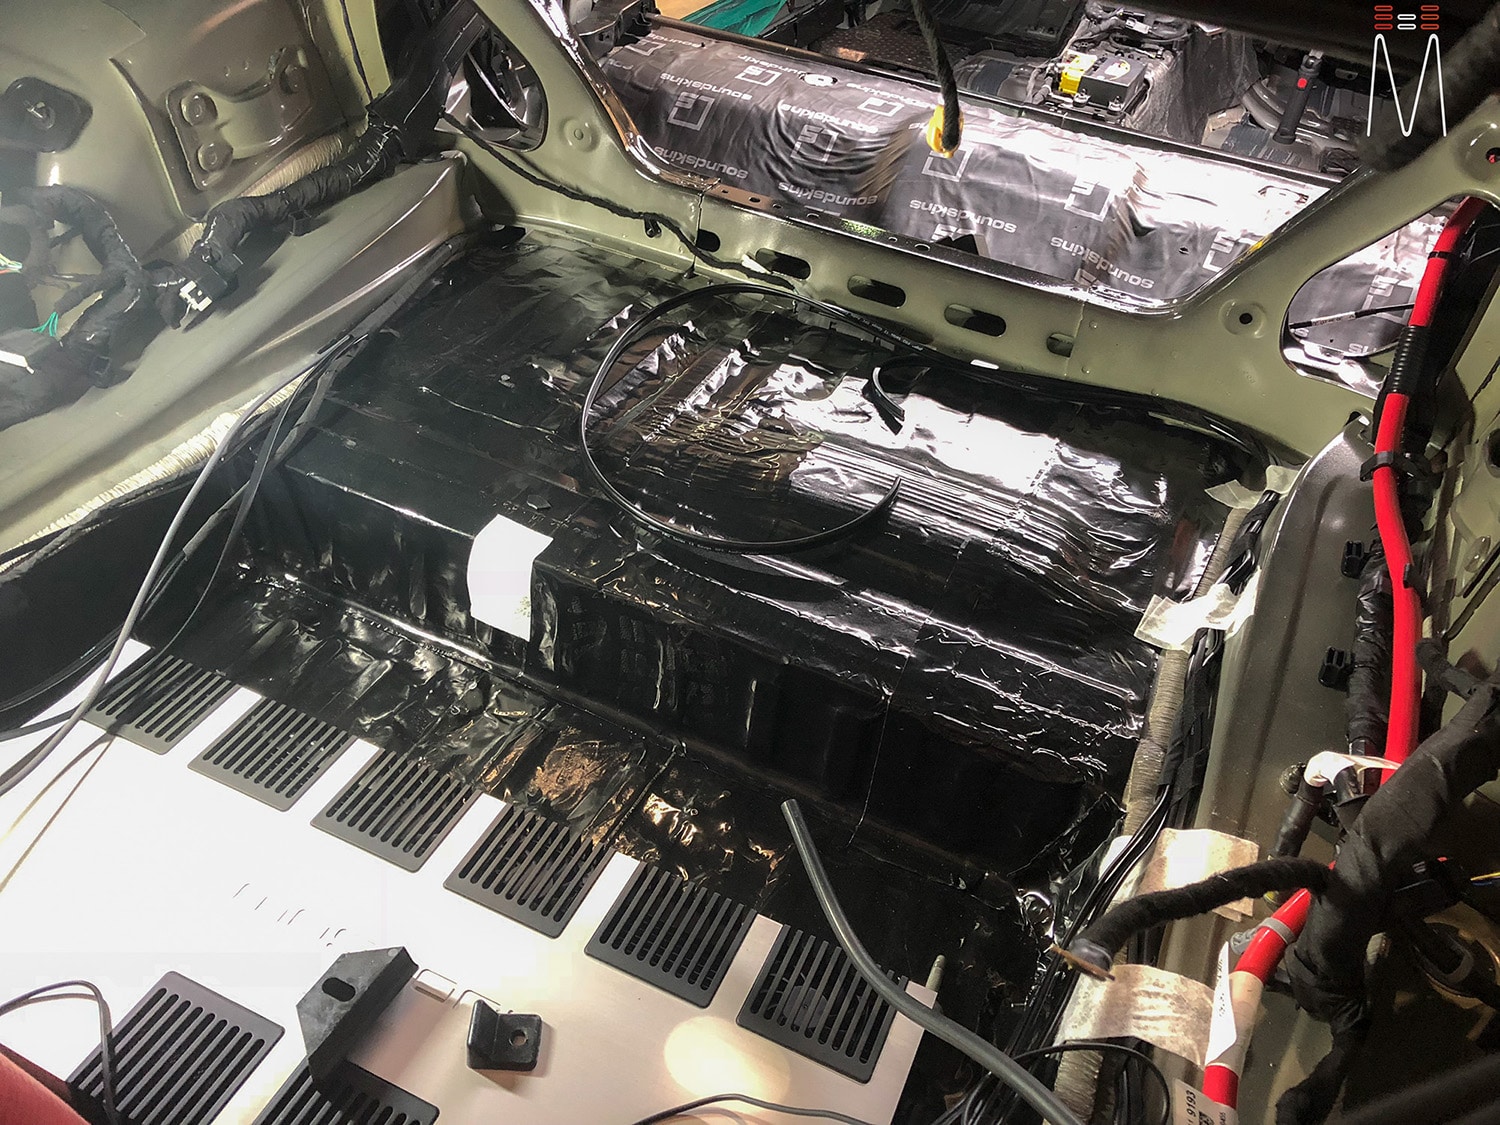
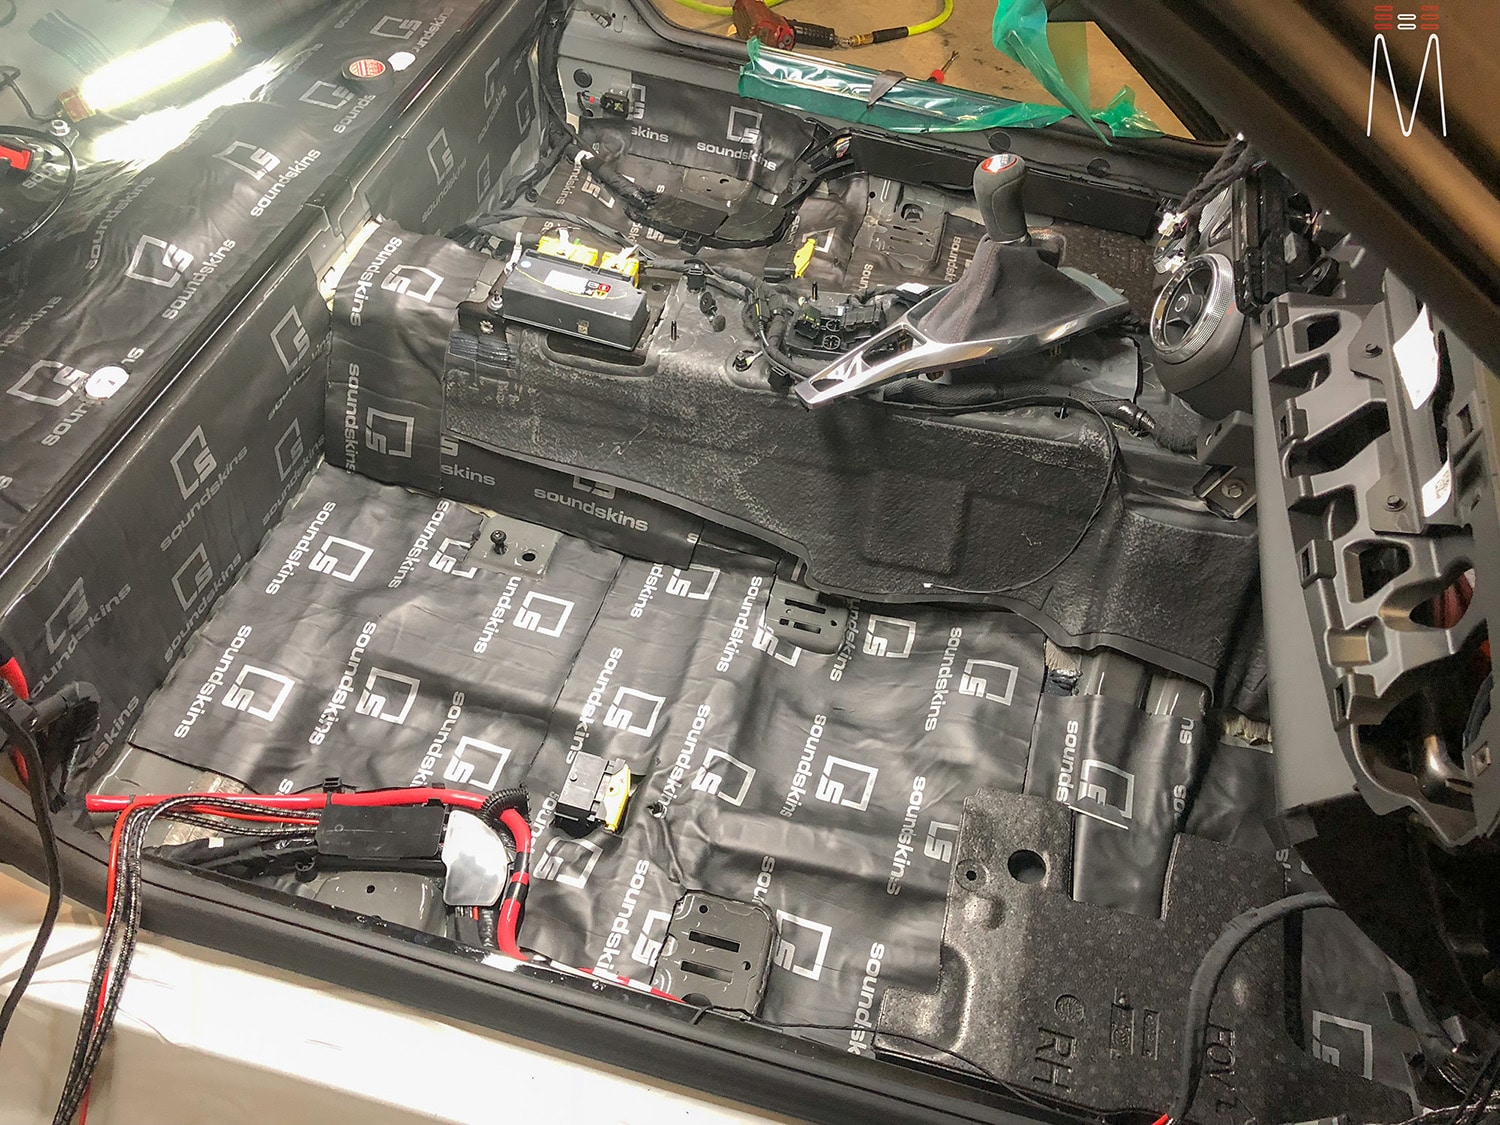
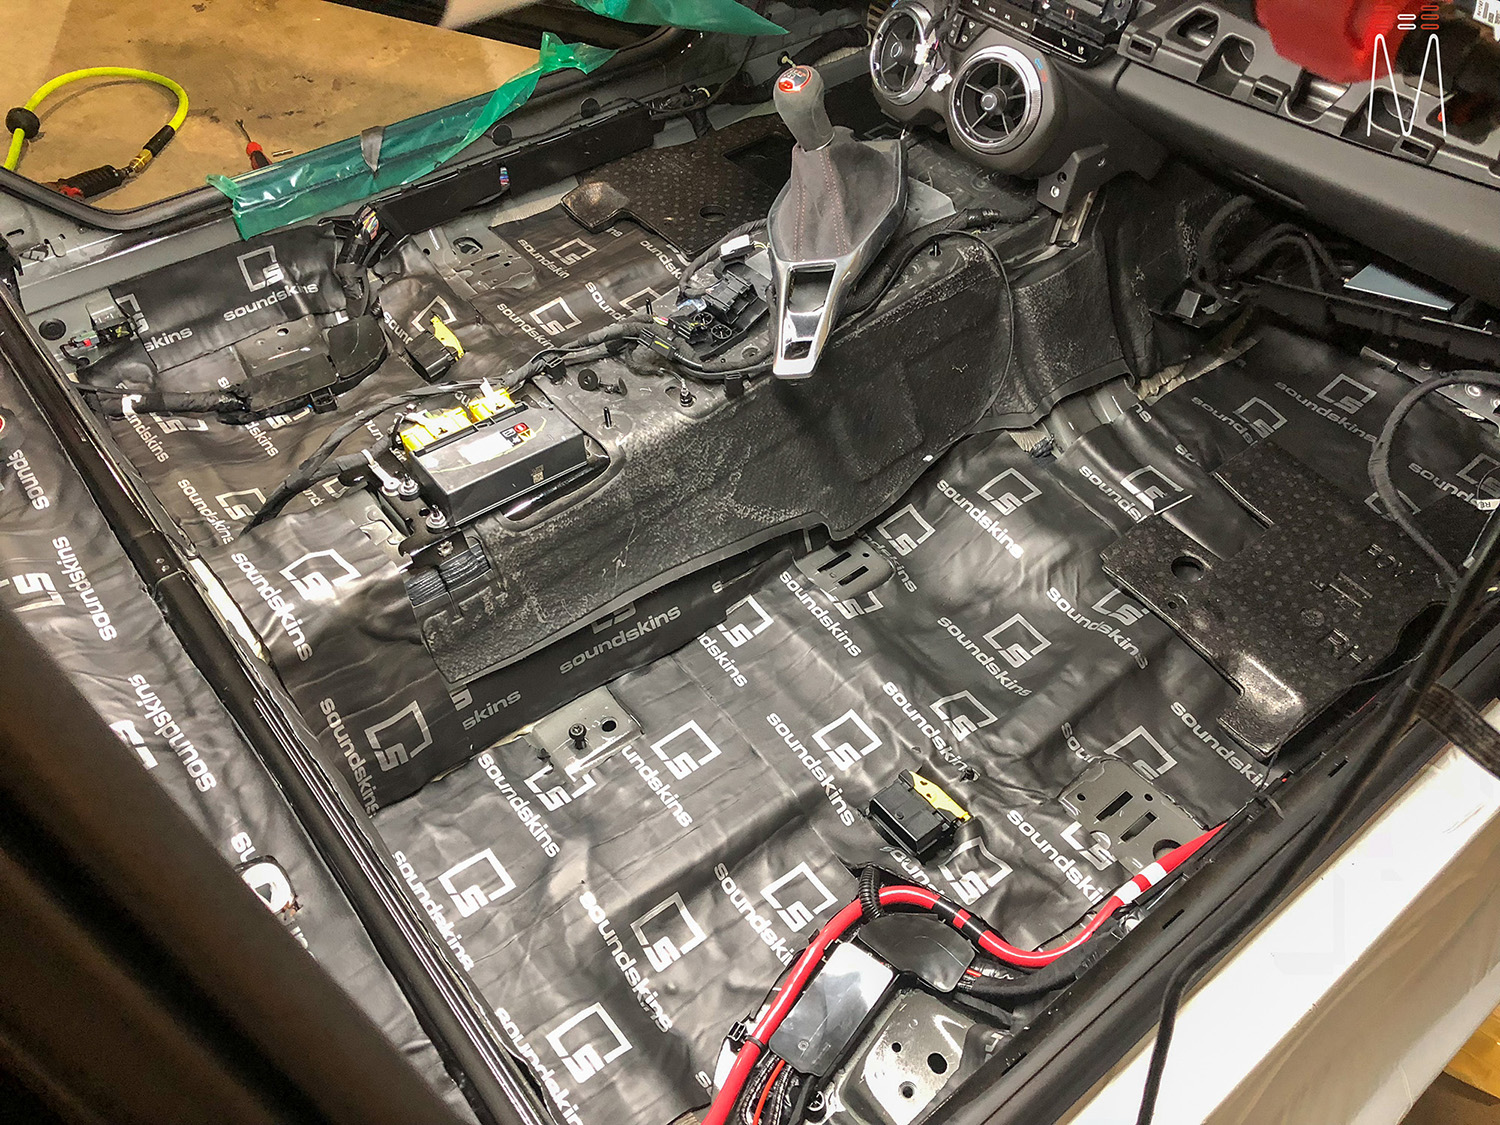
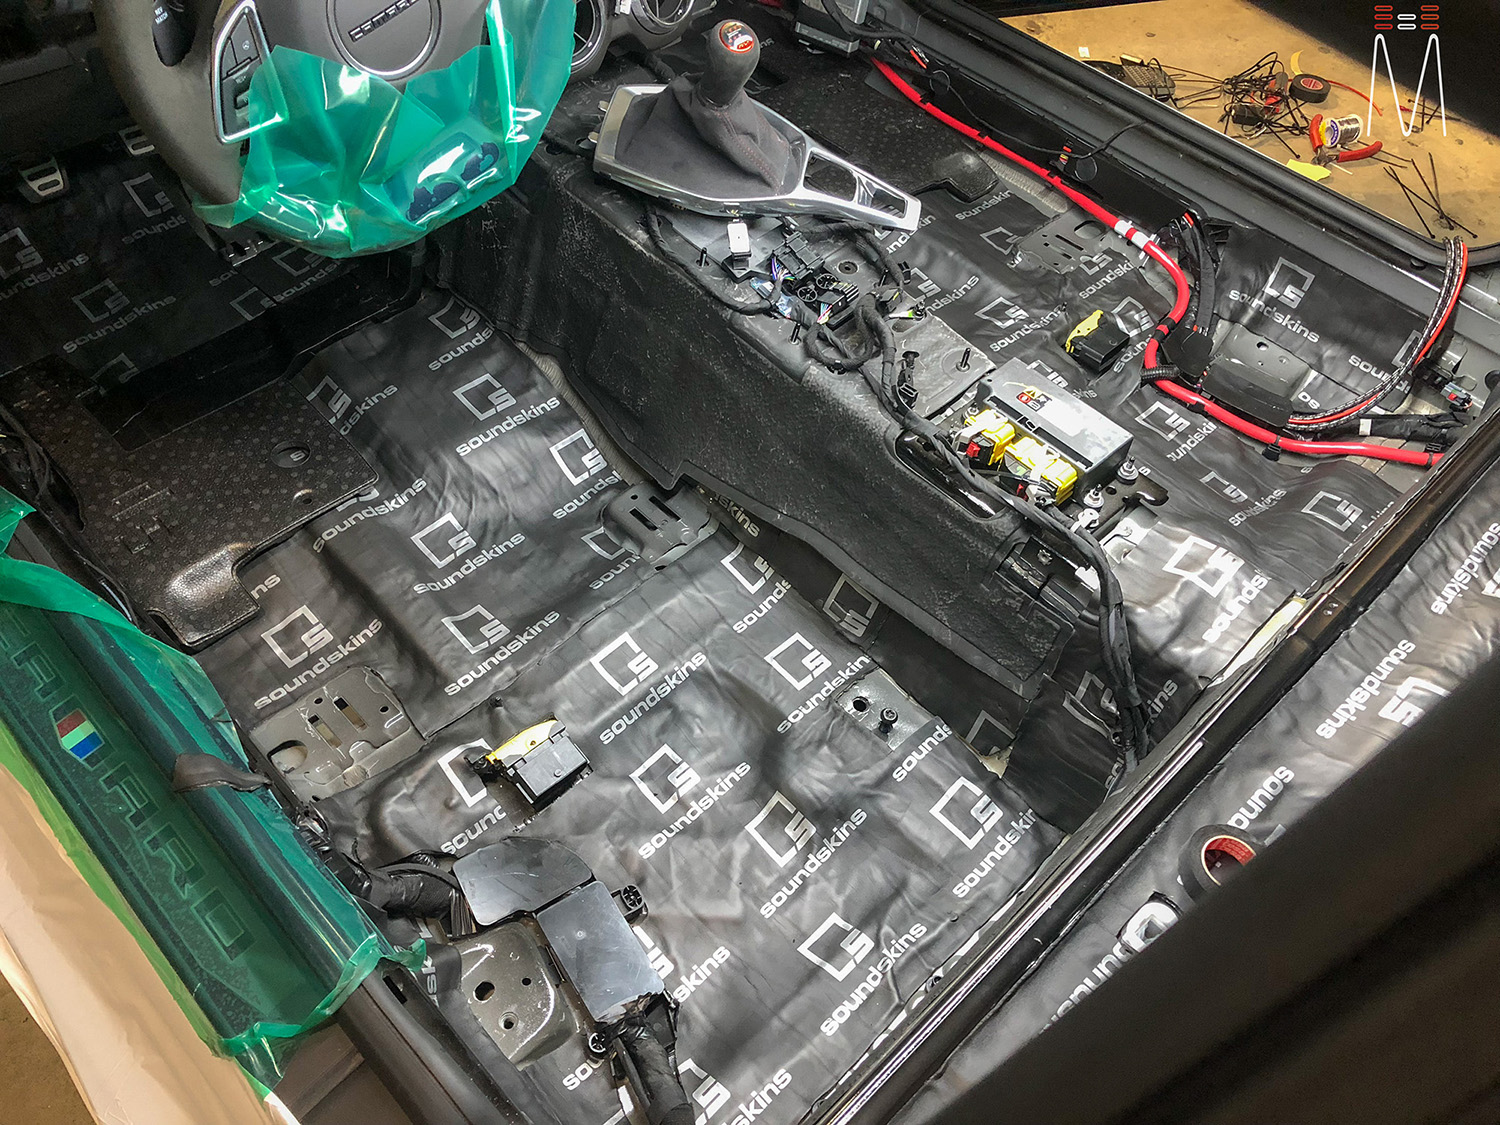
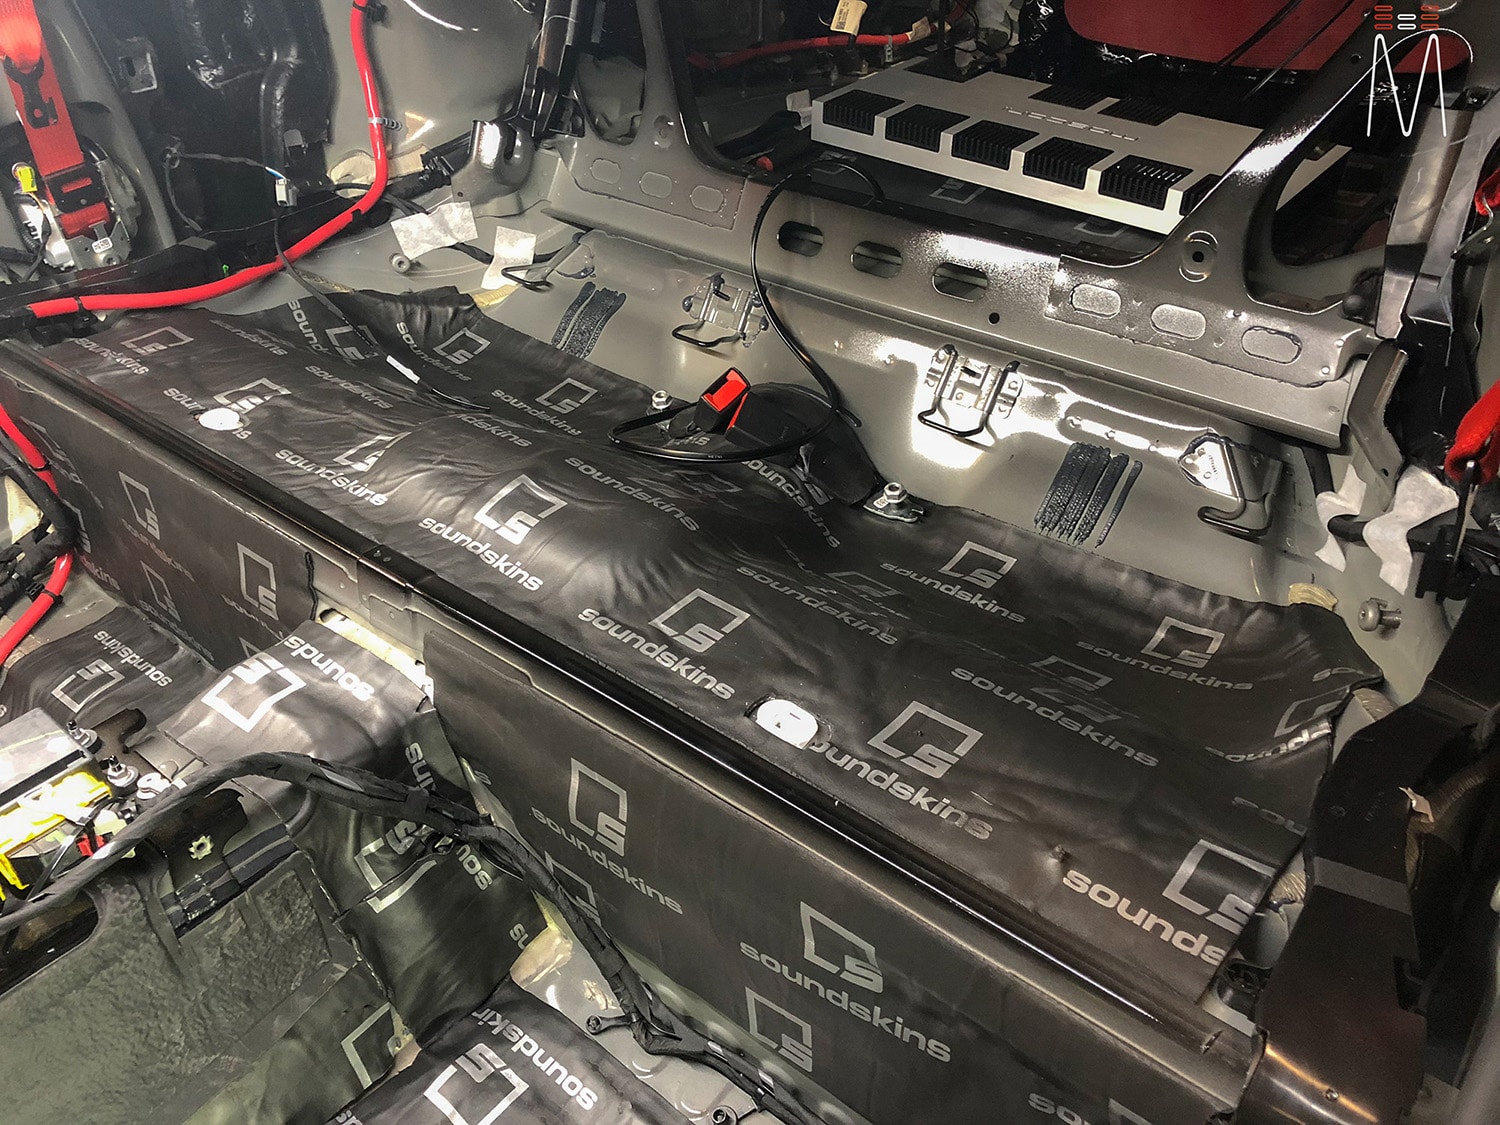
Starting with the audio, we completely gutted the interior and sound dampin the car with Soundskins Pro. This ensures that we will have a much quieter environment to enjoy the subtle nuances of our audio system. The front stage consists of a Focal Utopia No.7 3 way speaker set run fully active. We used a simple set of Focal Integration speakers to replace the rear speakers.
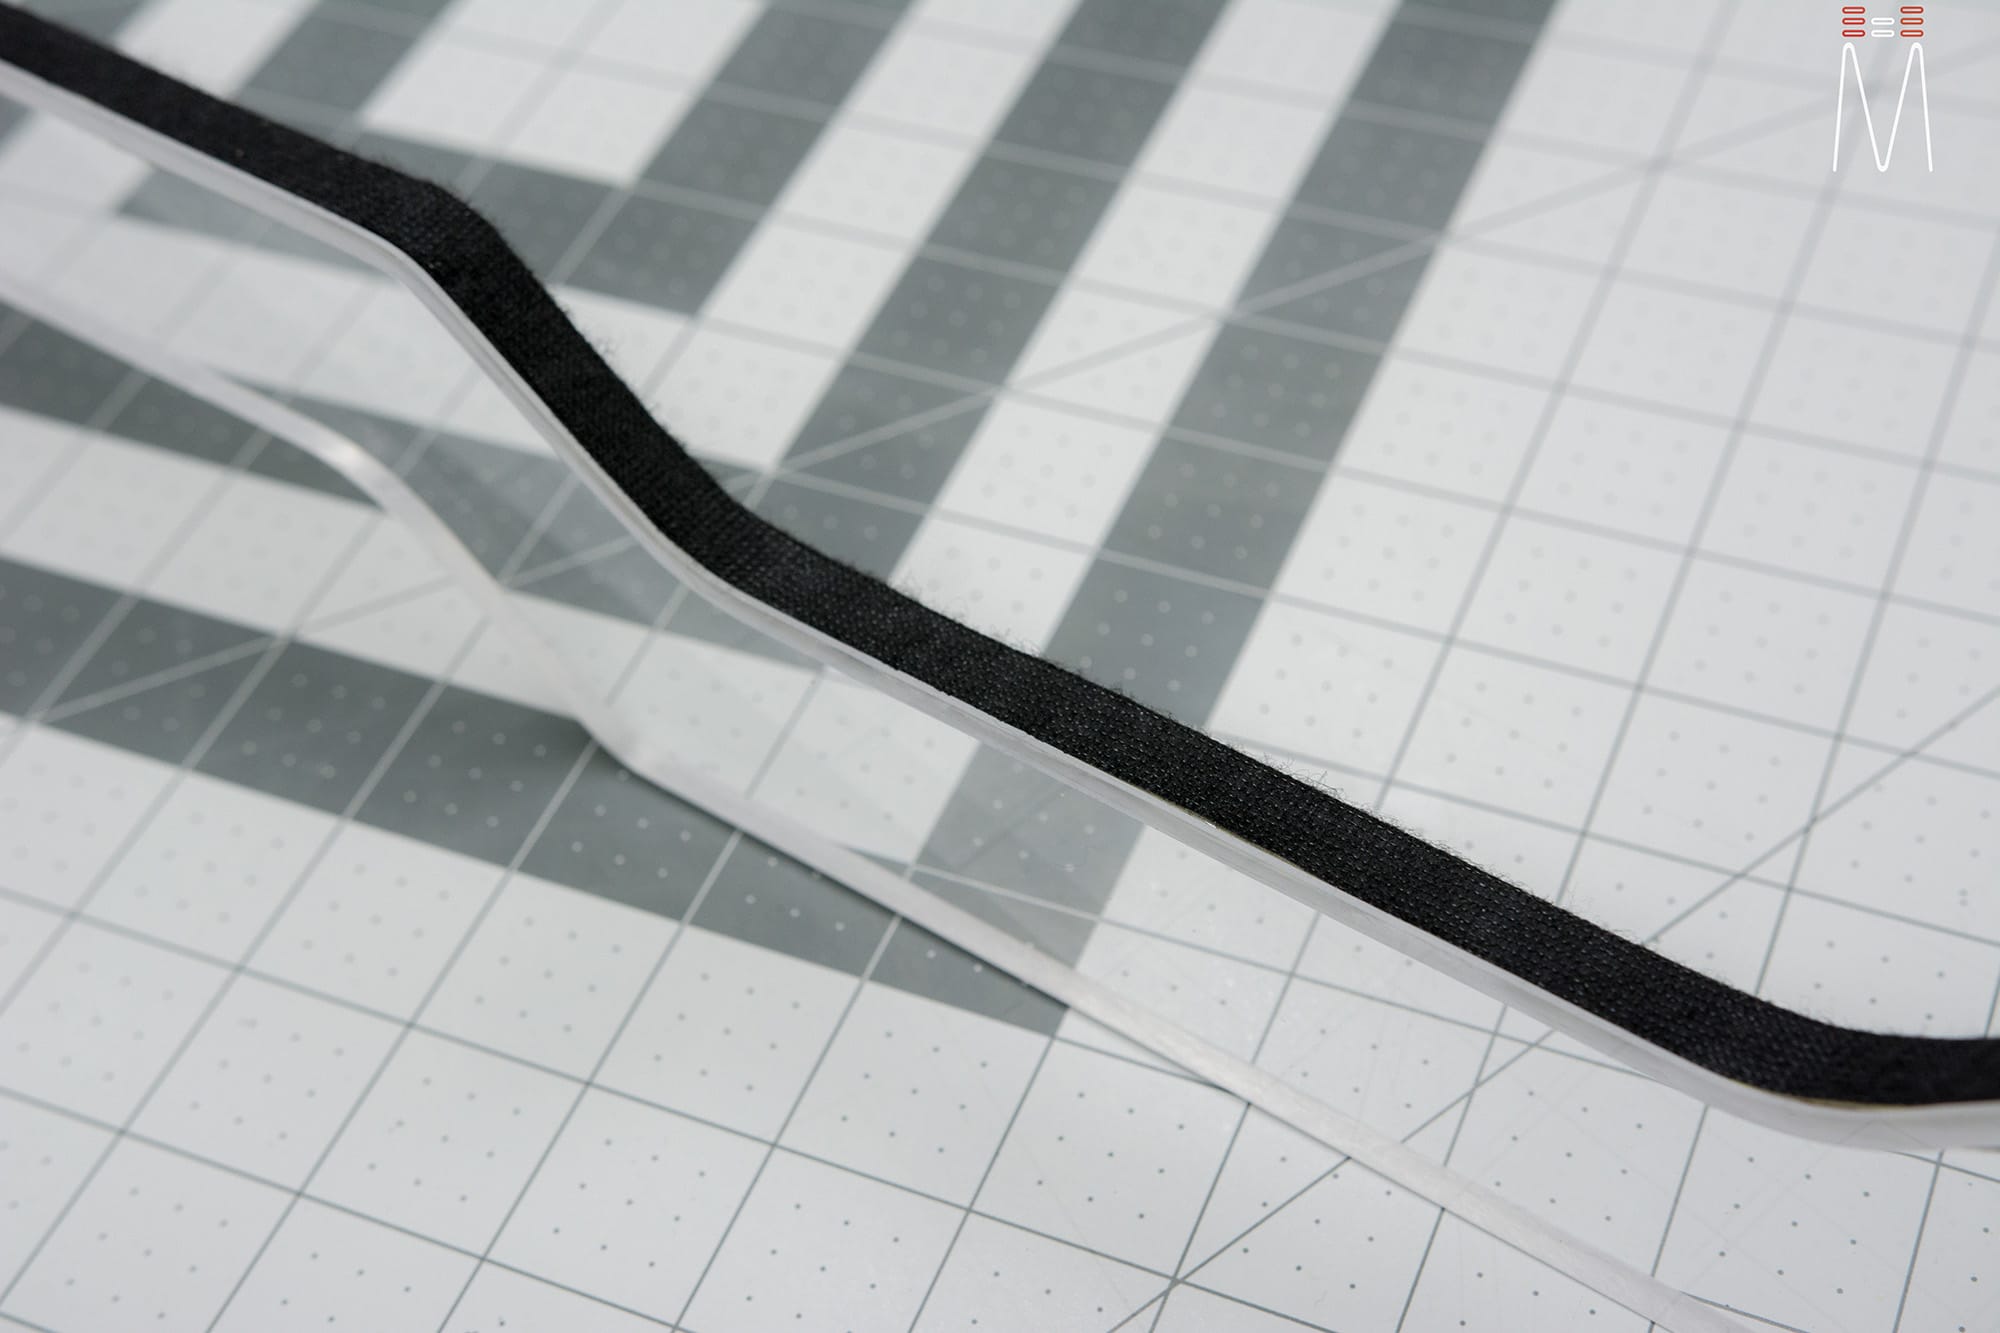
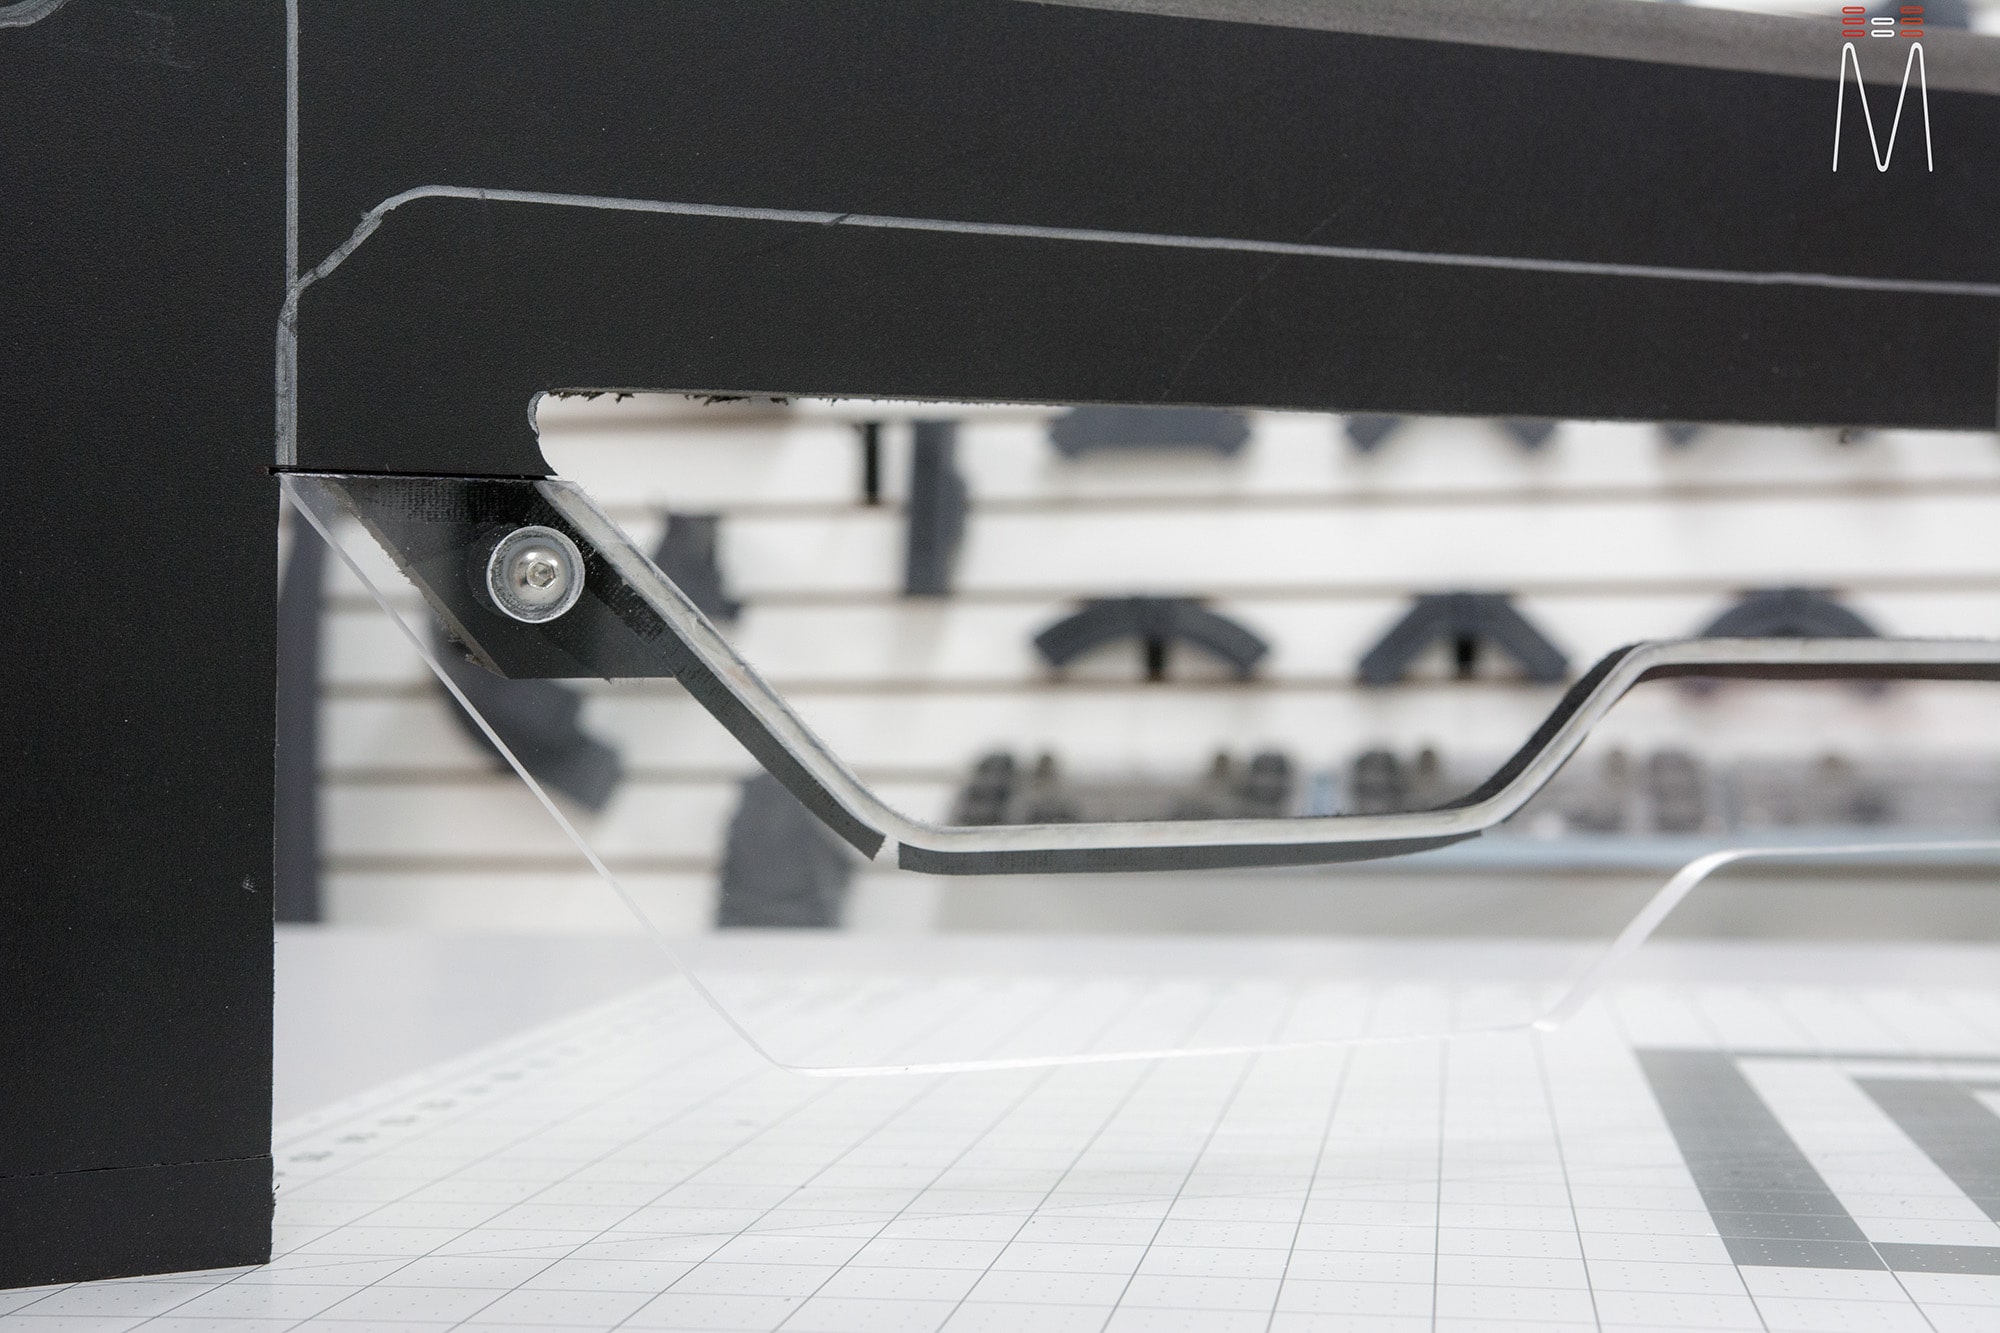
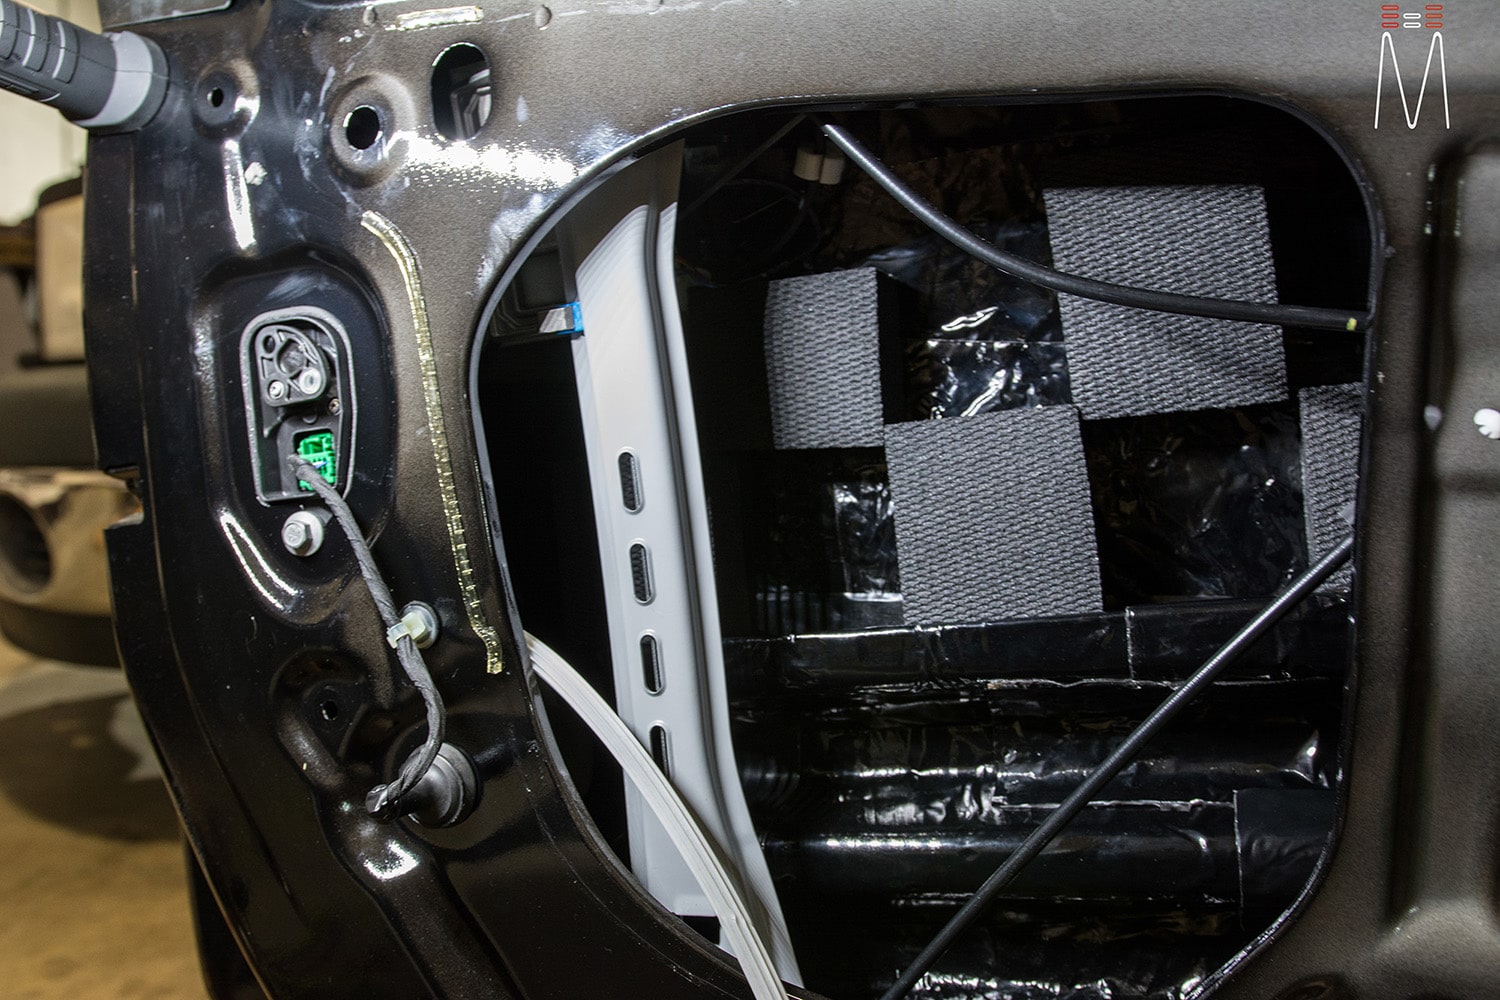
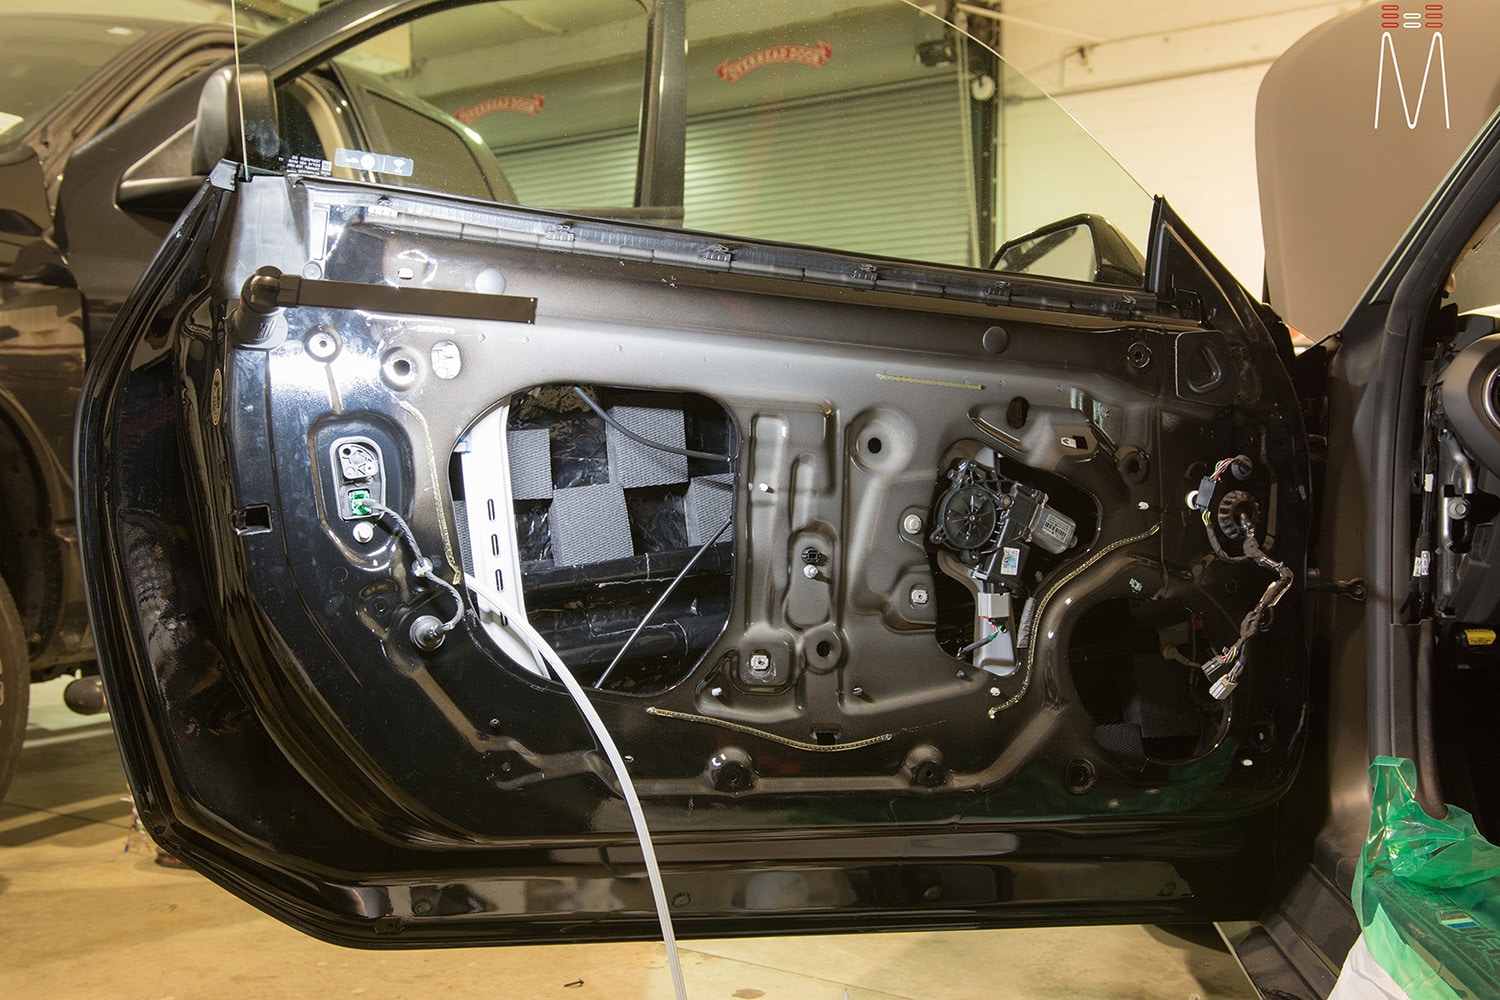
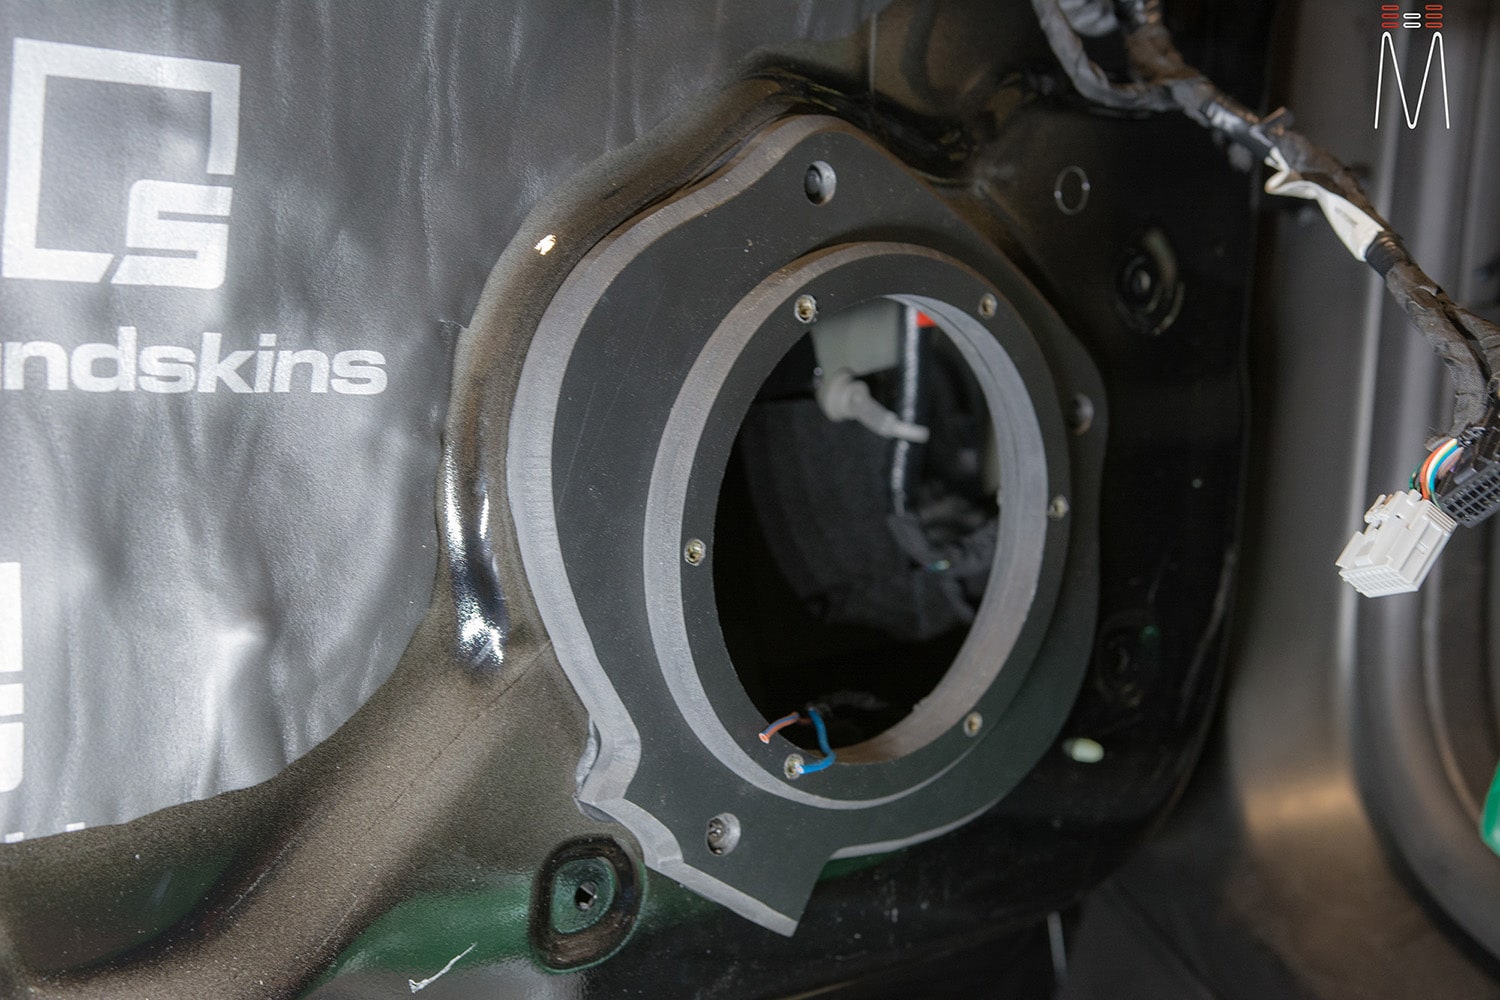
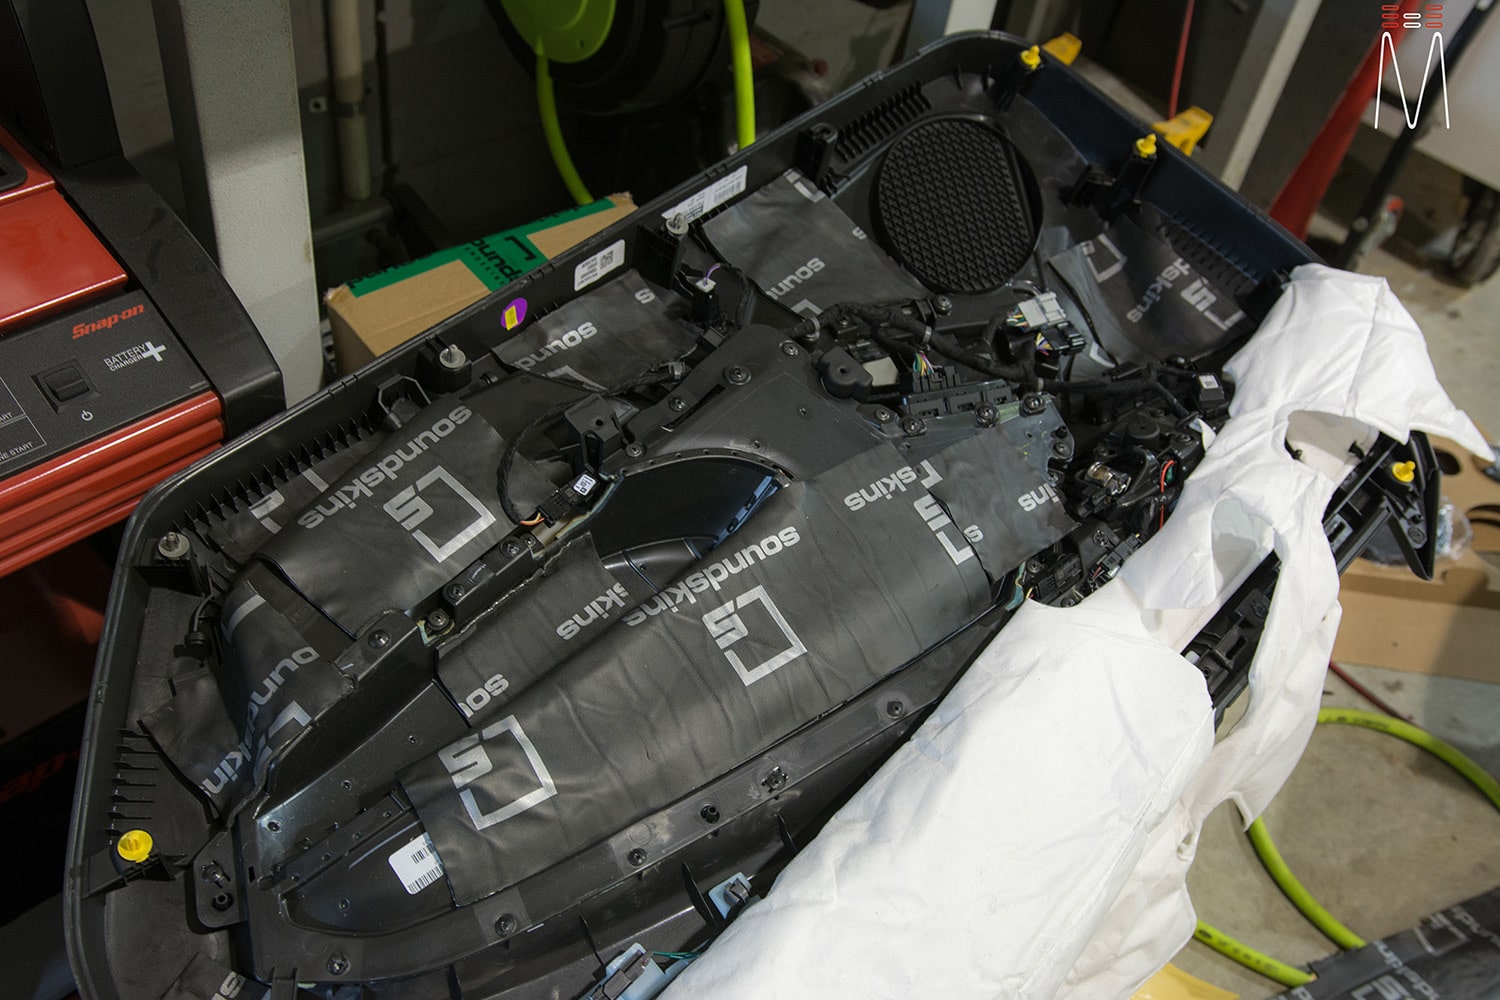
The OEM interior plastic panels were also treated with Soundskins Pro to eliminate any potential panel rattle. The inner doors were treated with Blackhole Tile to greatly reduce the back wave reflection from the door speakers. Hand fabricated PVC speaker adapters were made to mount our Focal drivers right to the existing bolt holes of the OEM door skin.
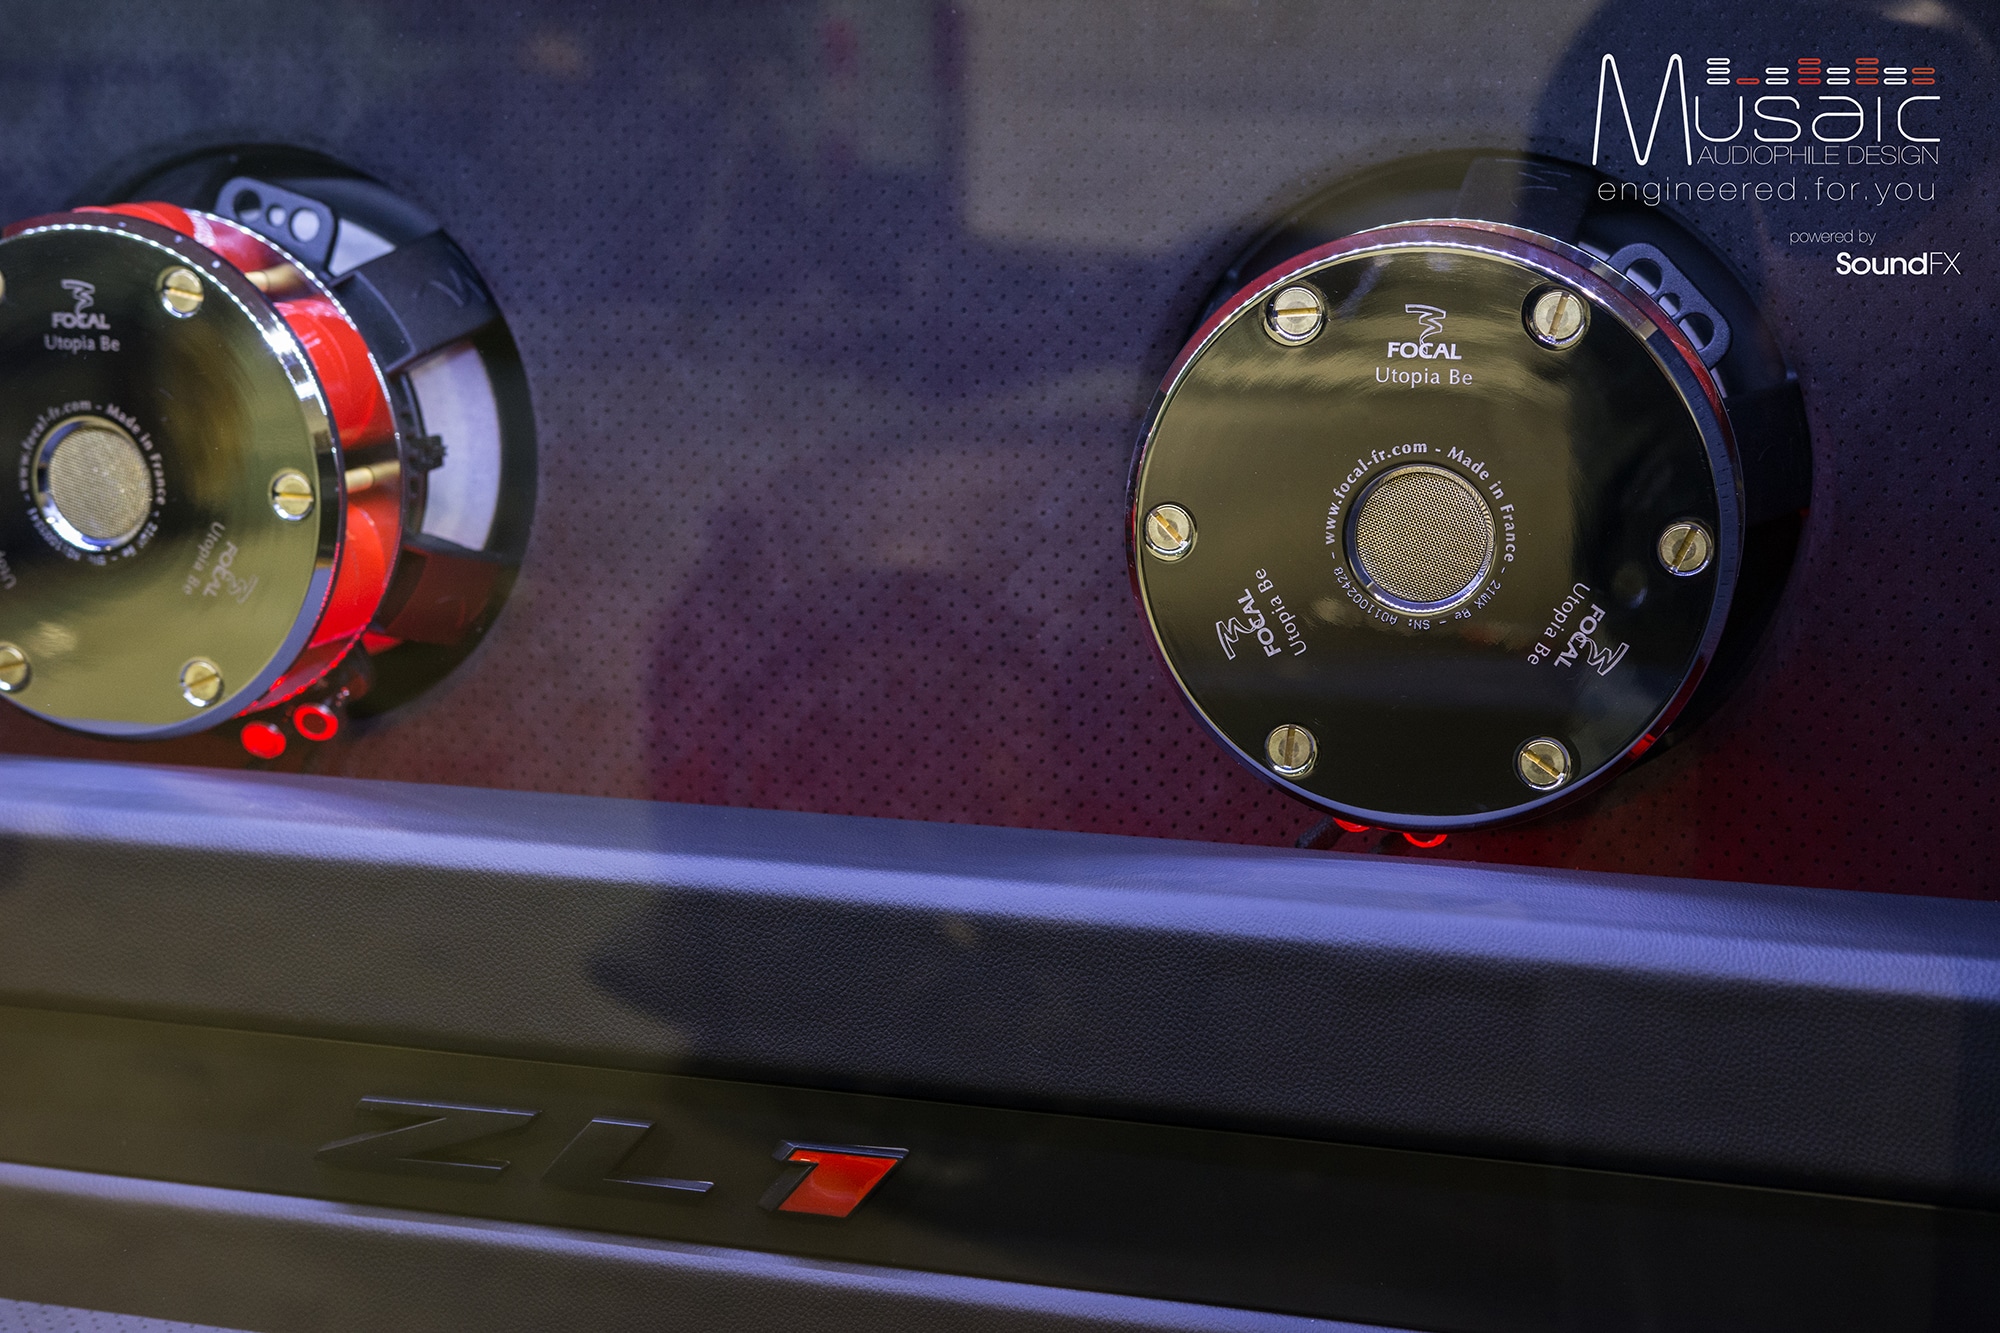
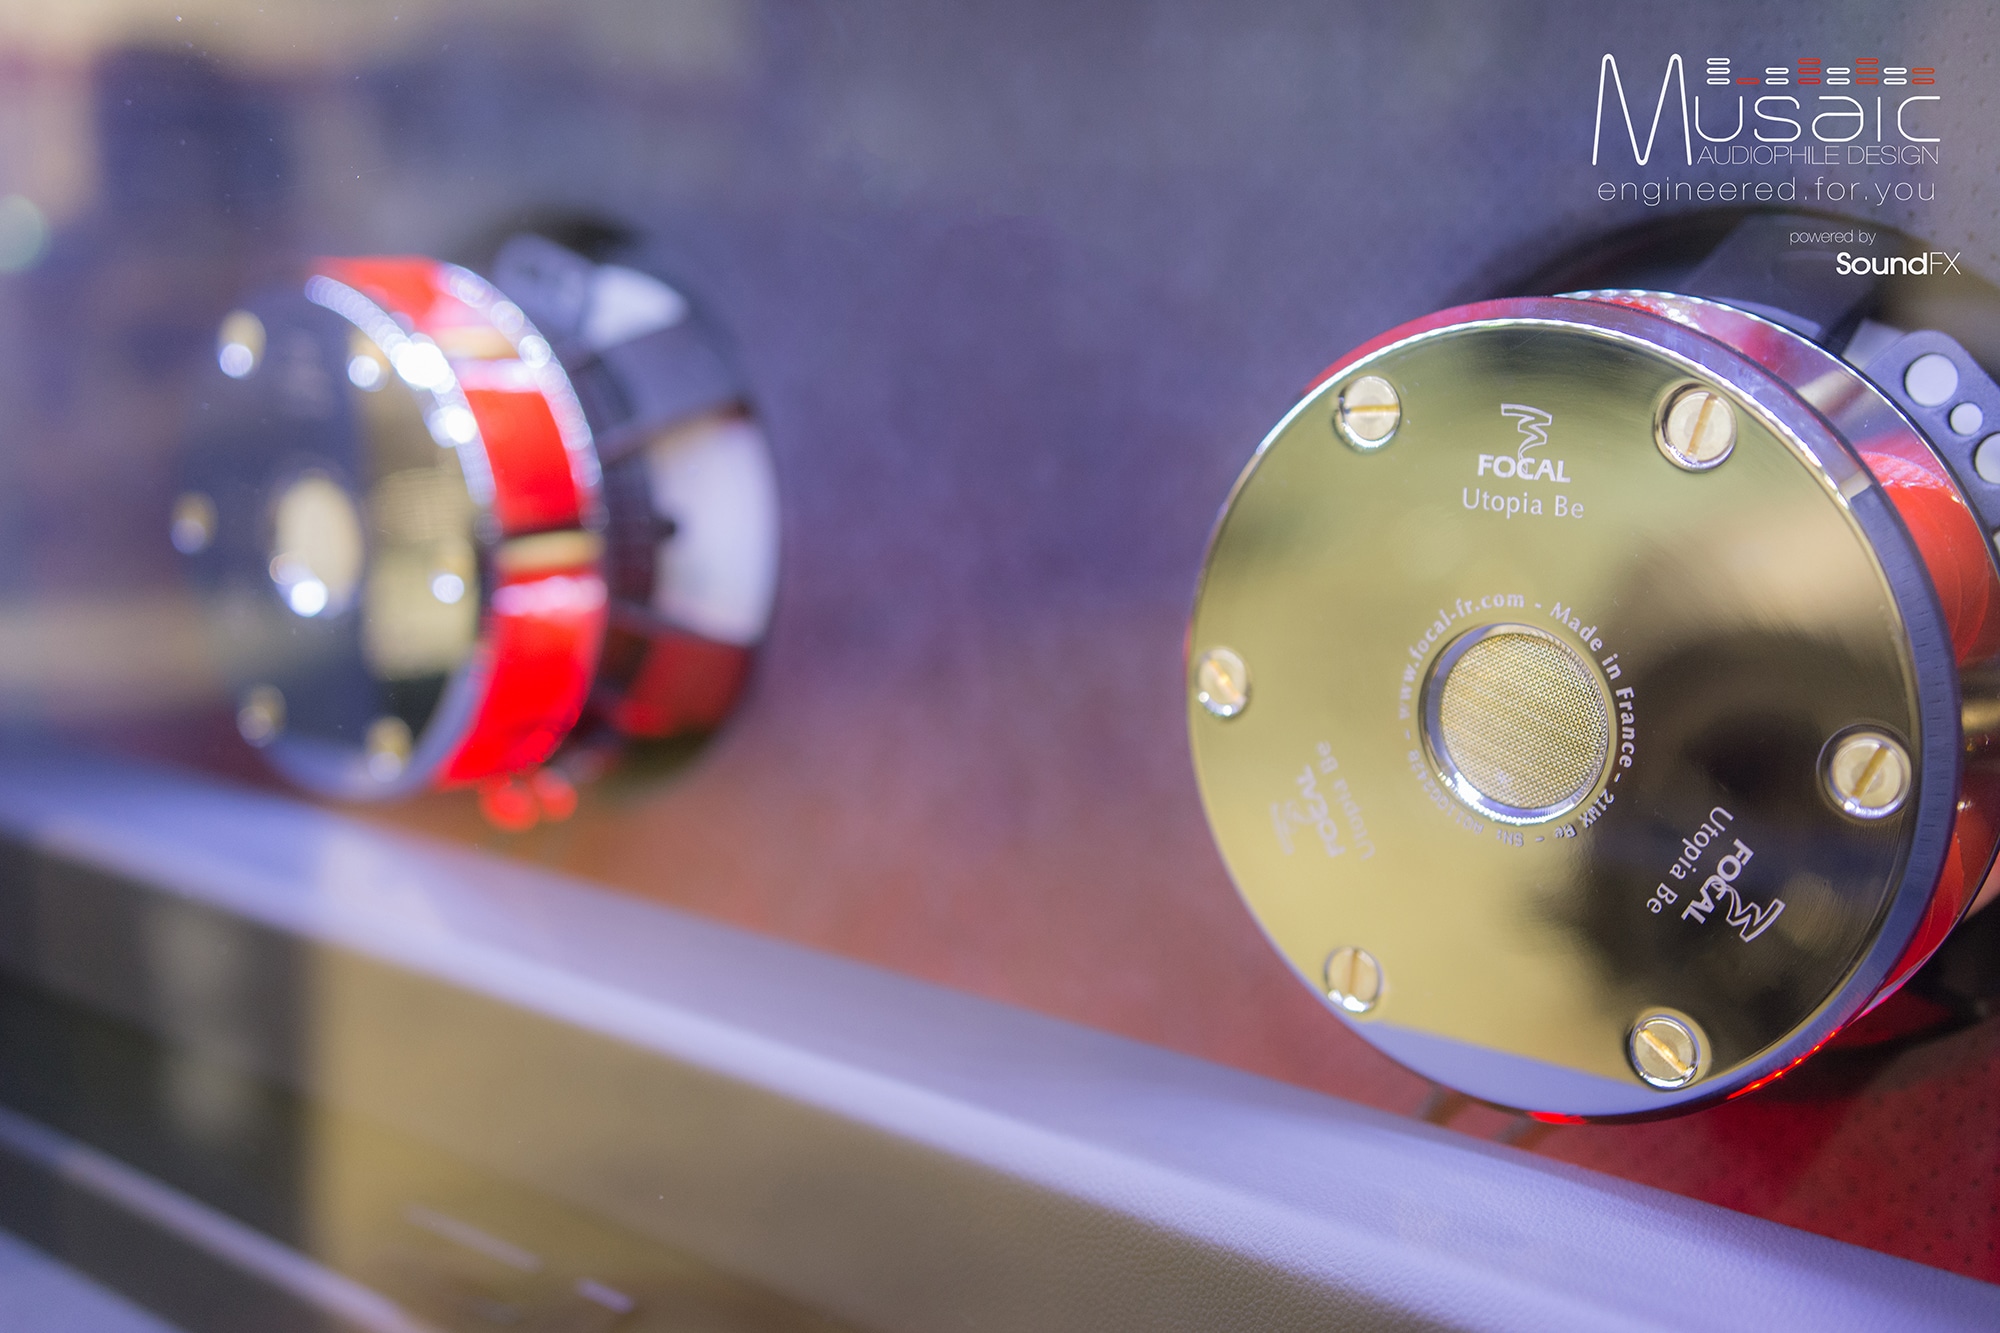
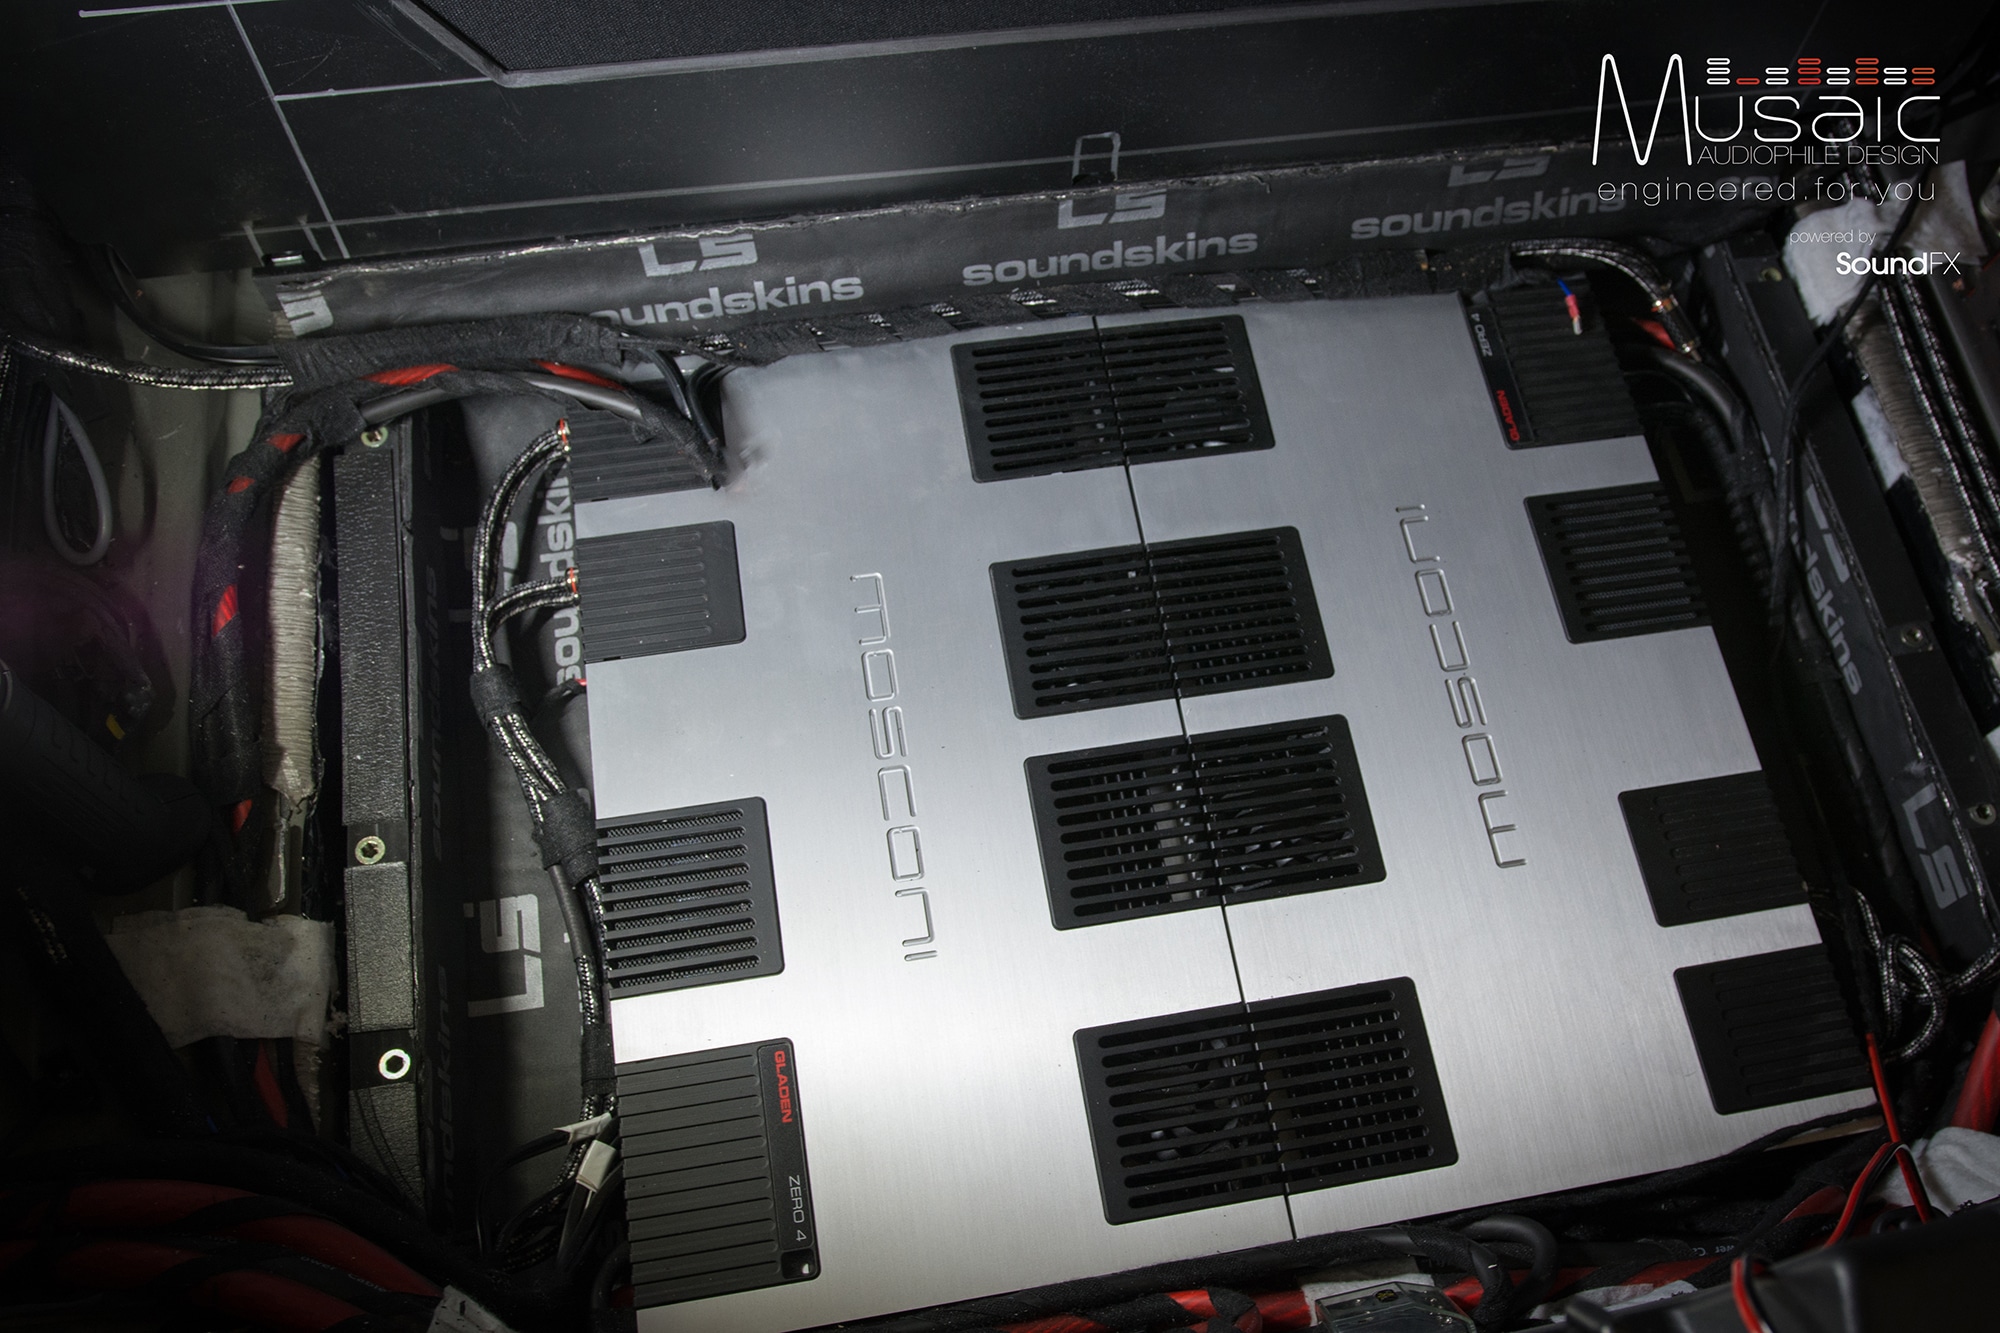
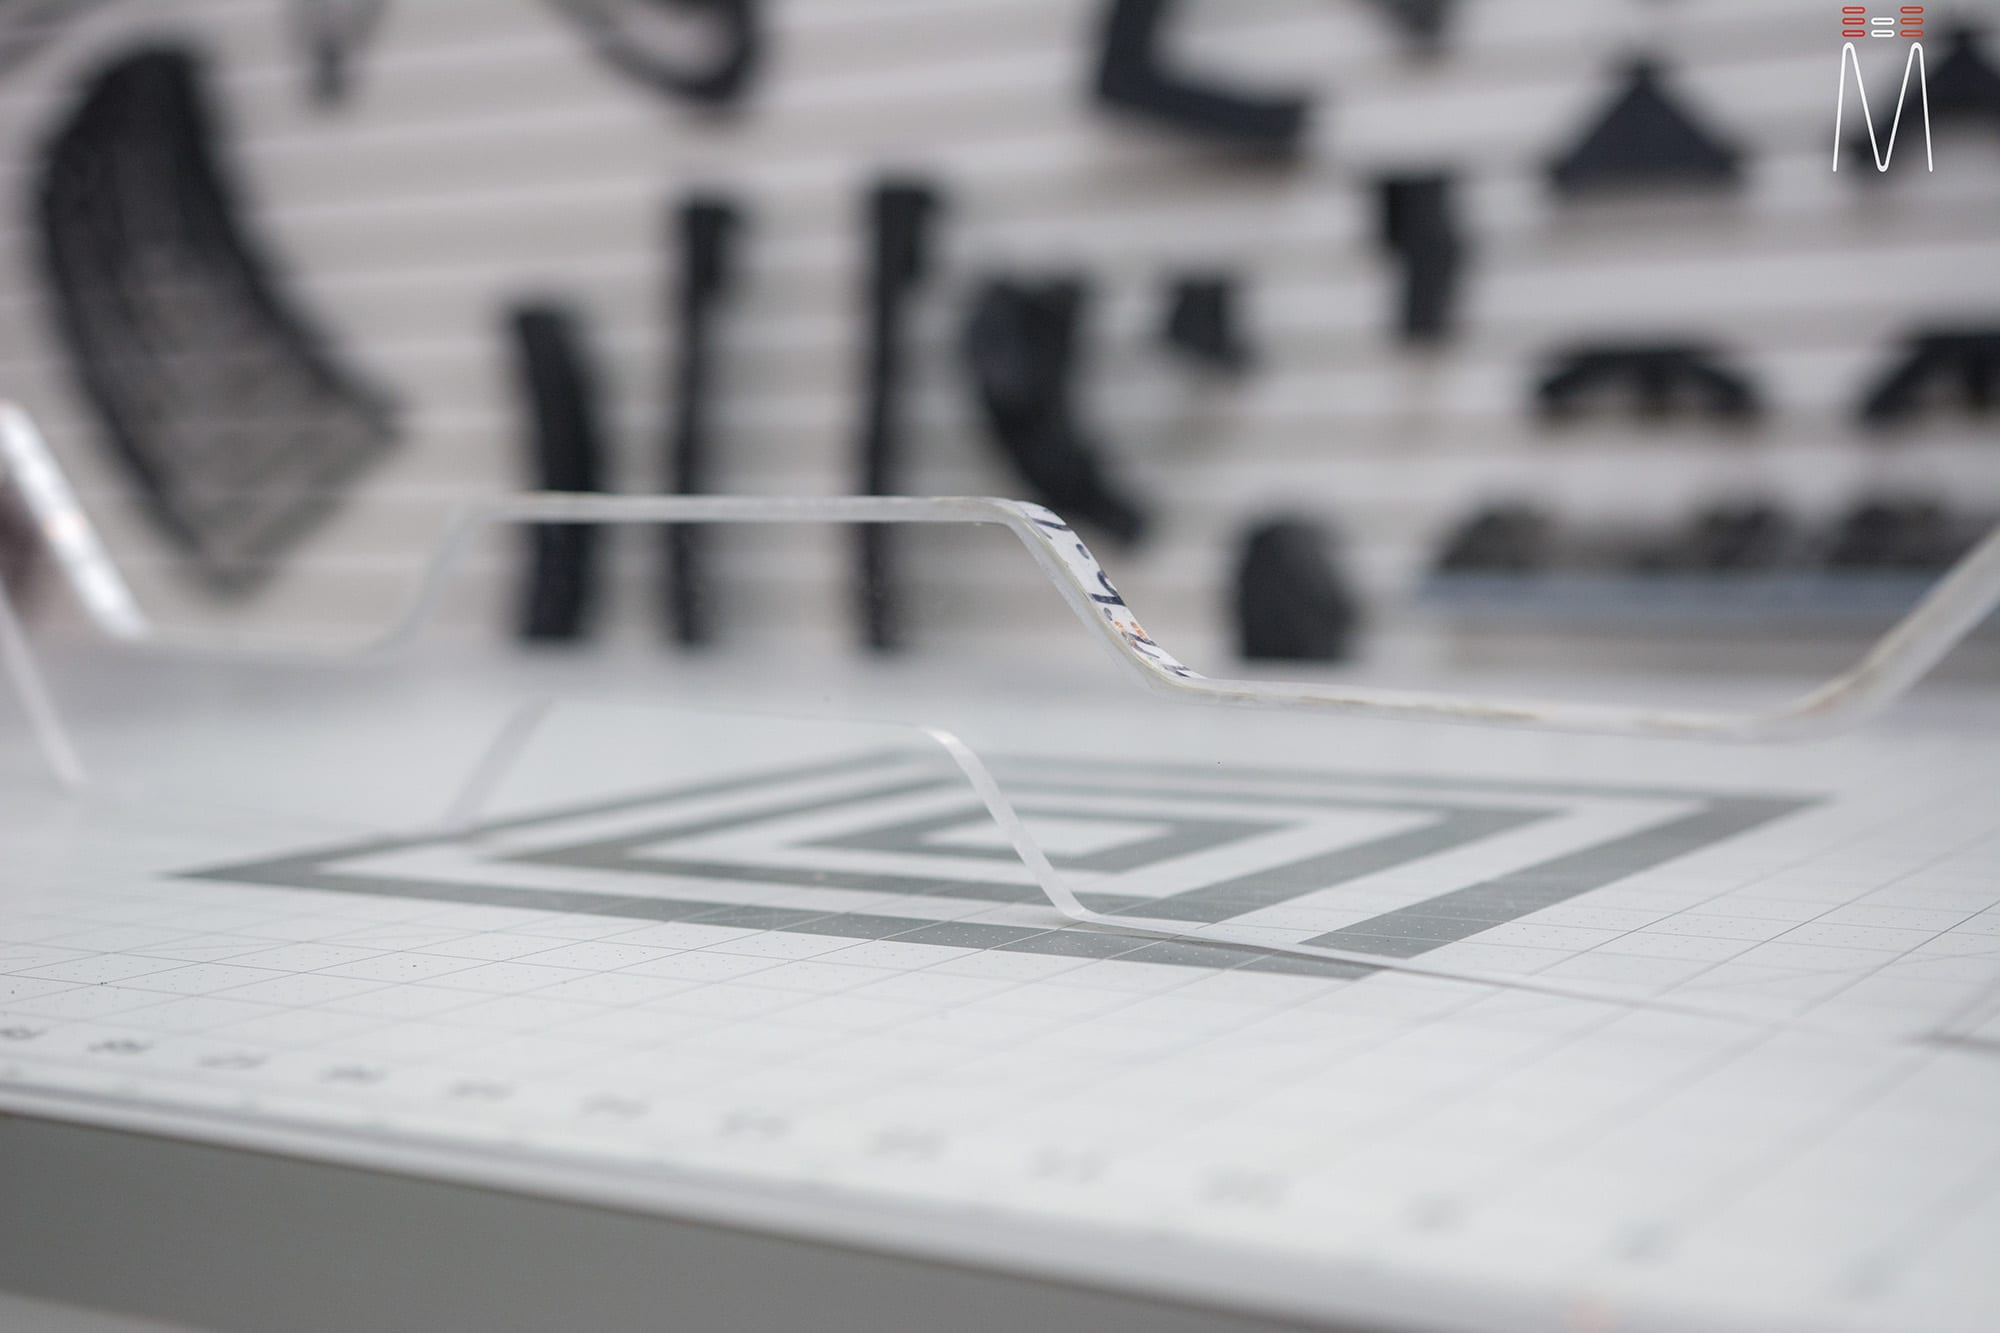
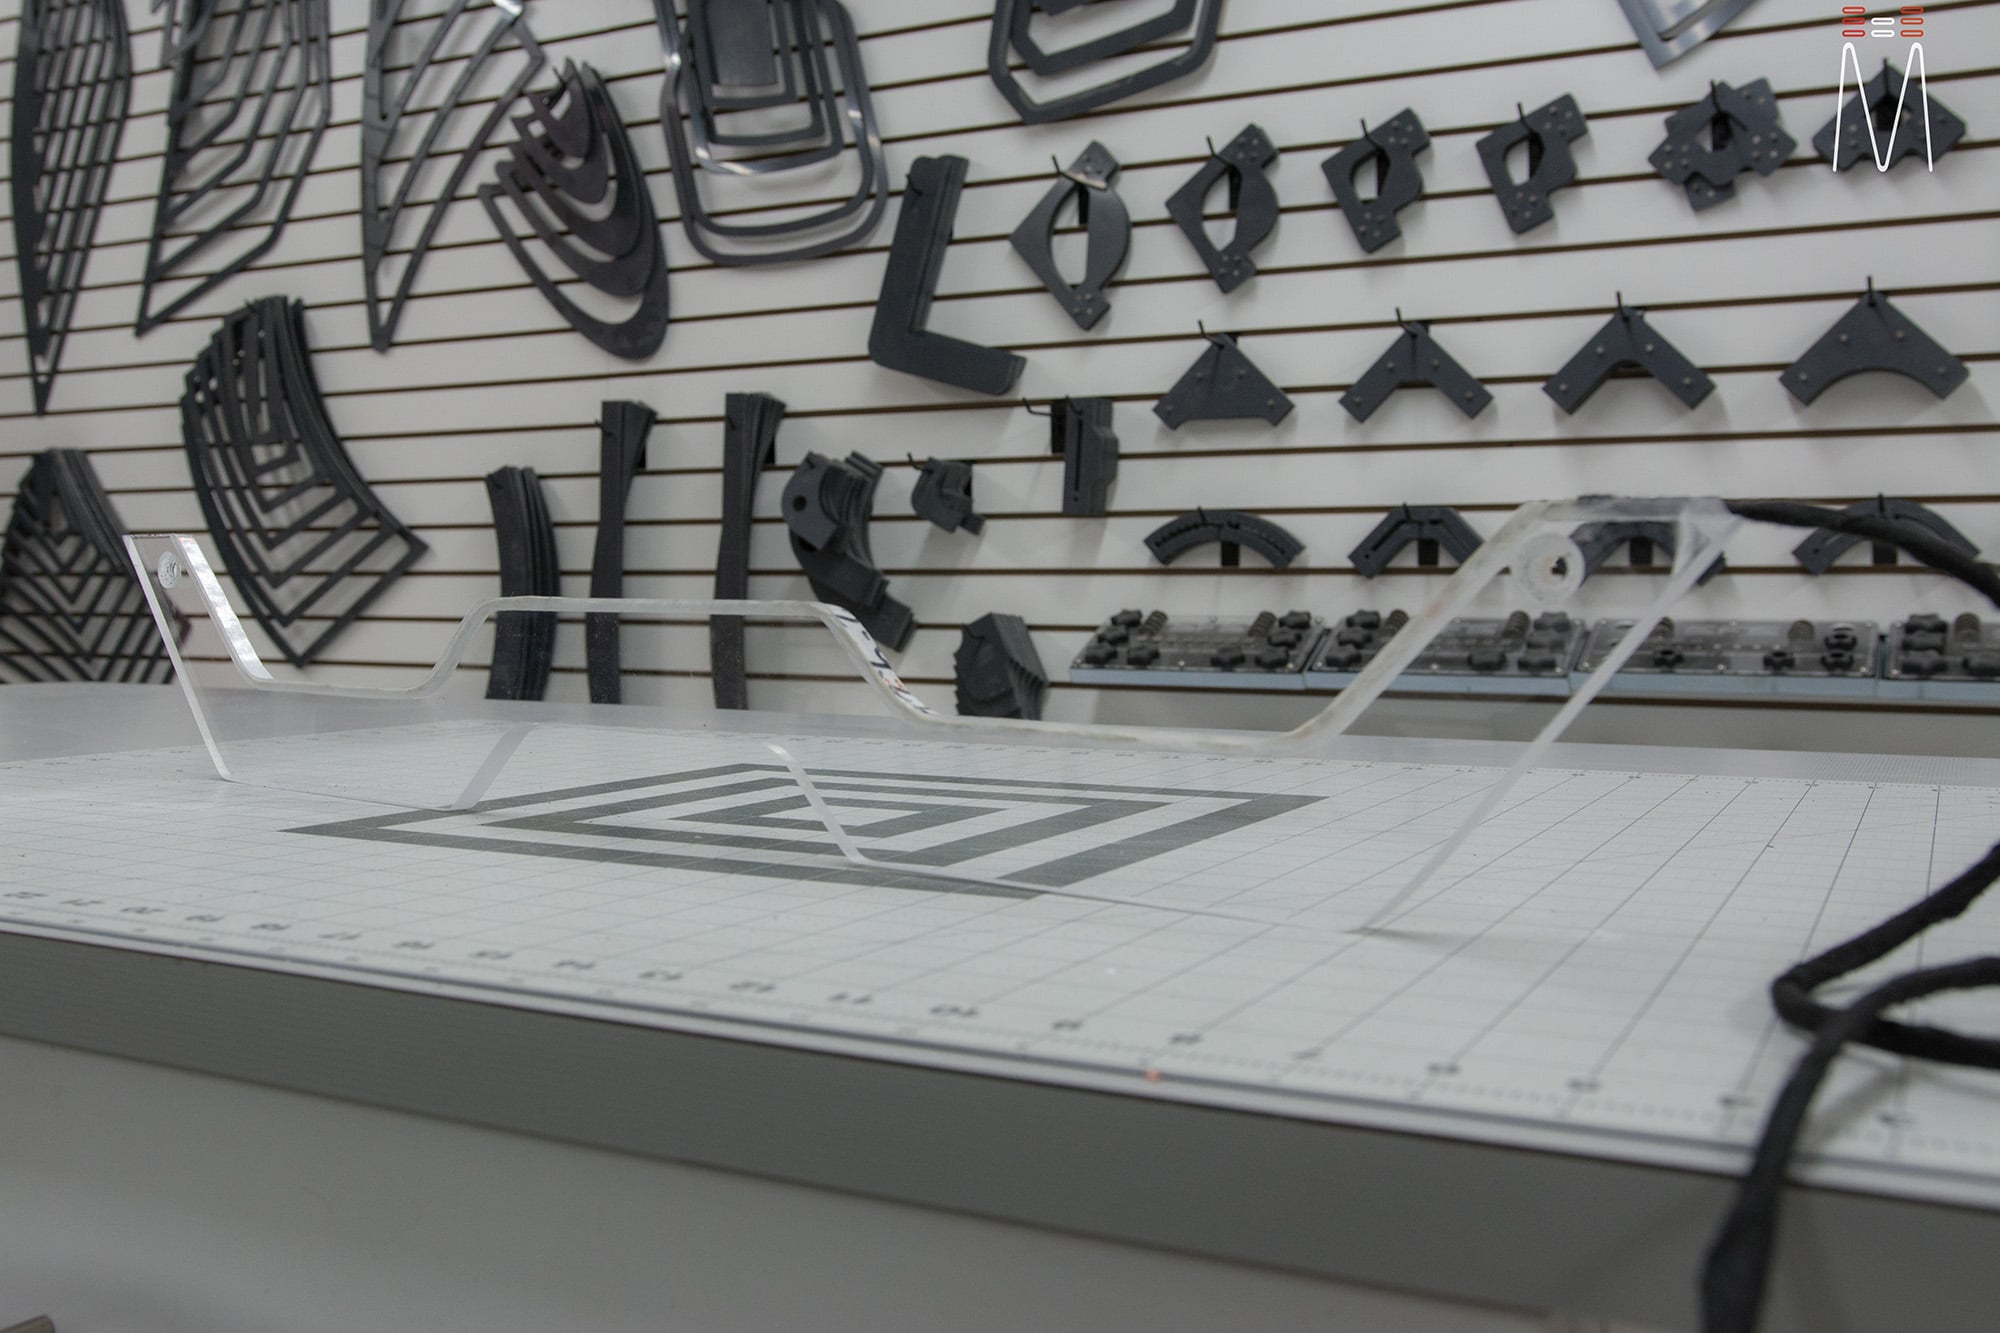
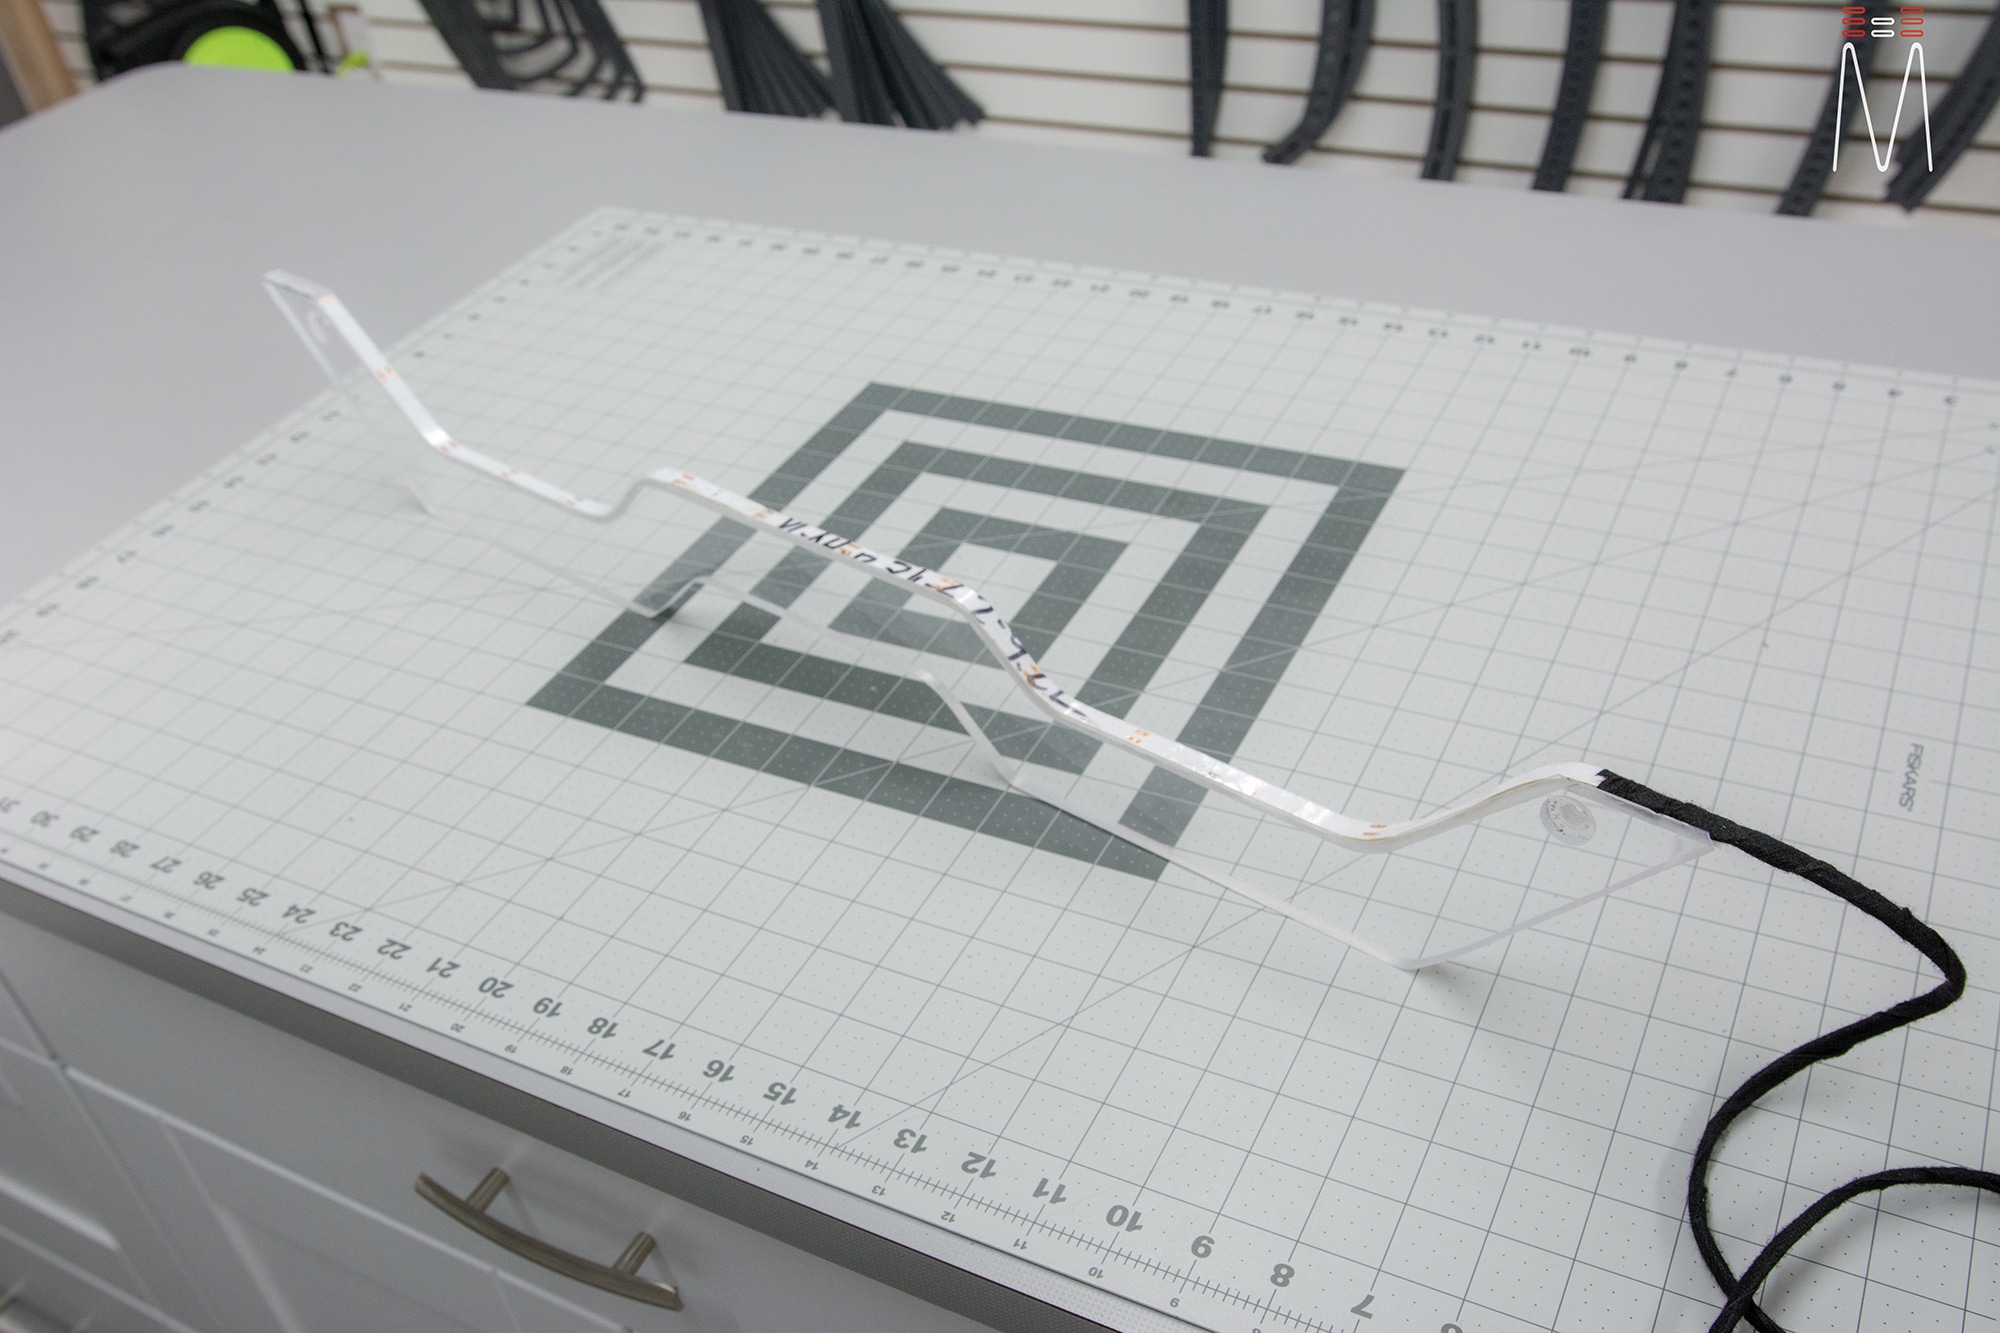
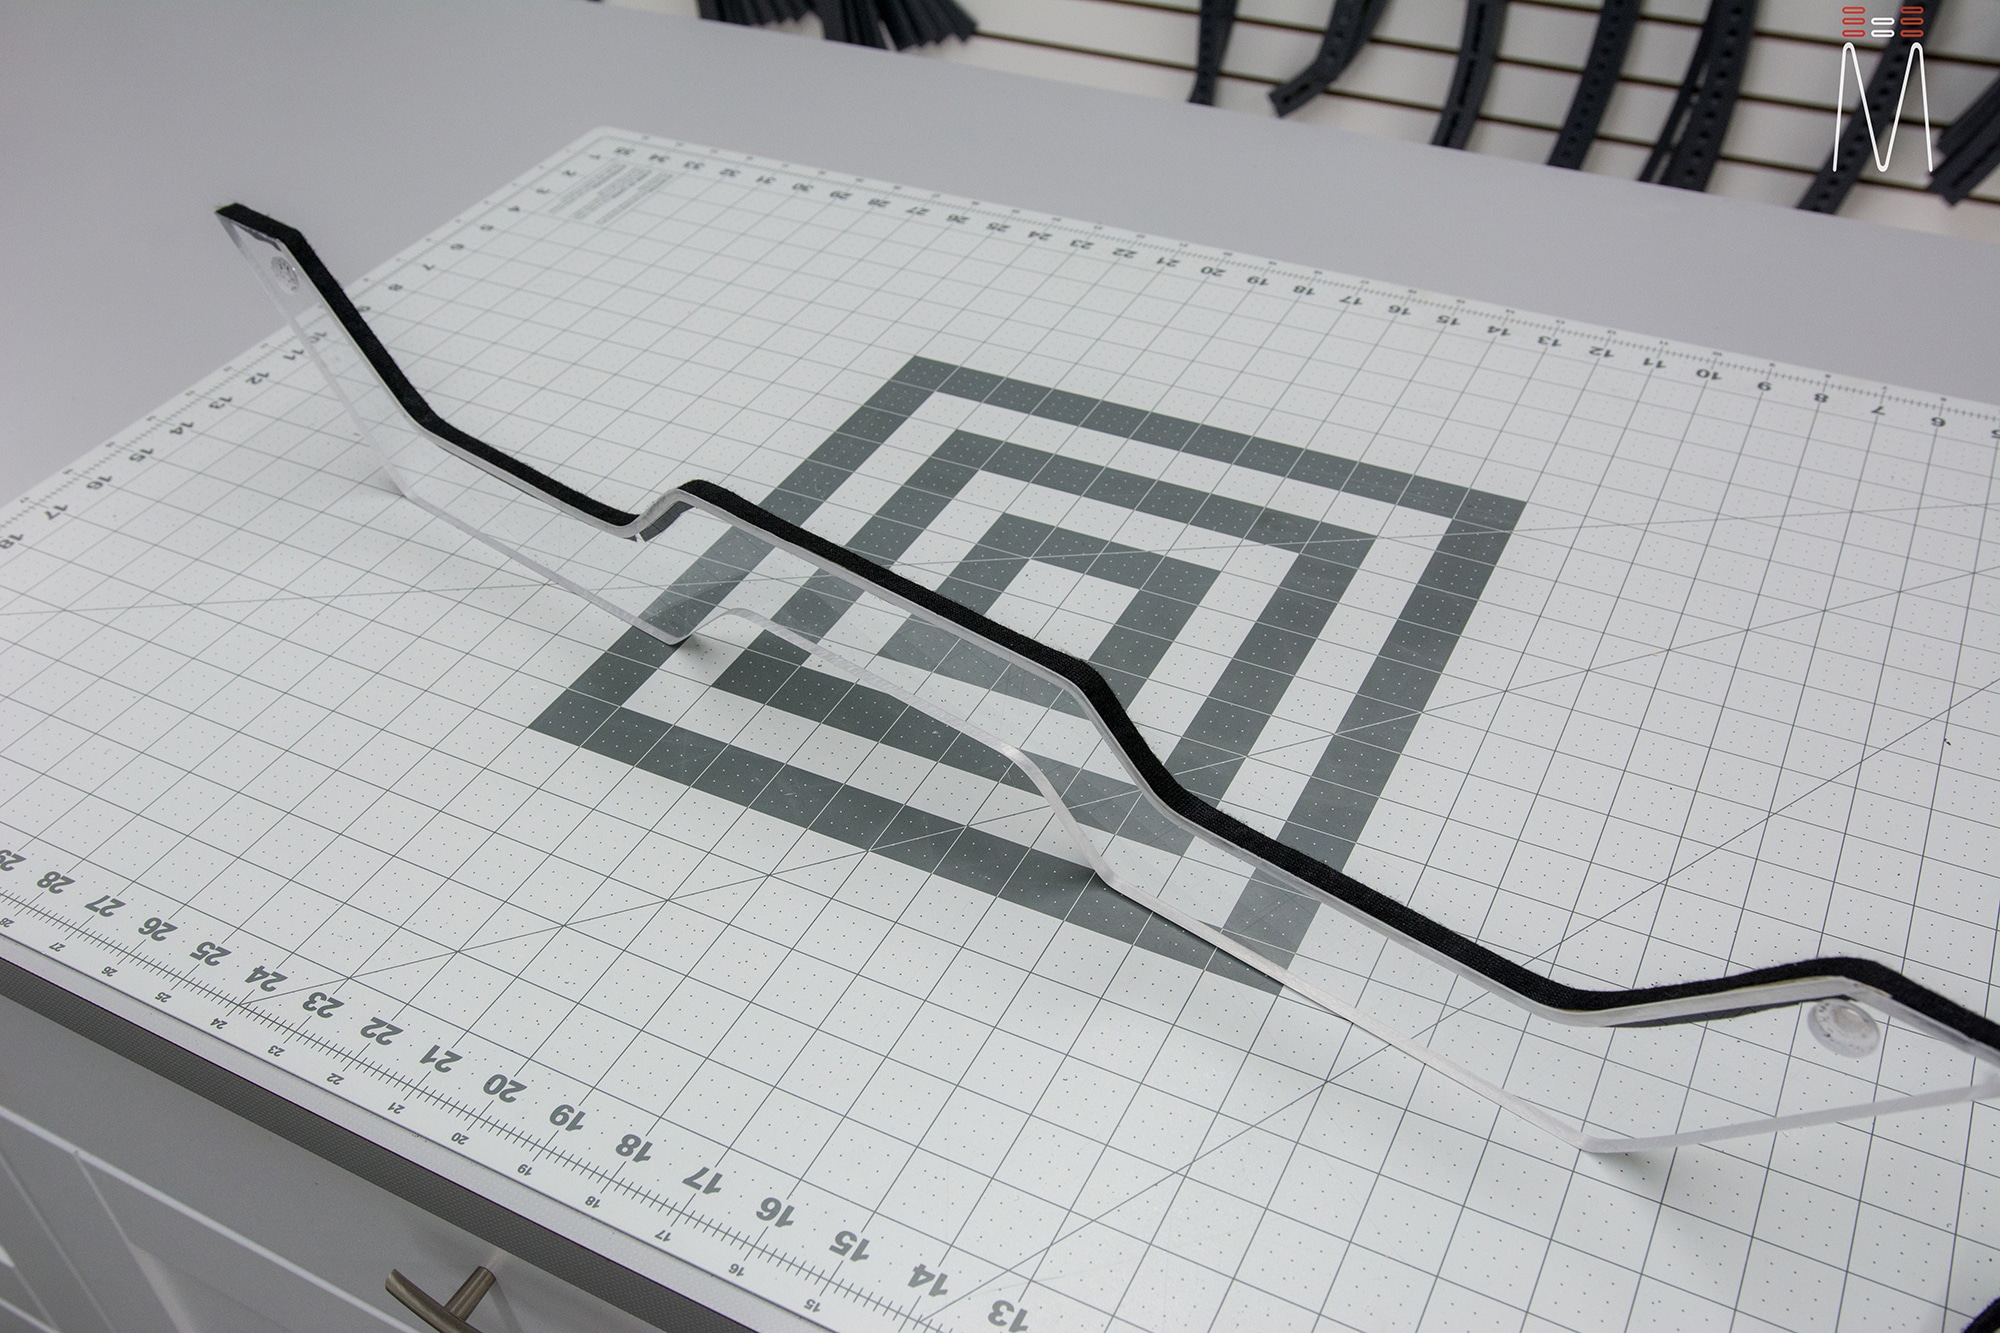
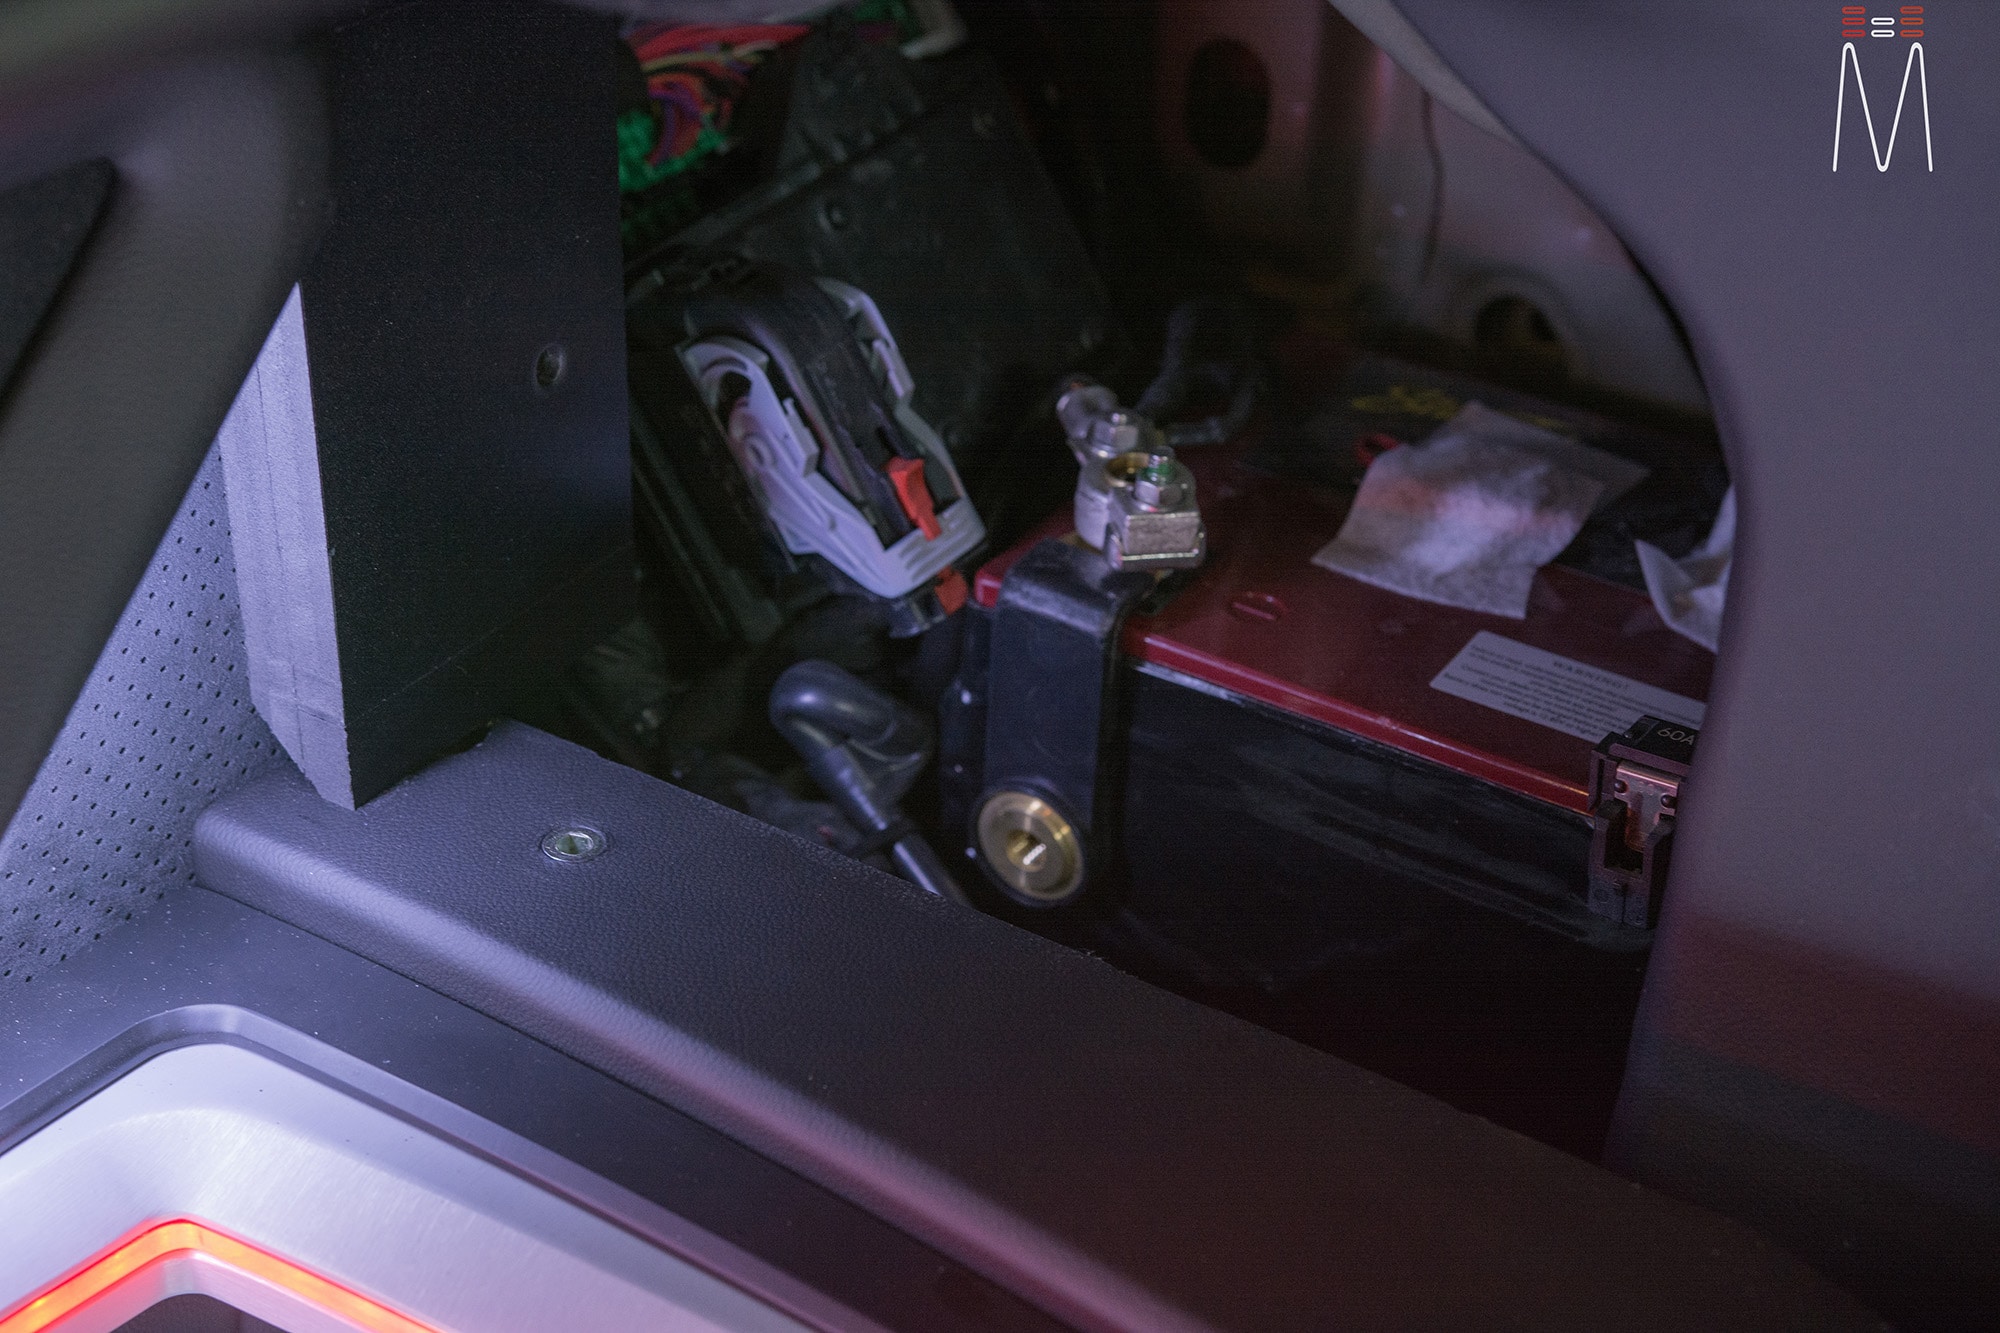
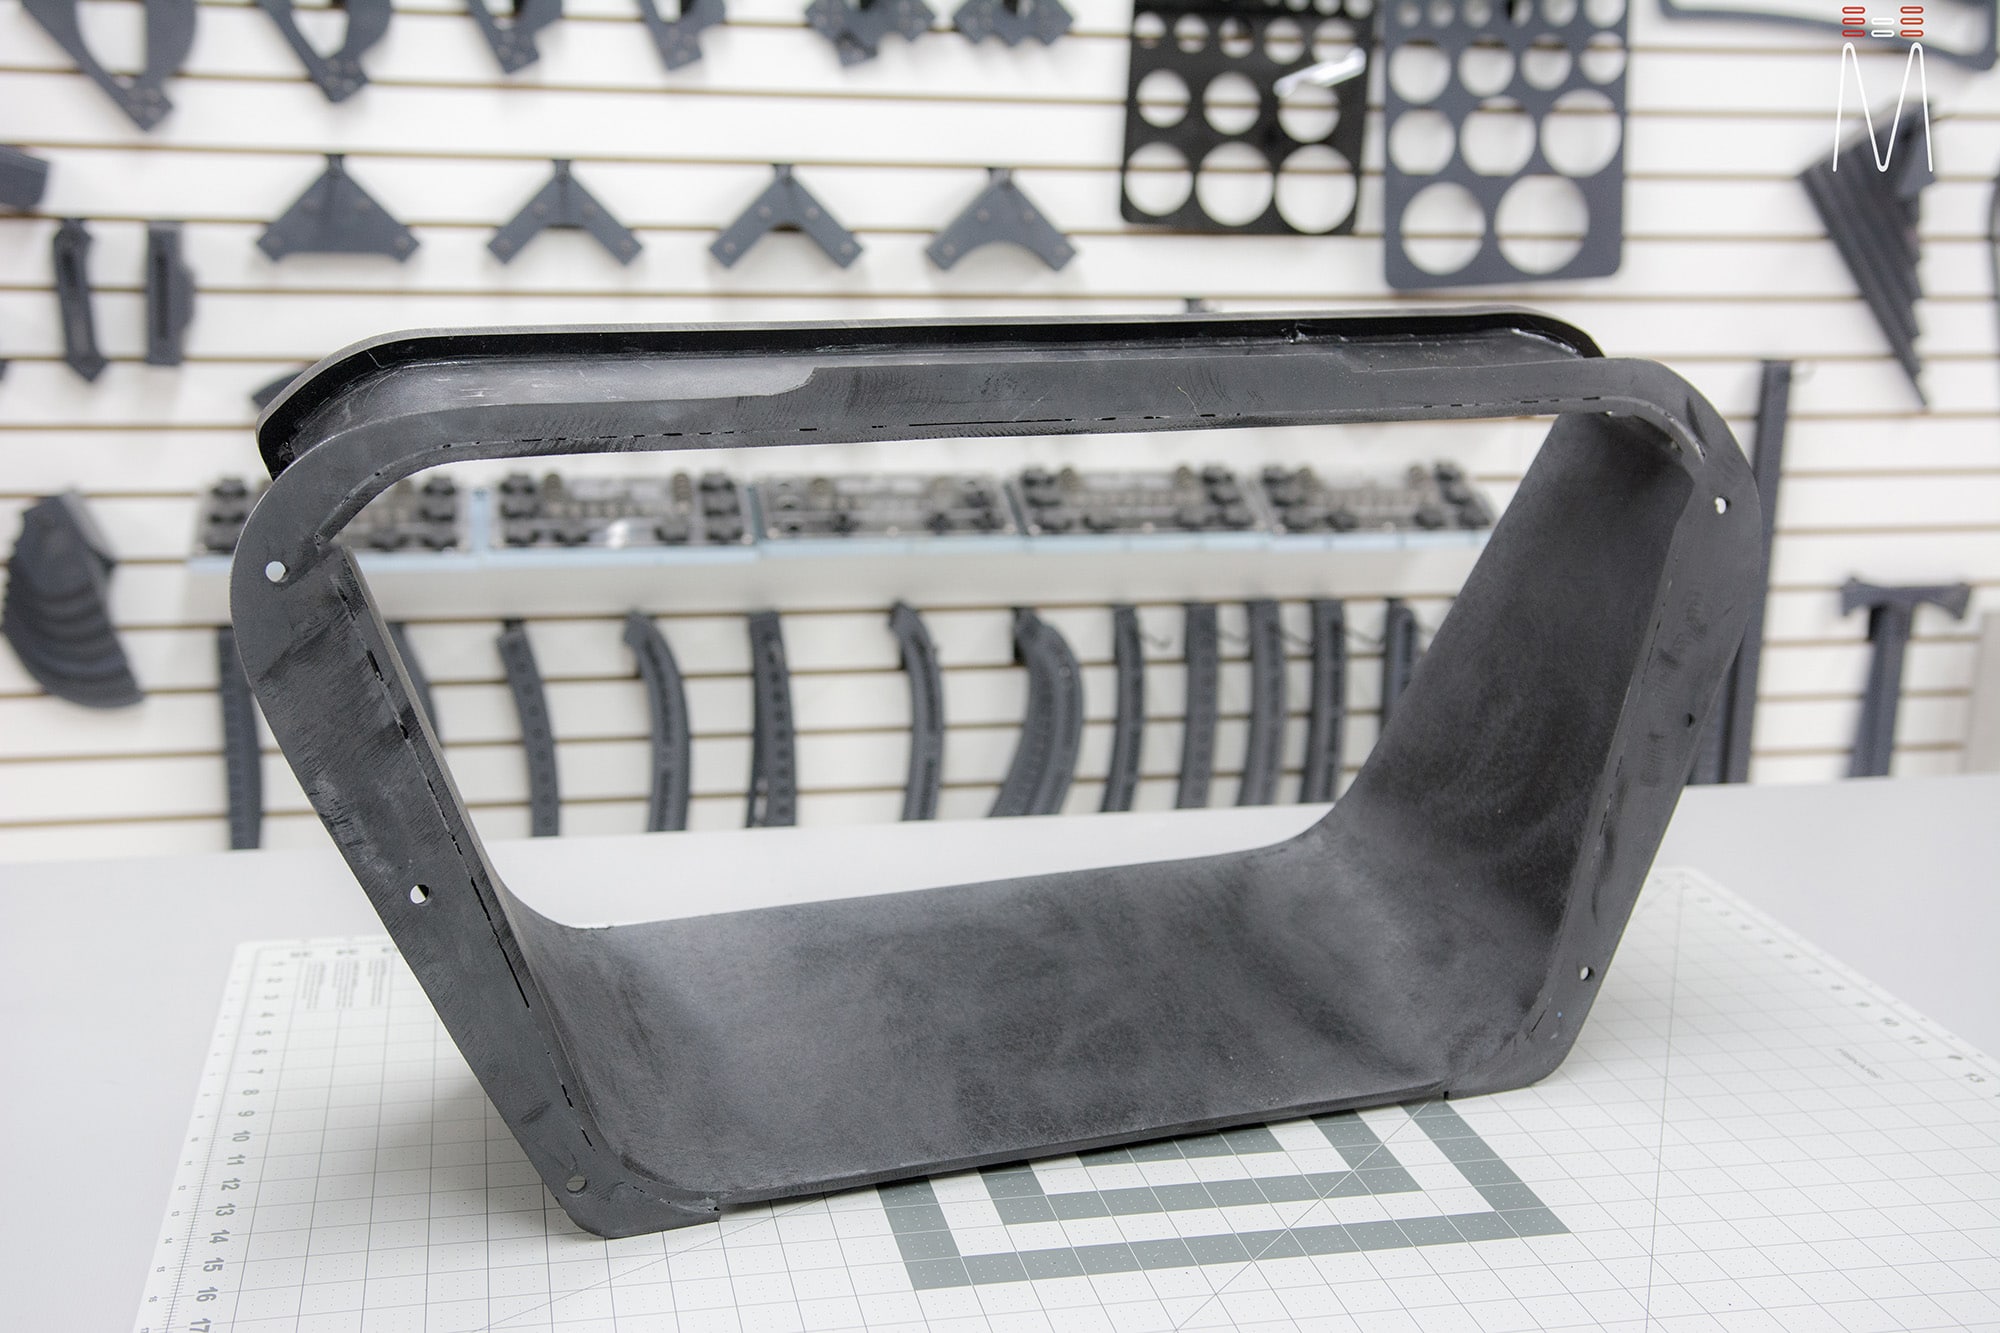
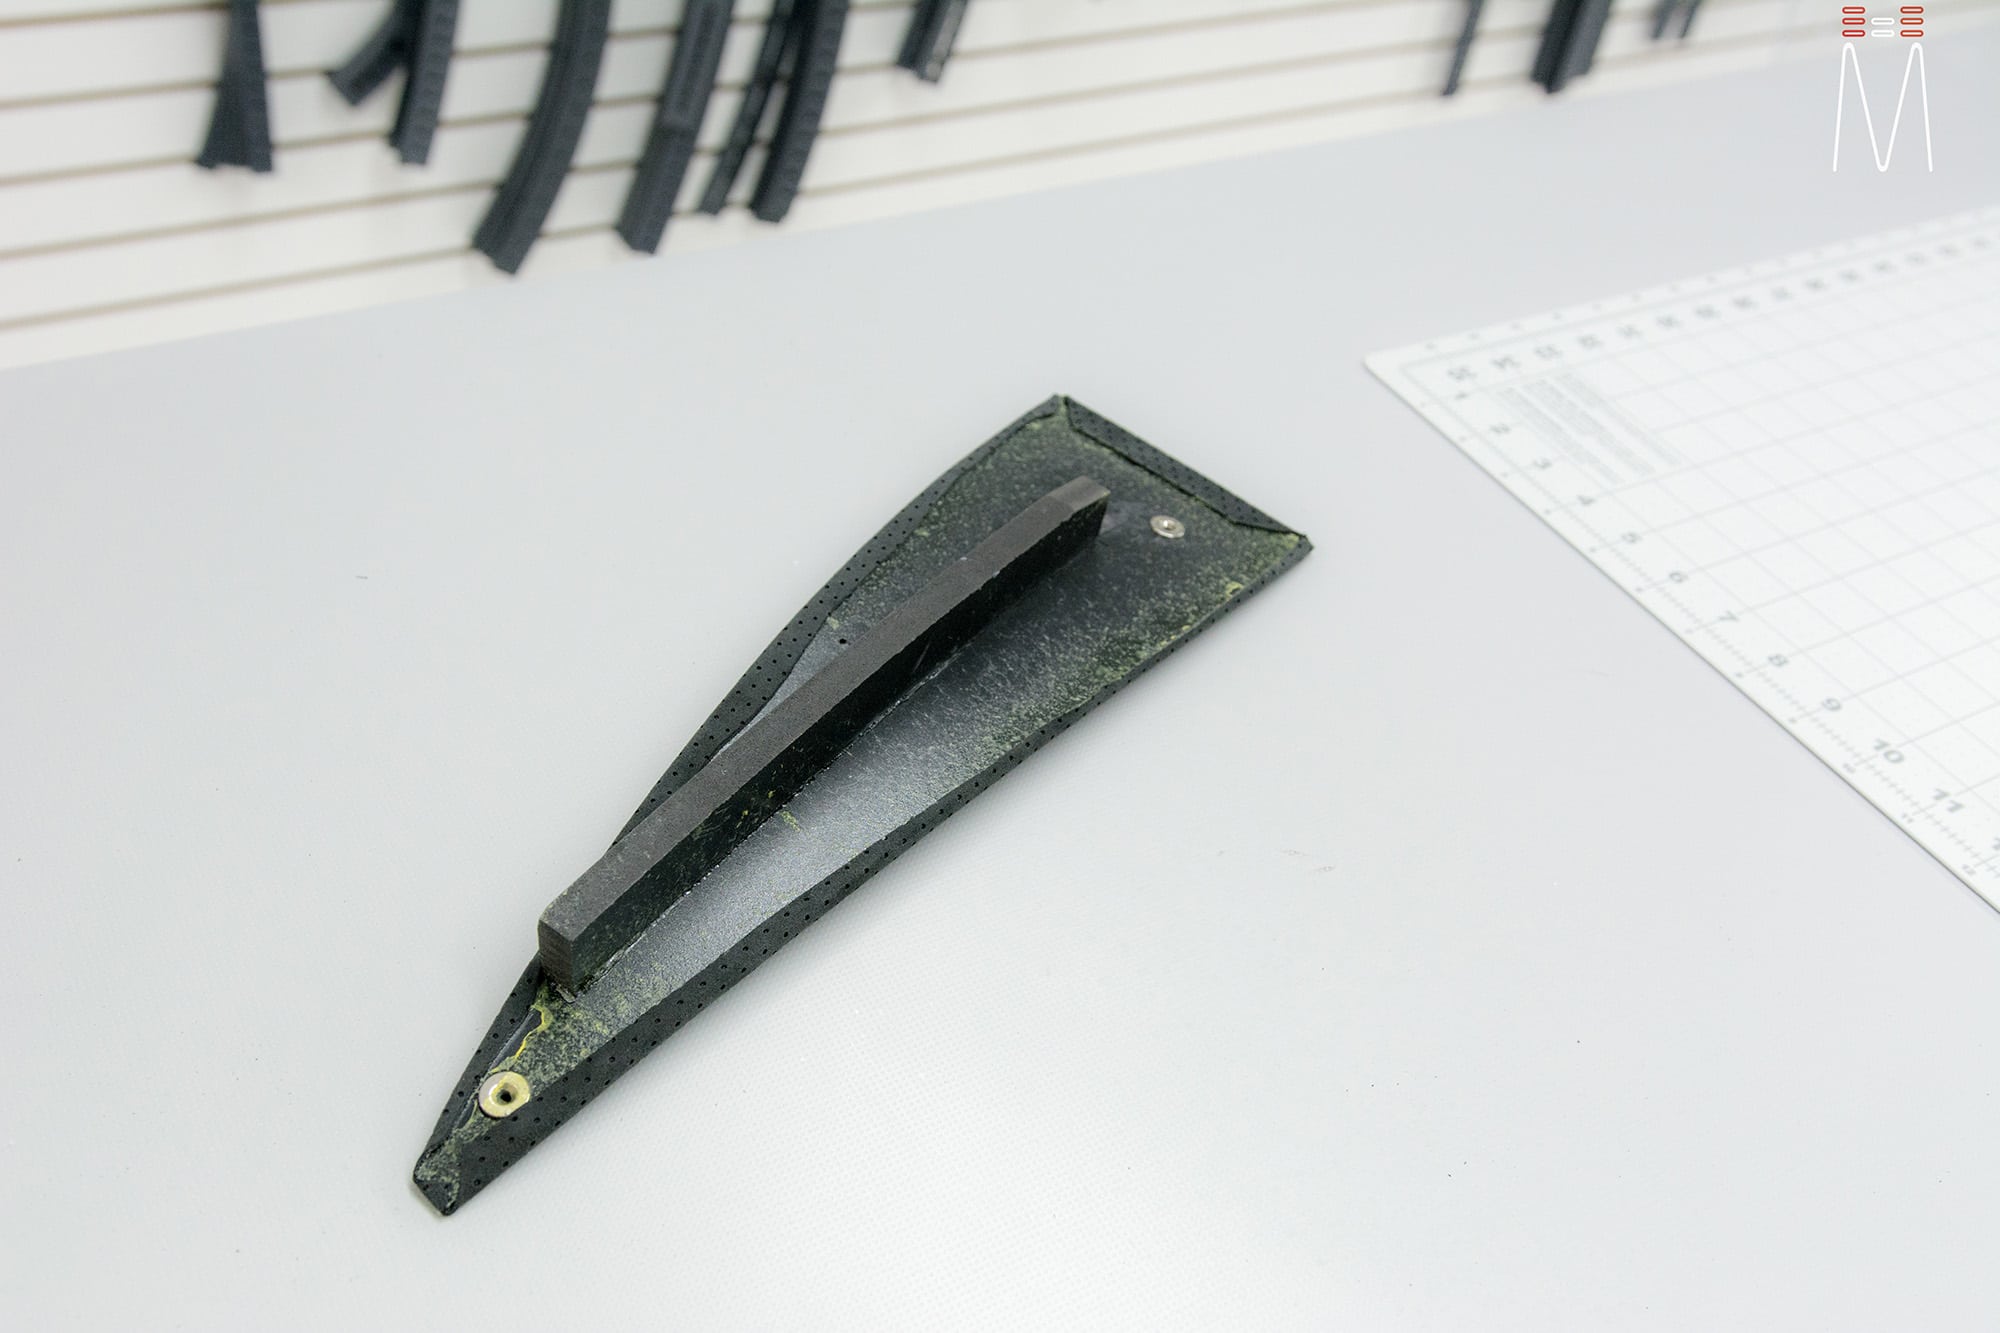
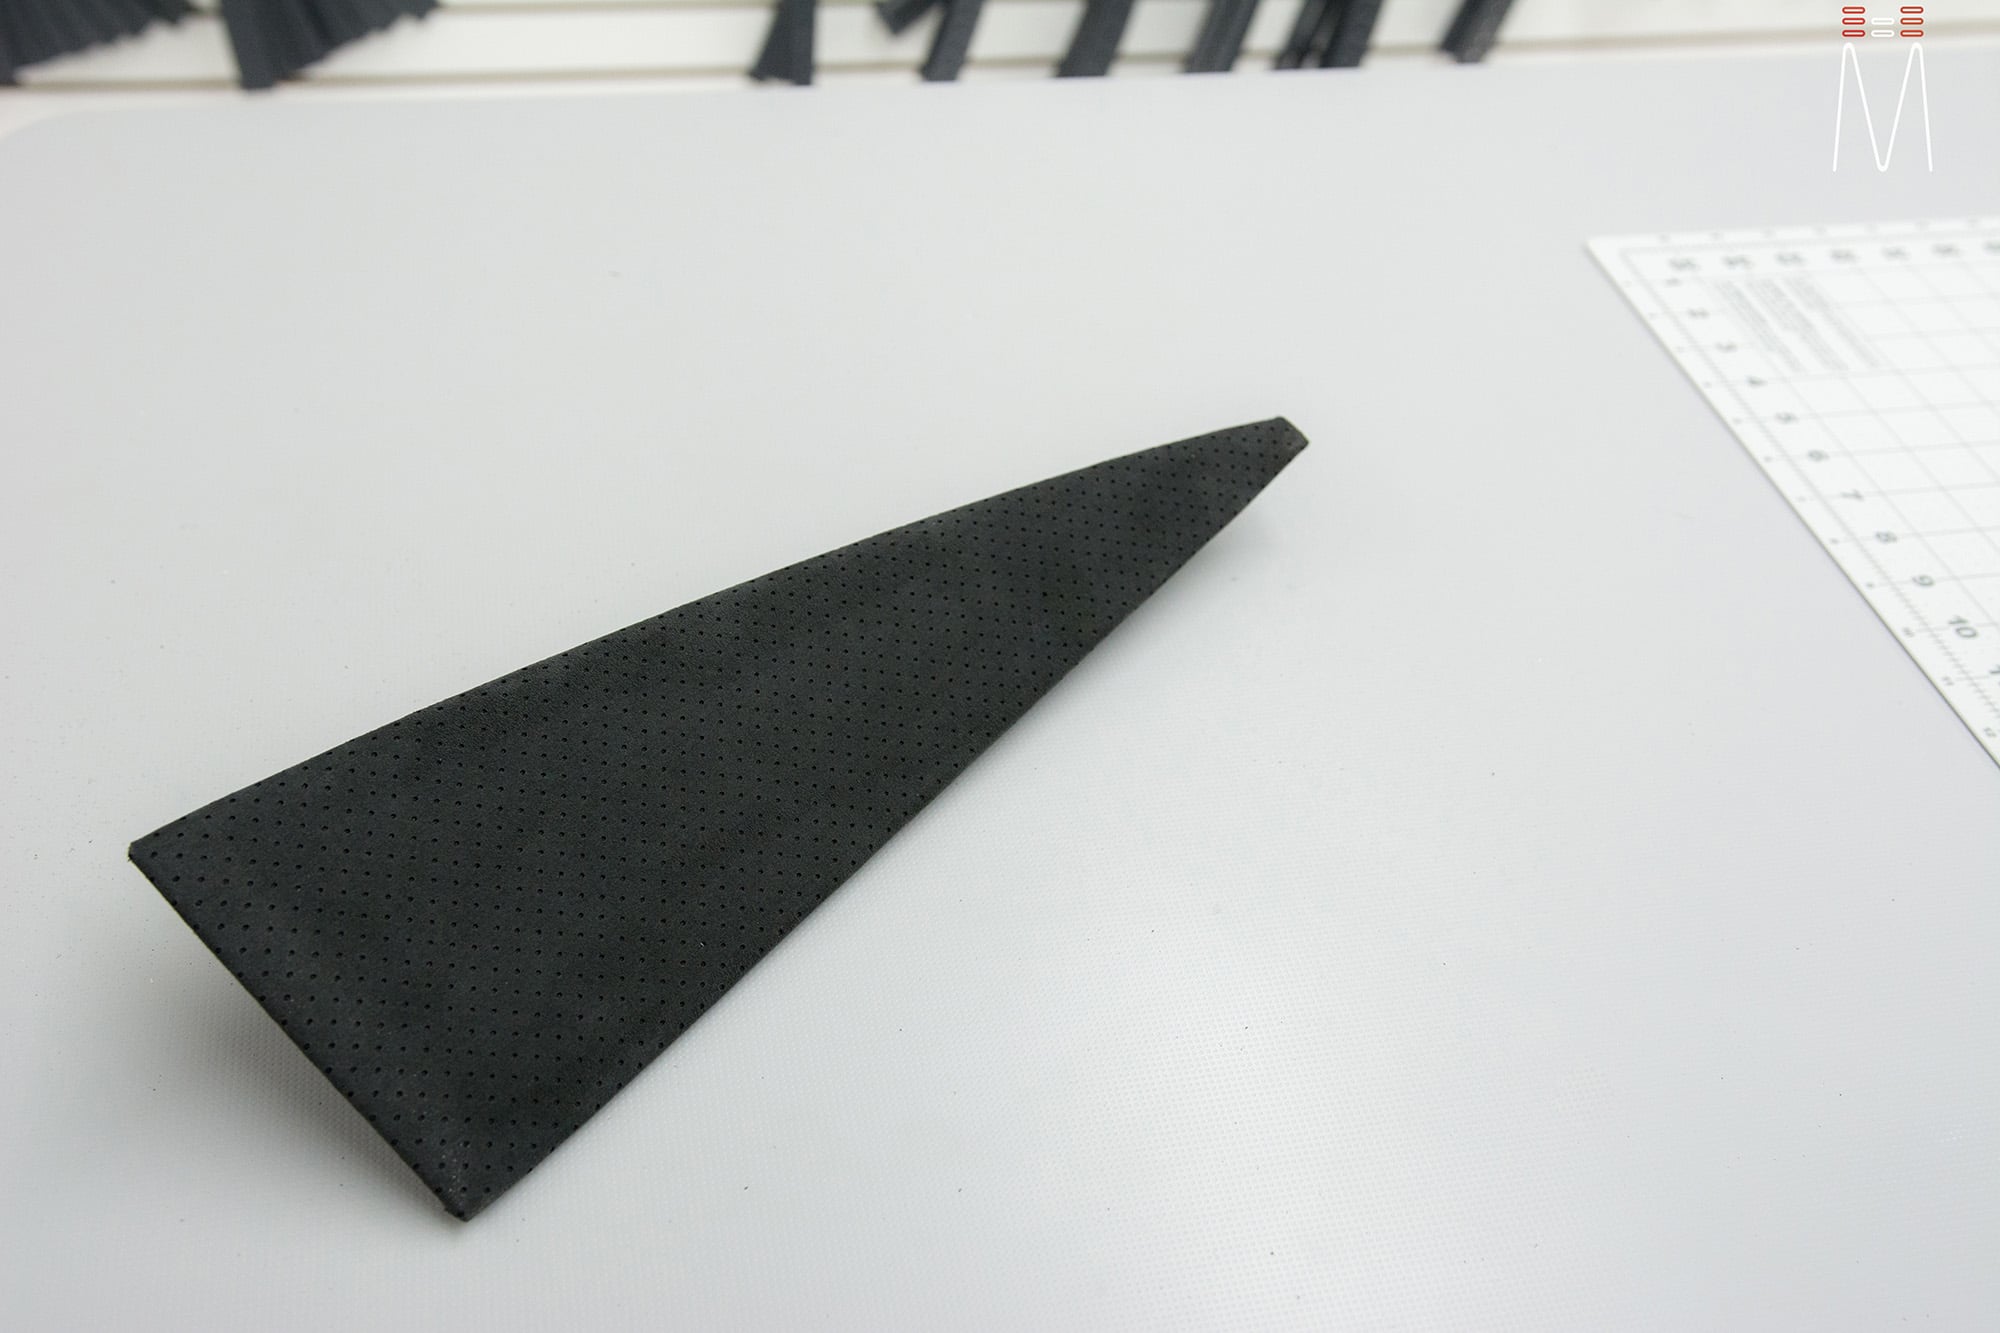
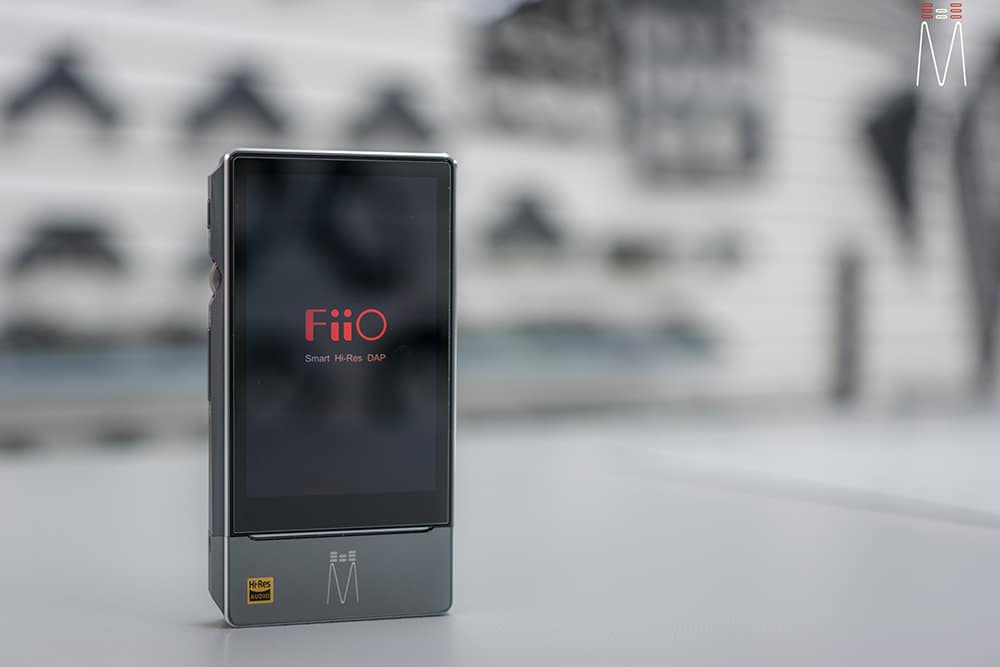
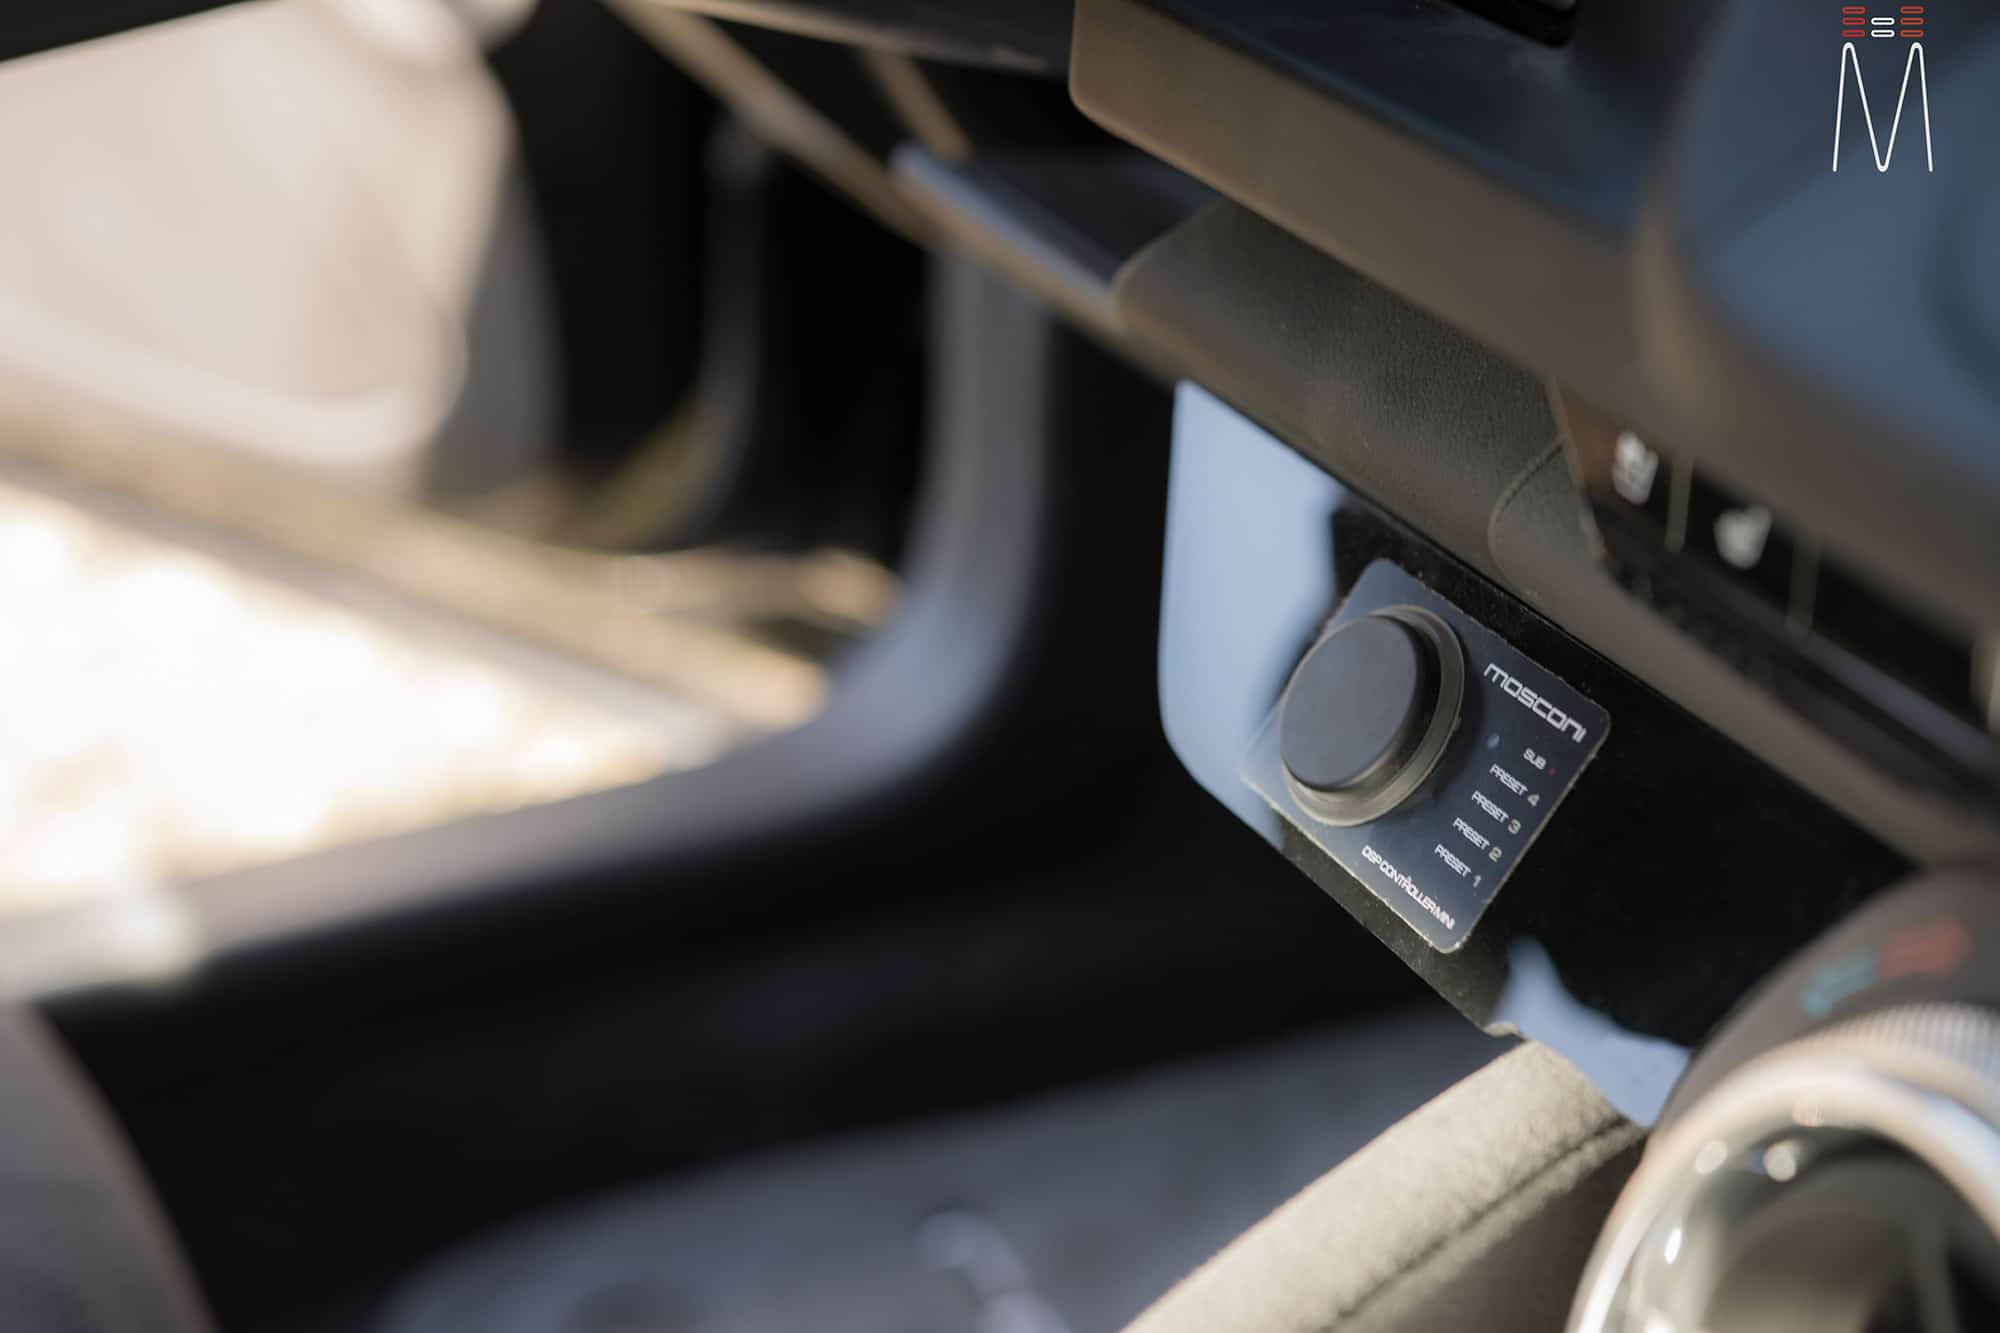
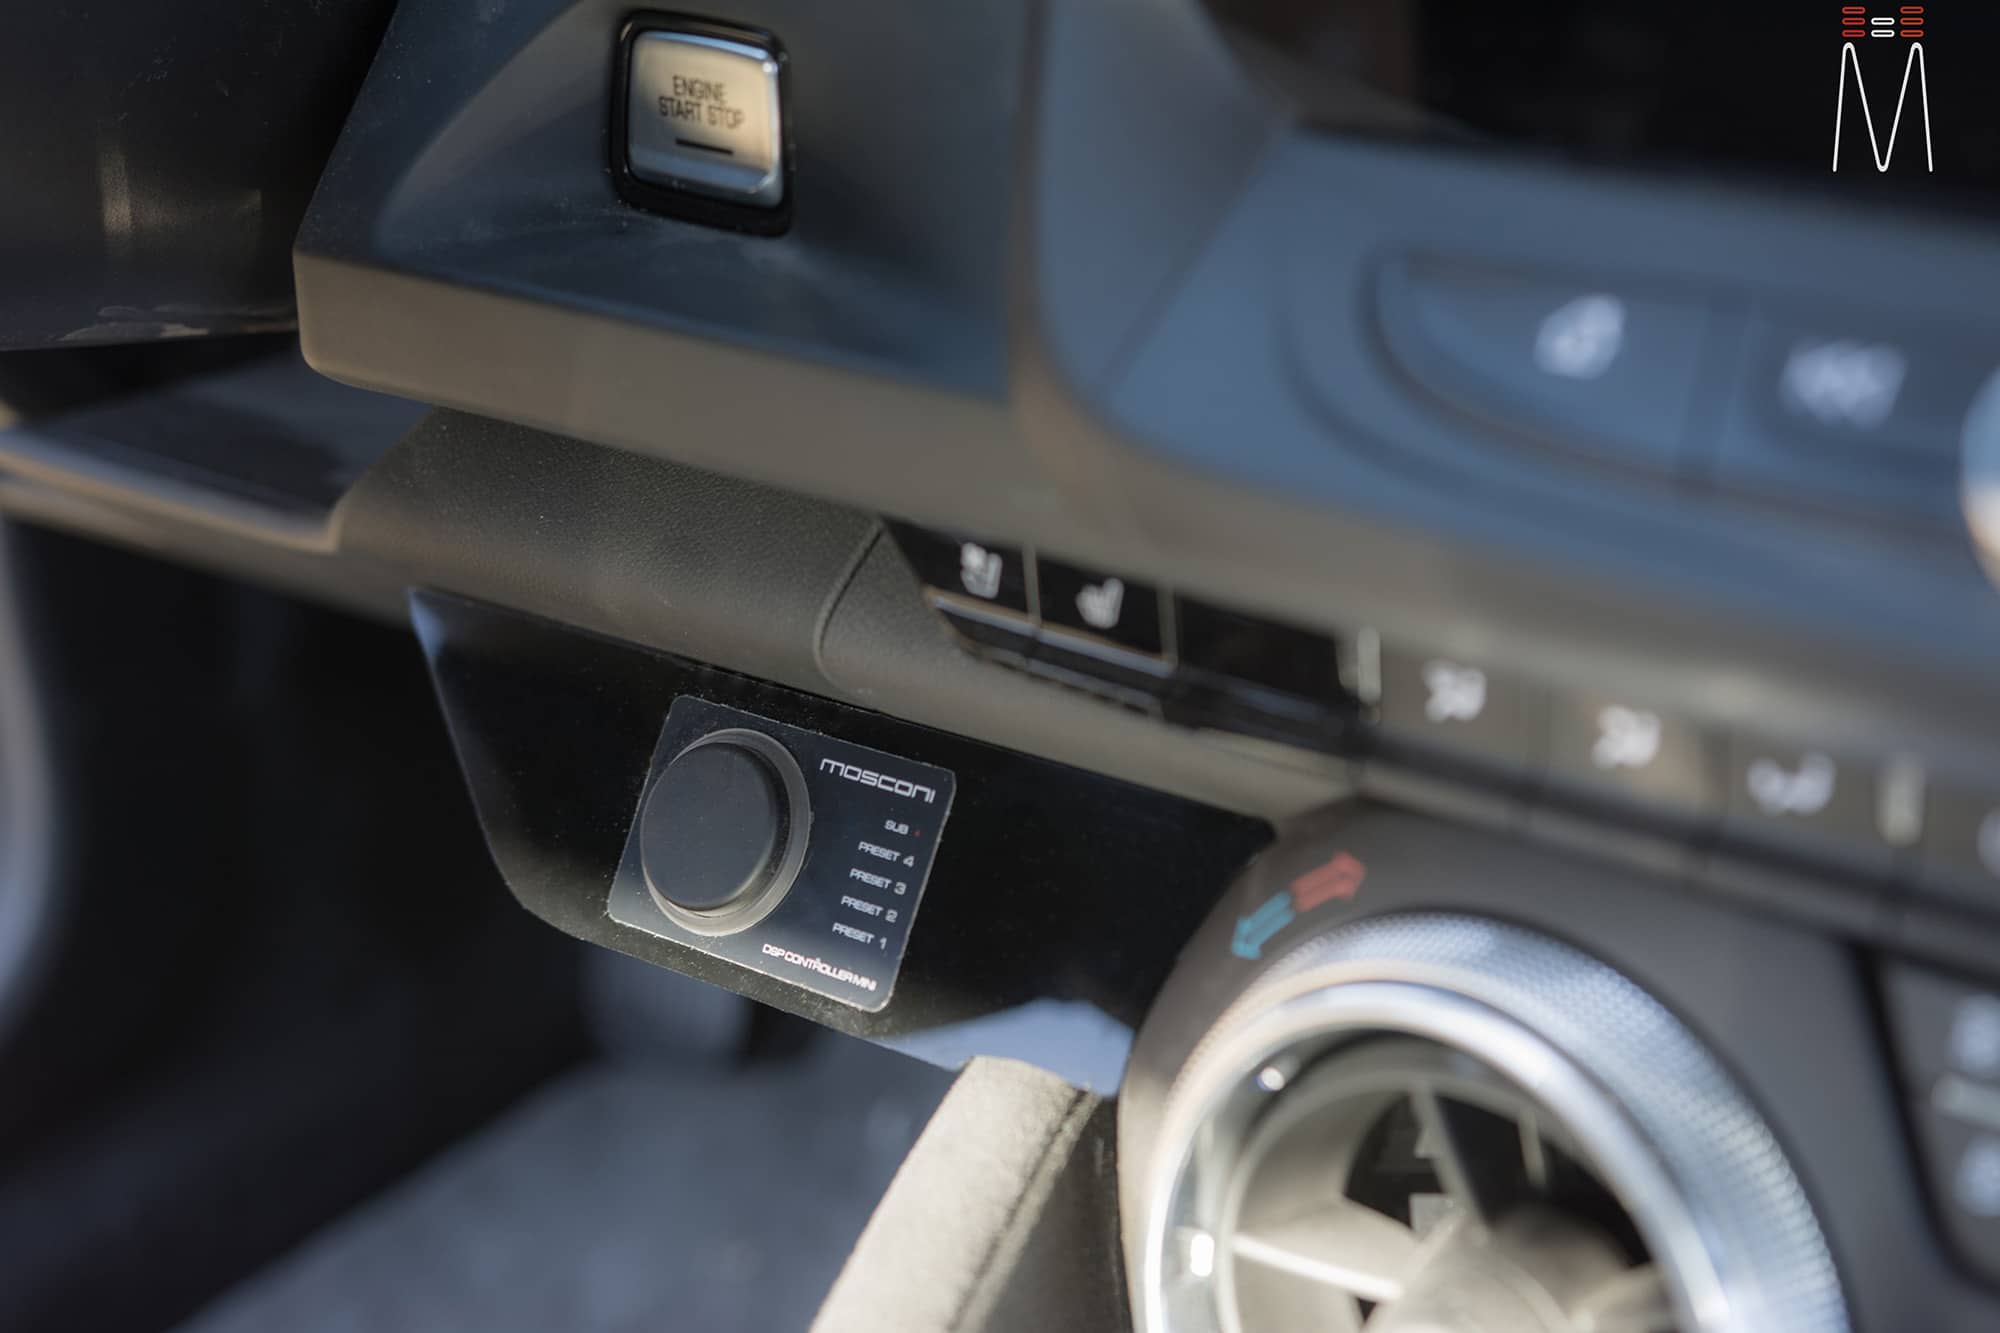
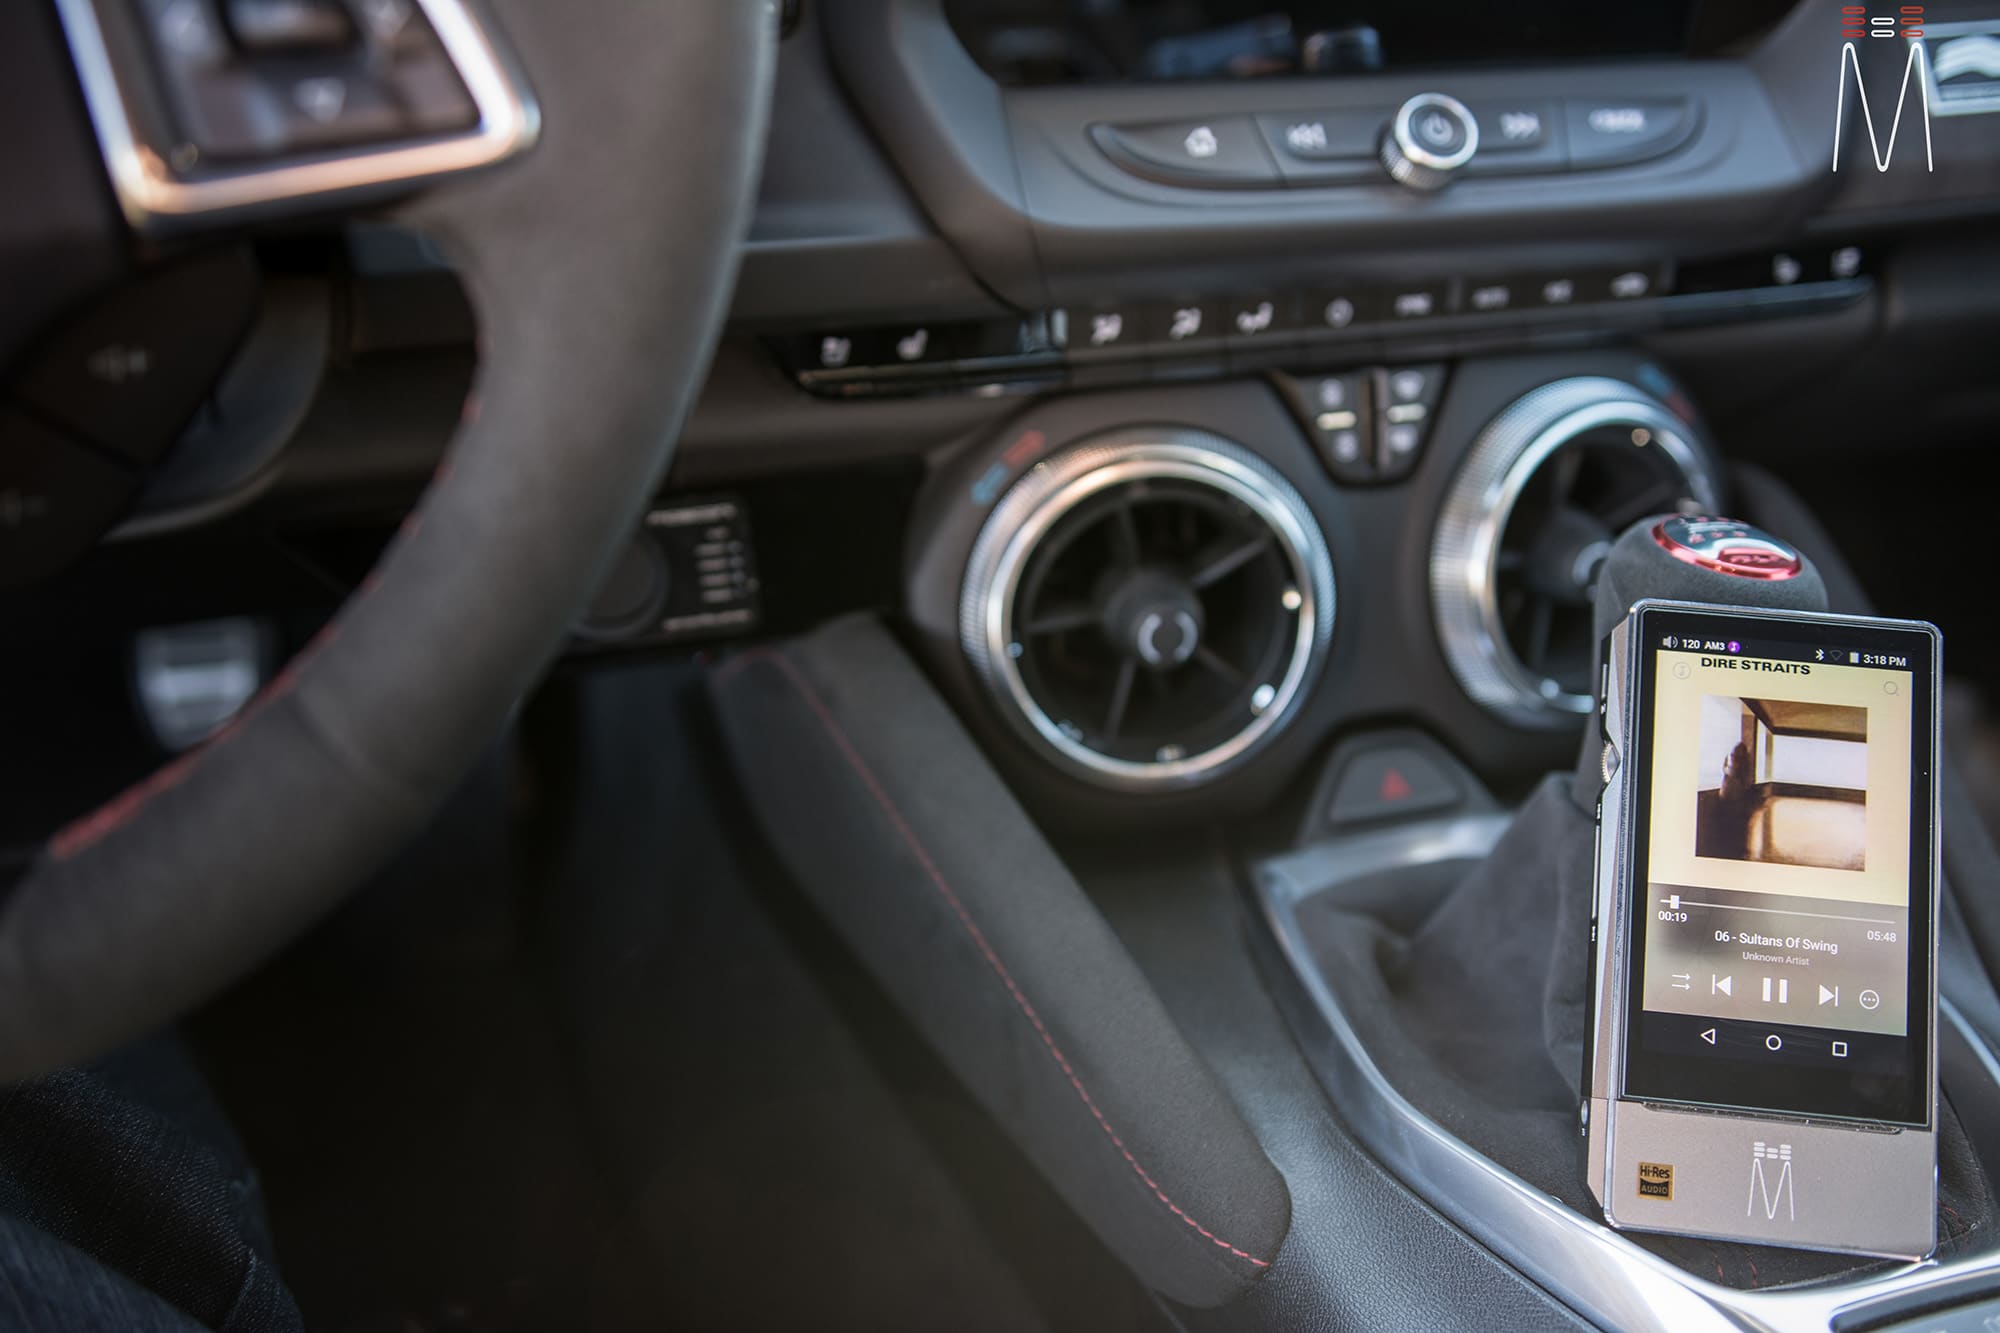
A Nav-TV M650-GM interface was used to take the OEM audio signal, ensuring we have a clean, unclipped, full range signal directly to our Mosconi 8to12 Aerospace DSP. An AMAS2 was added to connect our HI-Res Fiio DAP to a separate preset giving us a clean digital source directly into our processor. That signal then fed into three Mosconi ZERO amplifiers. A Mosconi ZERO1 powered two Focal Utopia 21wx Subwoofers and two Mosconi Zero4’s were used to run our front 3 way Focal Utopia and rear coax fully active. The mid and tweeter of the Focal Utopia No.7 Kit was housed in a hand fabricated custom A-Pillar which was wrapped with an exact match OEM vinyl. A new Stinger AGM battery was used to replace the OEM battery and a AGM trickle charger was permanently installed next to it. A flush mount marine 120v plug was mounted under the car for an easy, hassle free, charging solution. A Stinger 10 Farad Cap was added to dampin the high voltage spikes of the factory alternator.
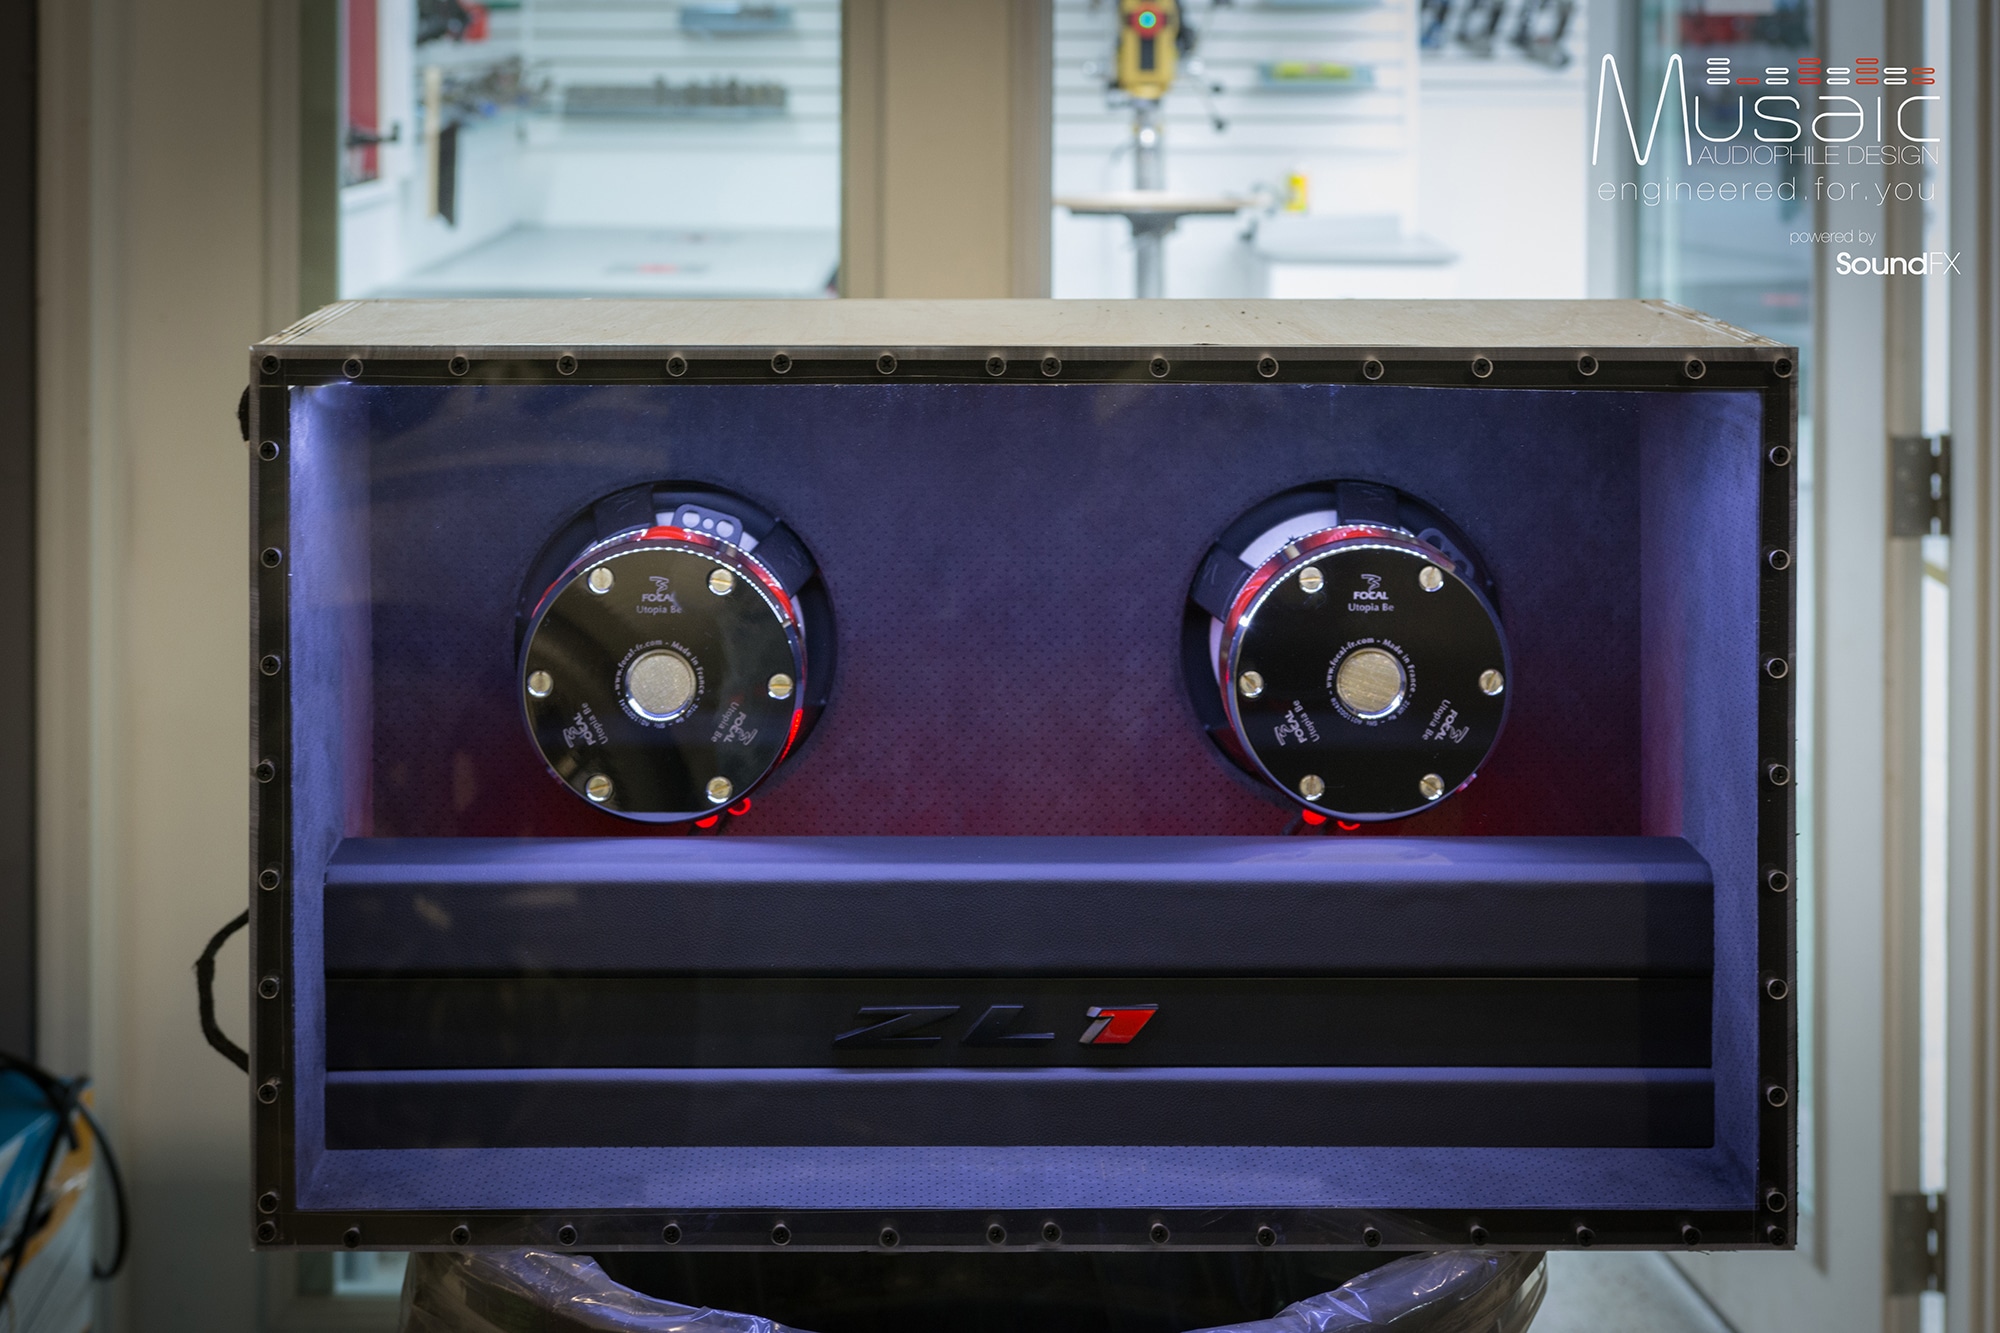
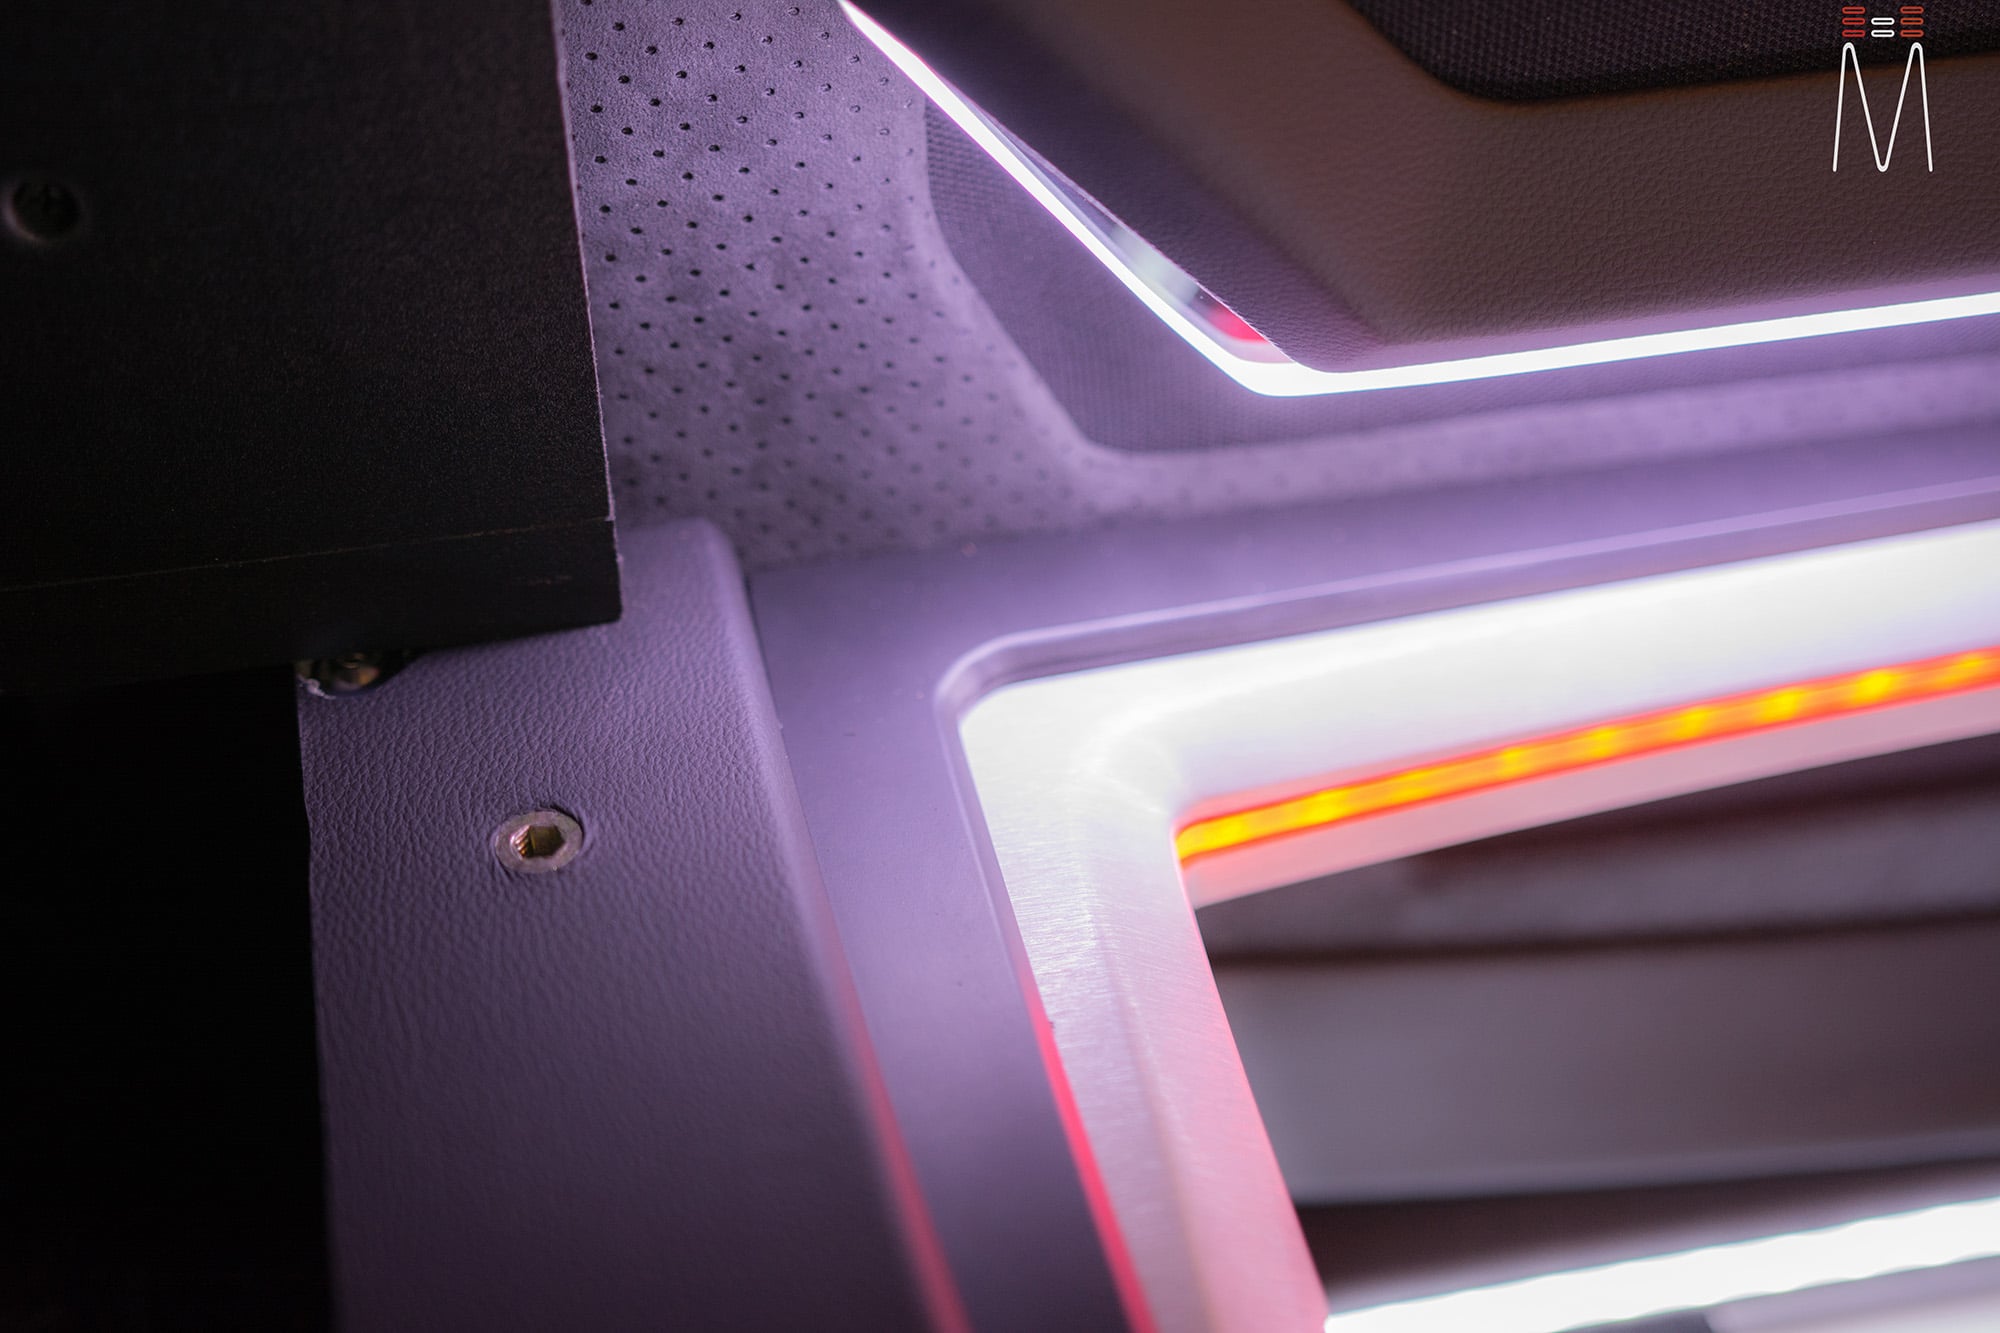
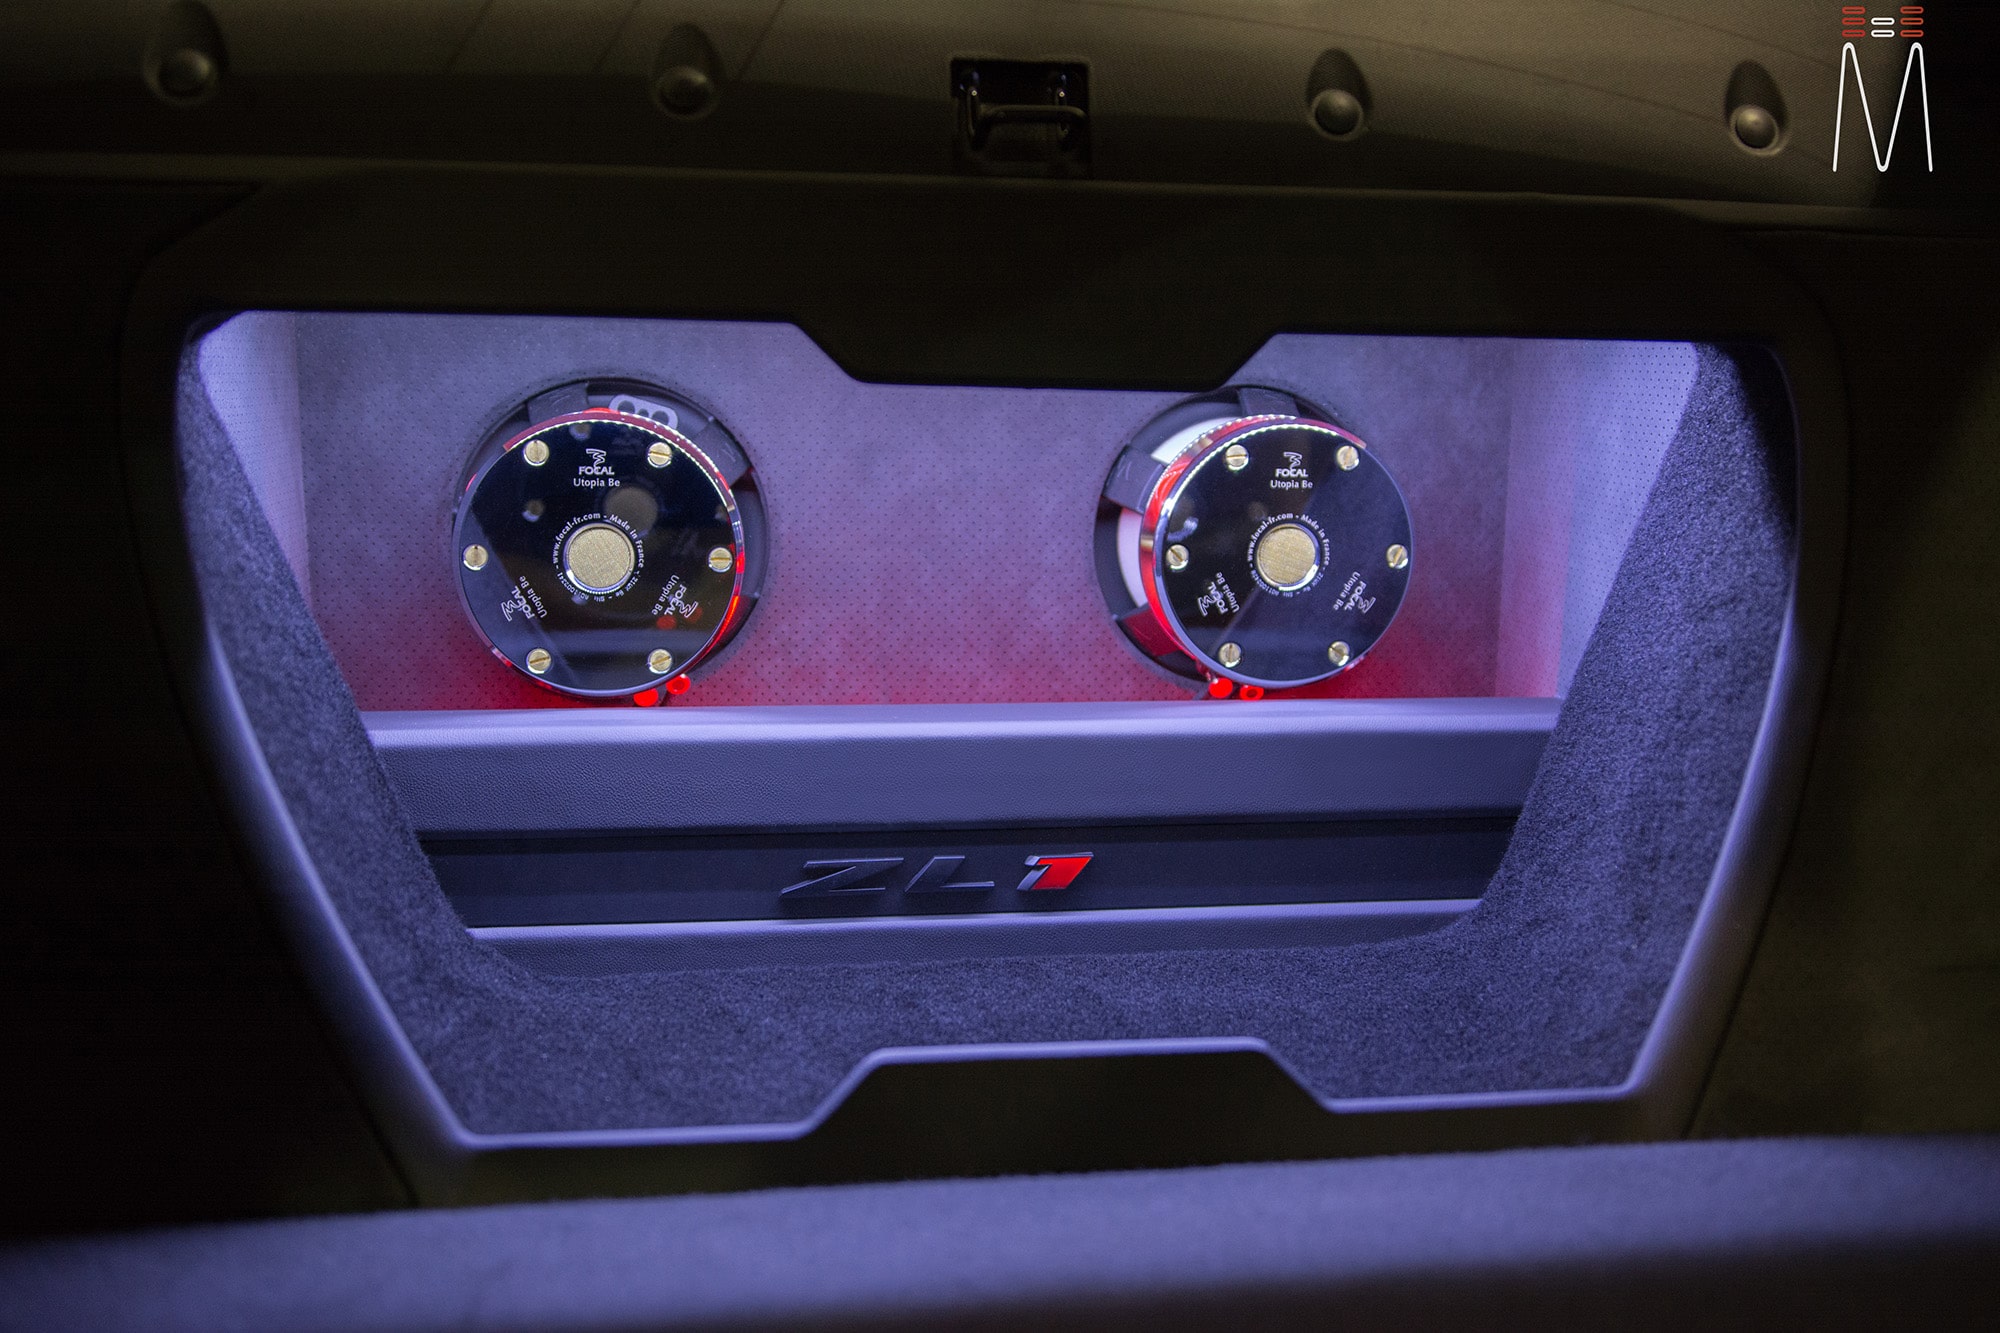
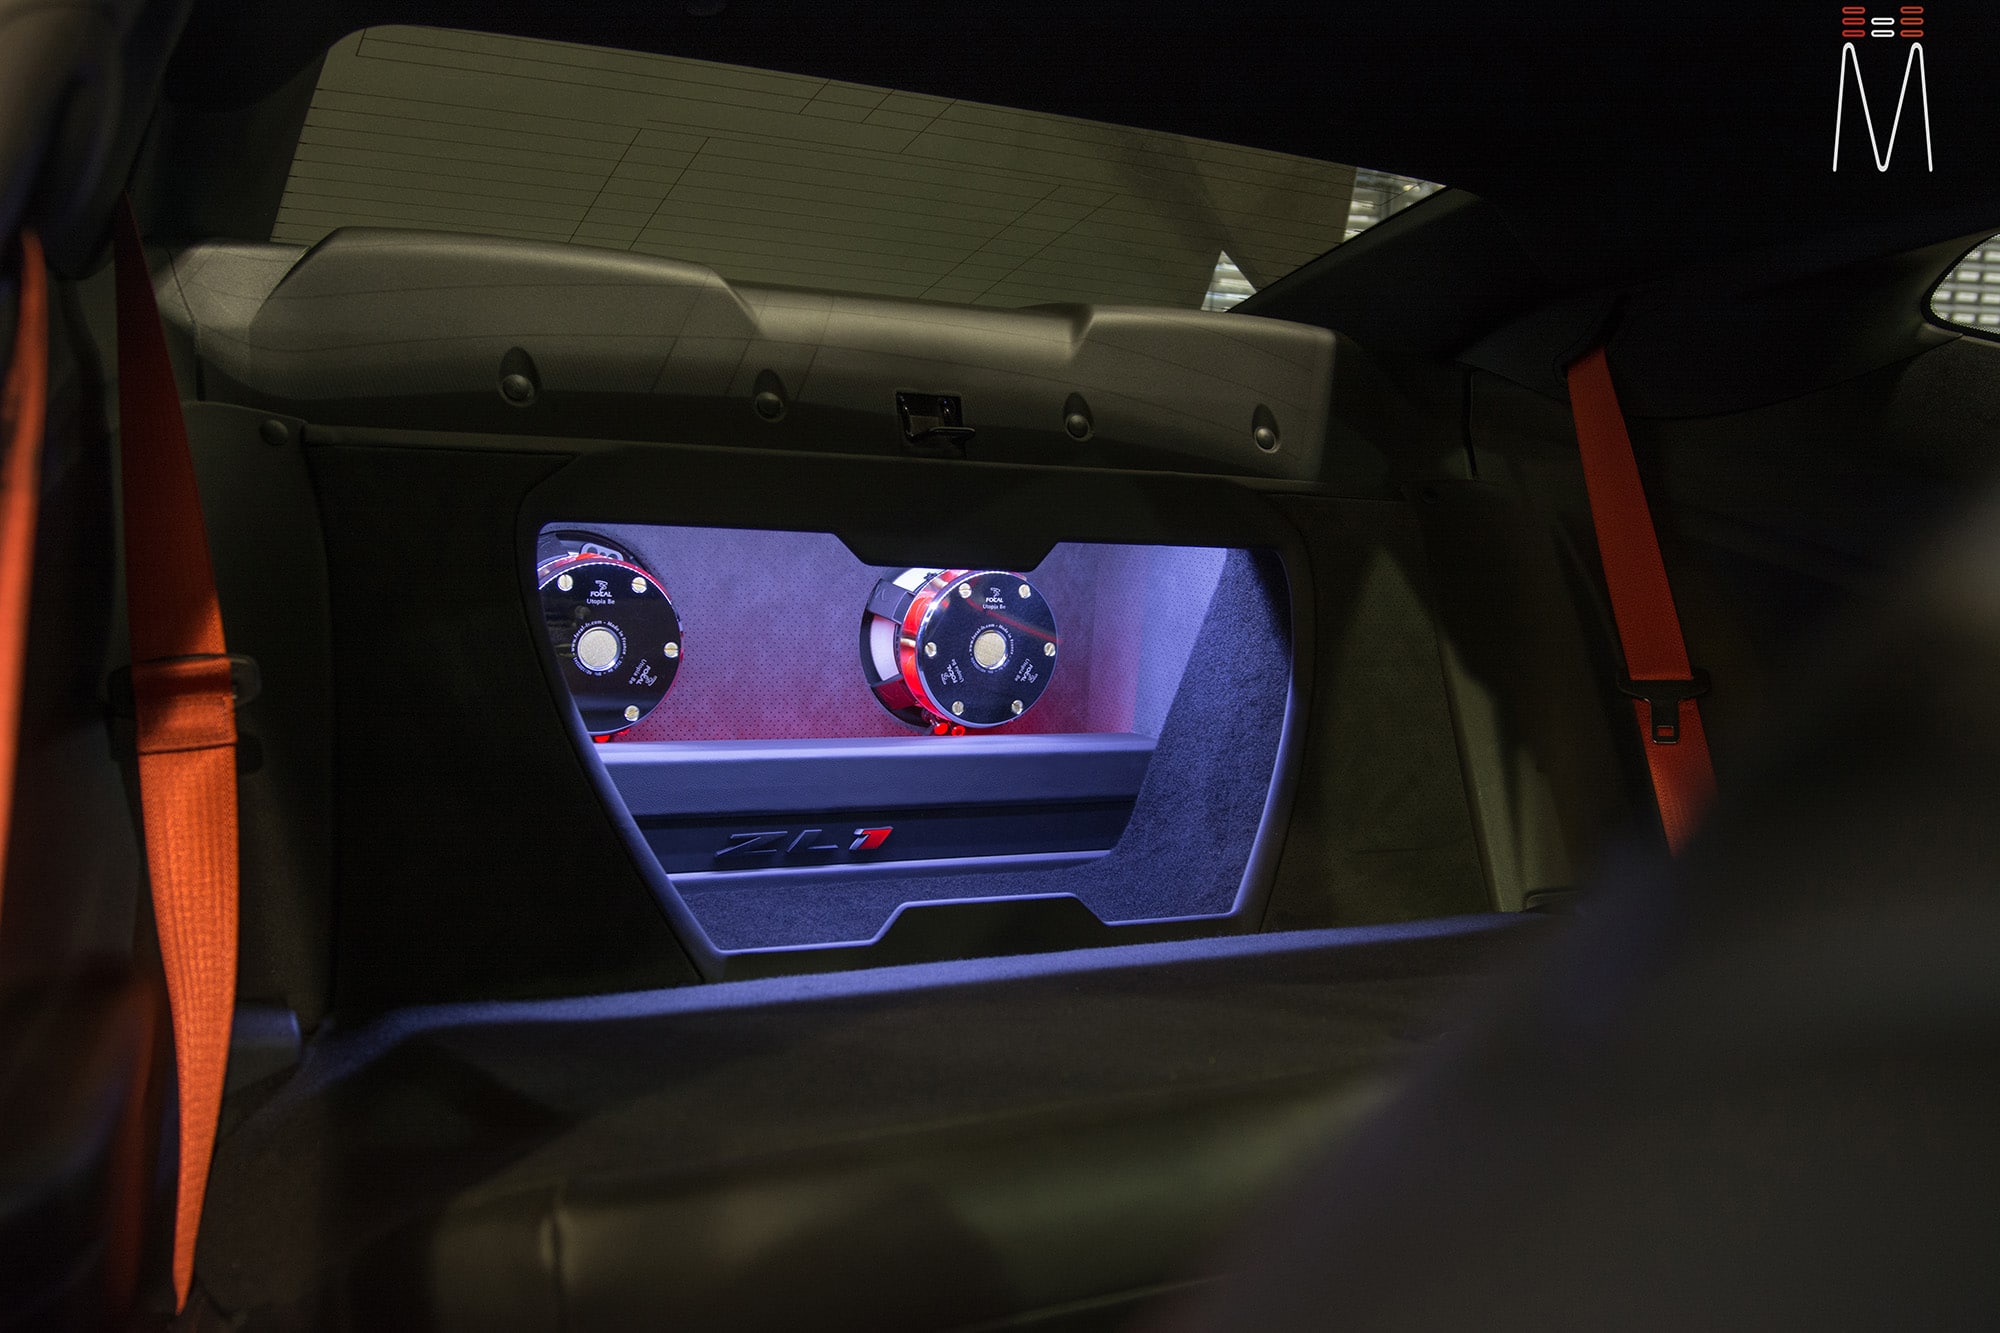
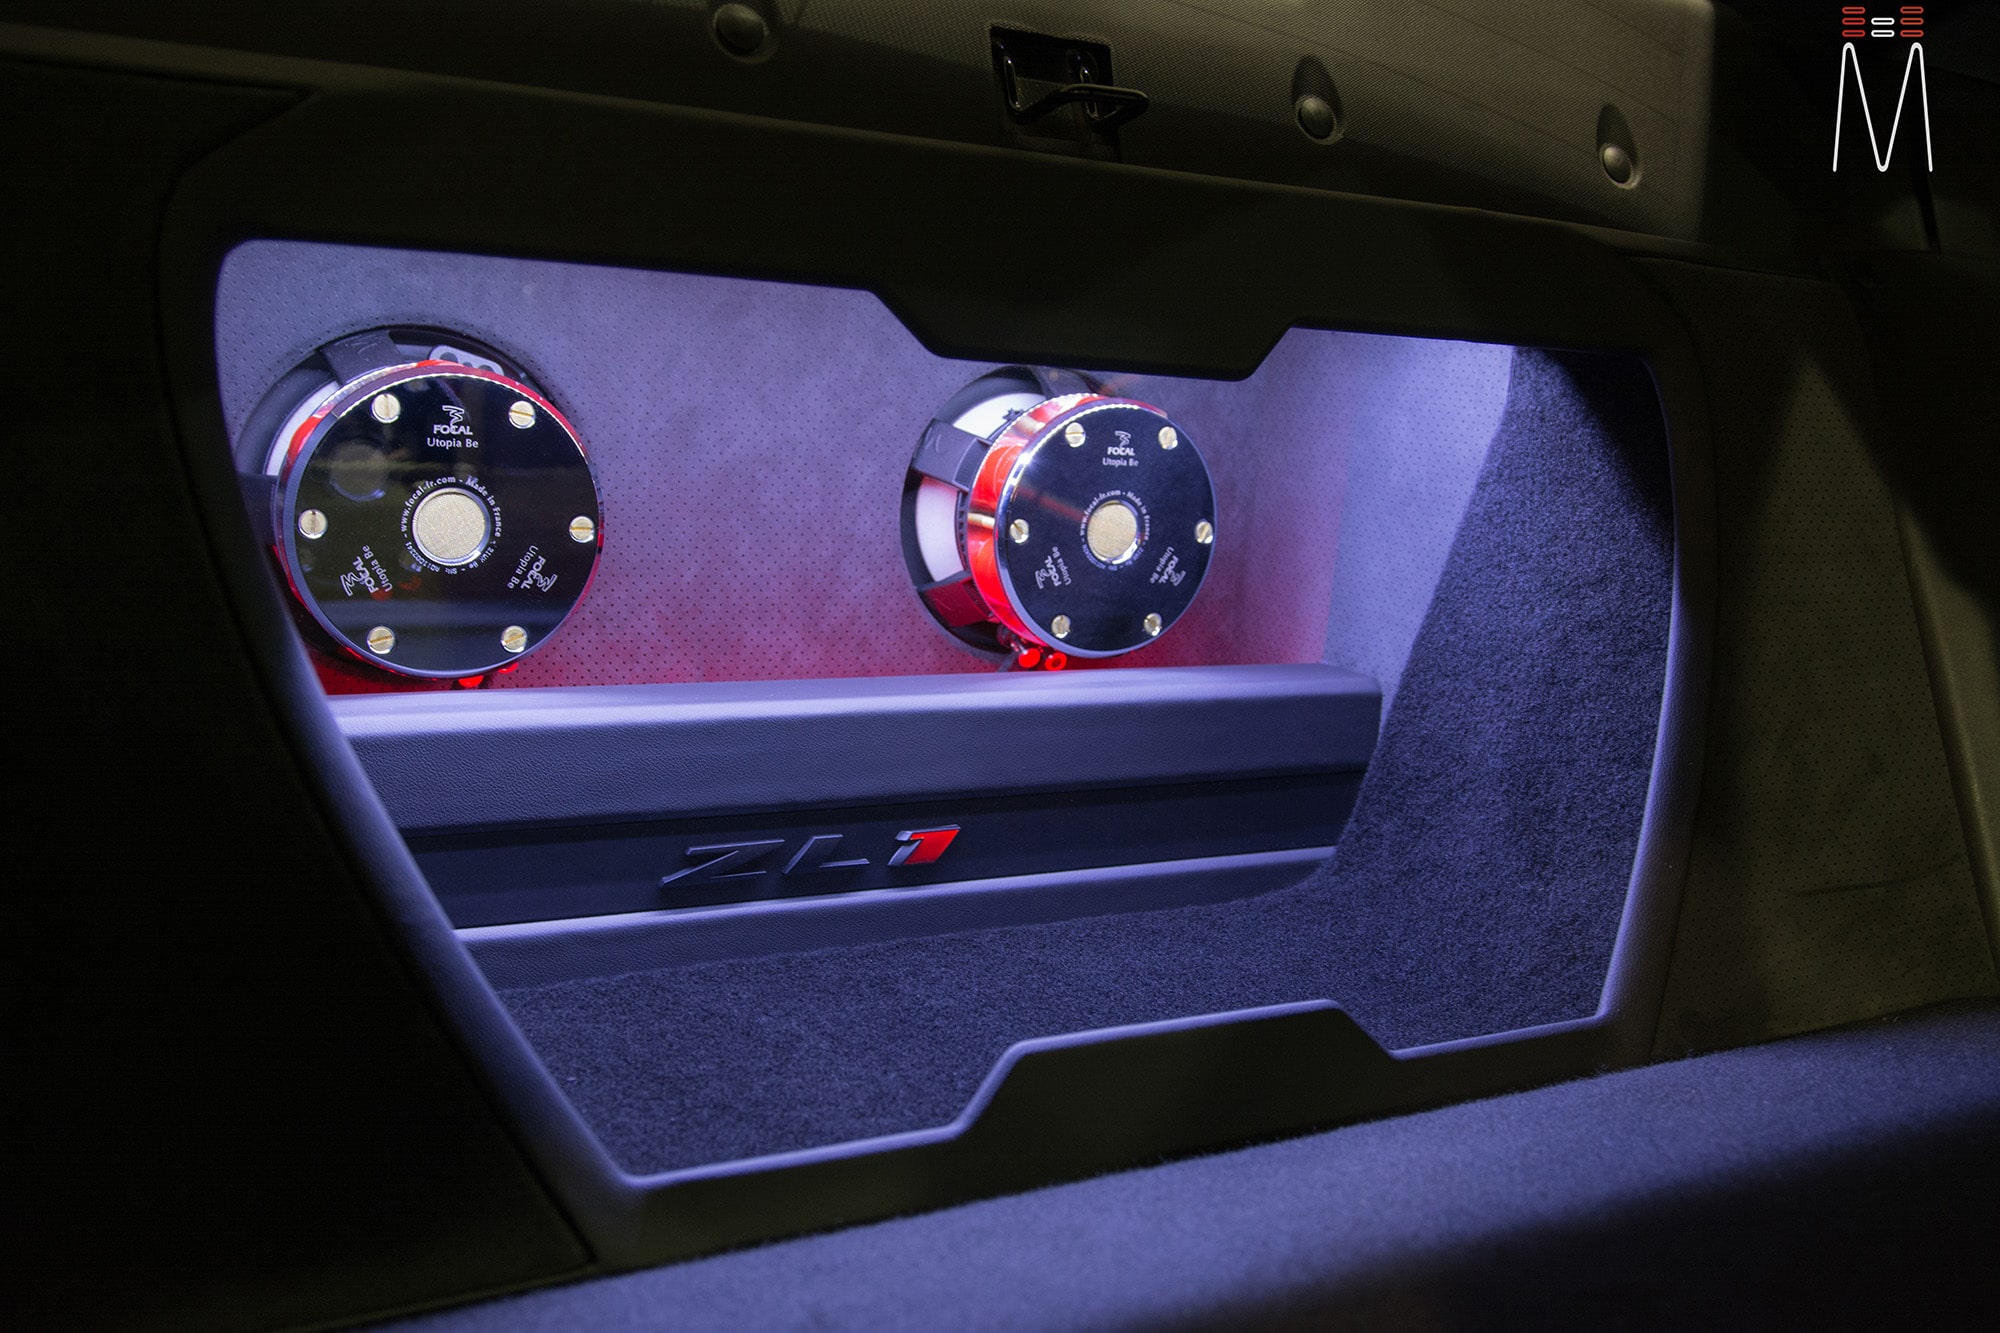
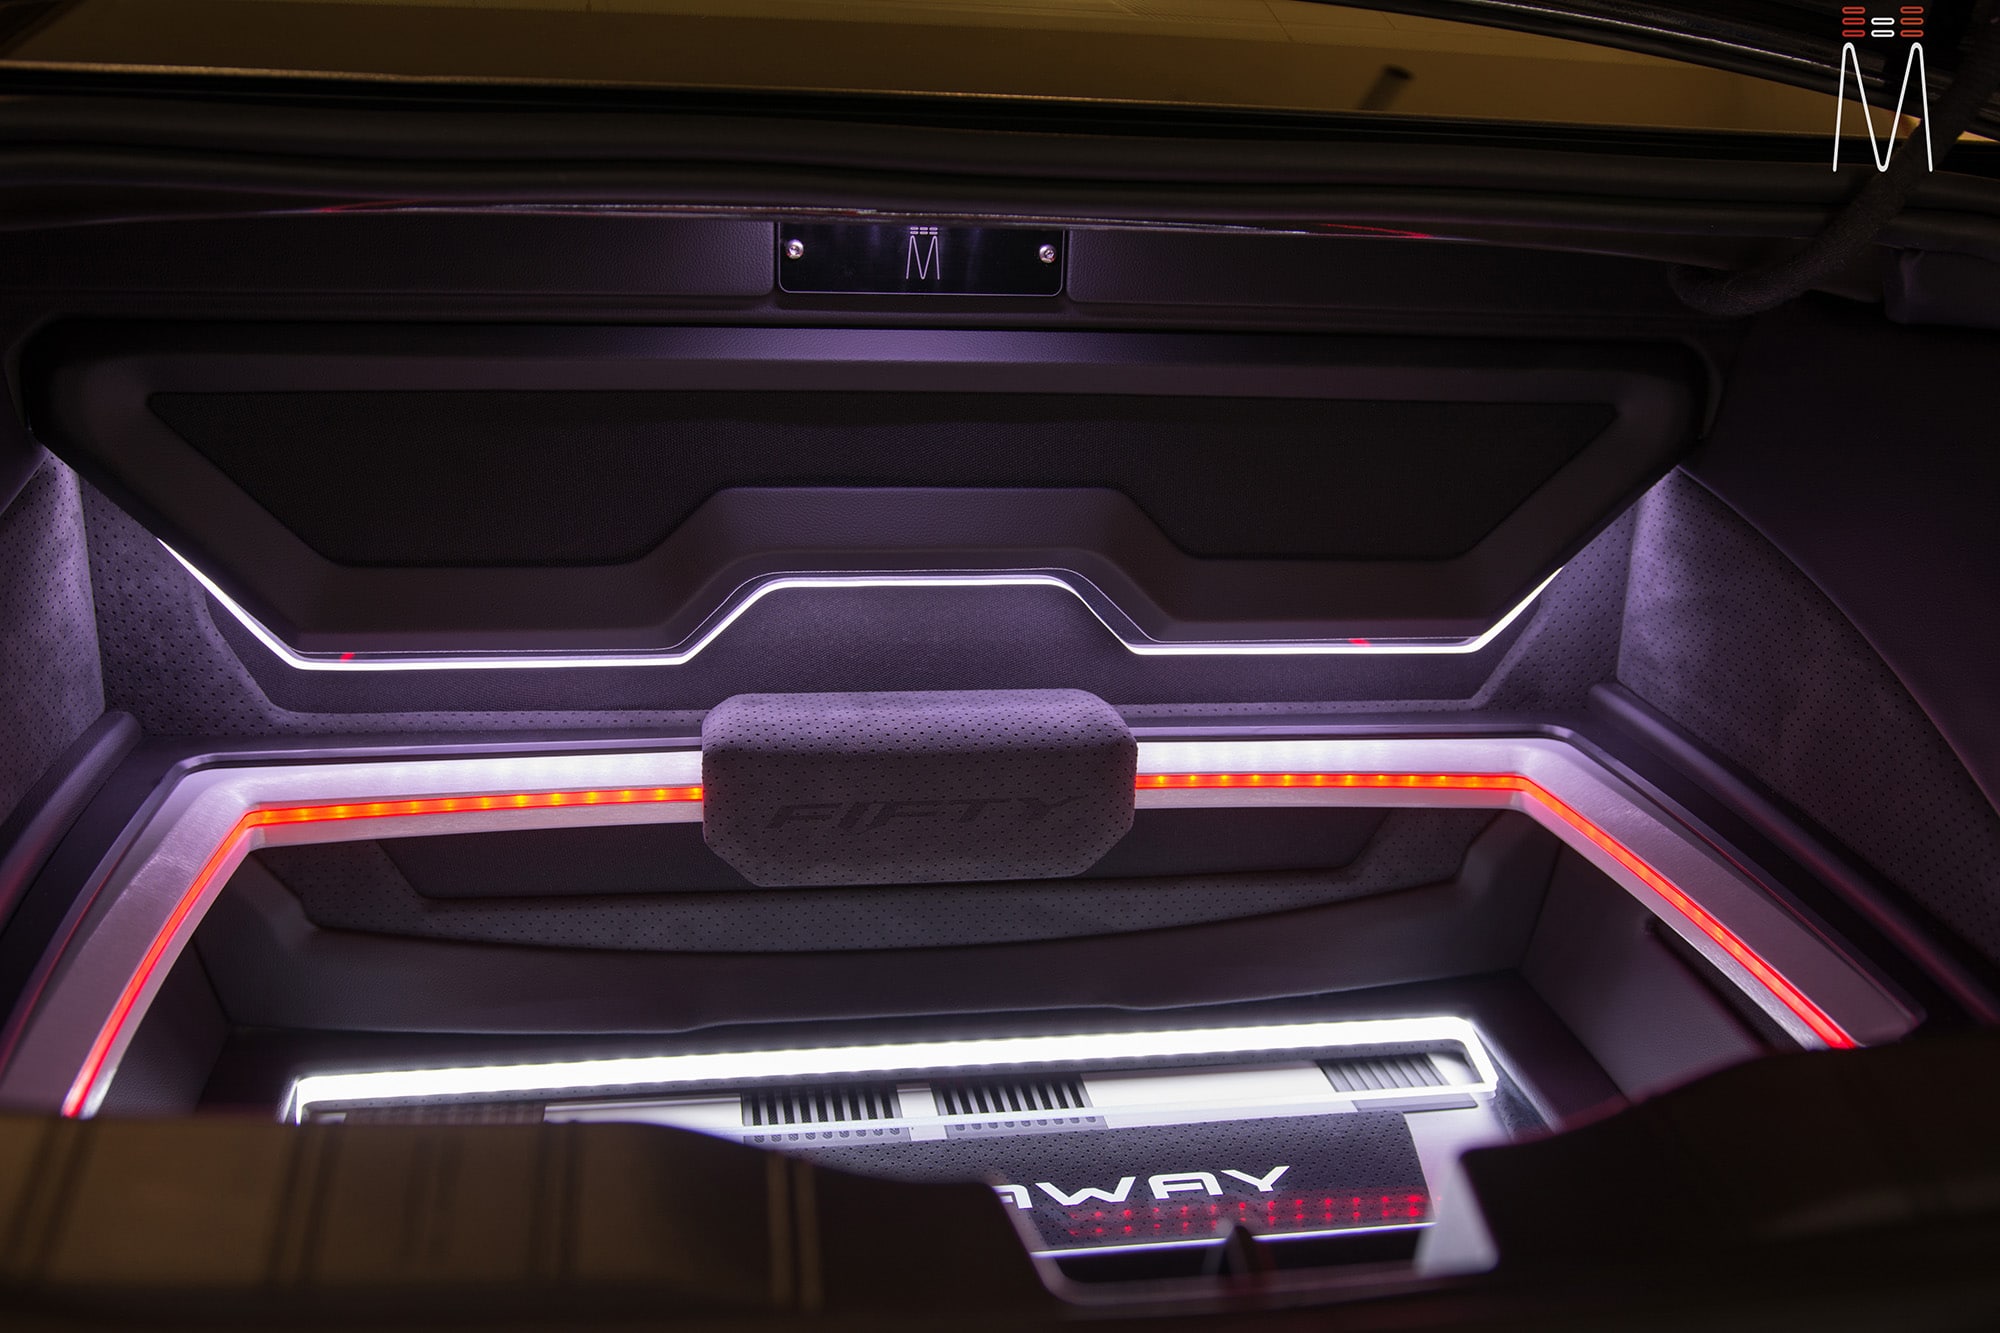
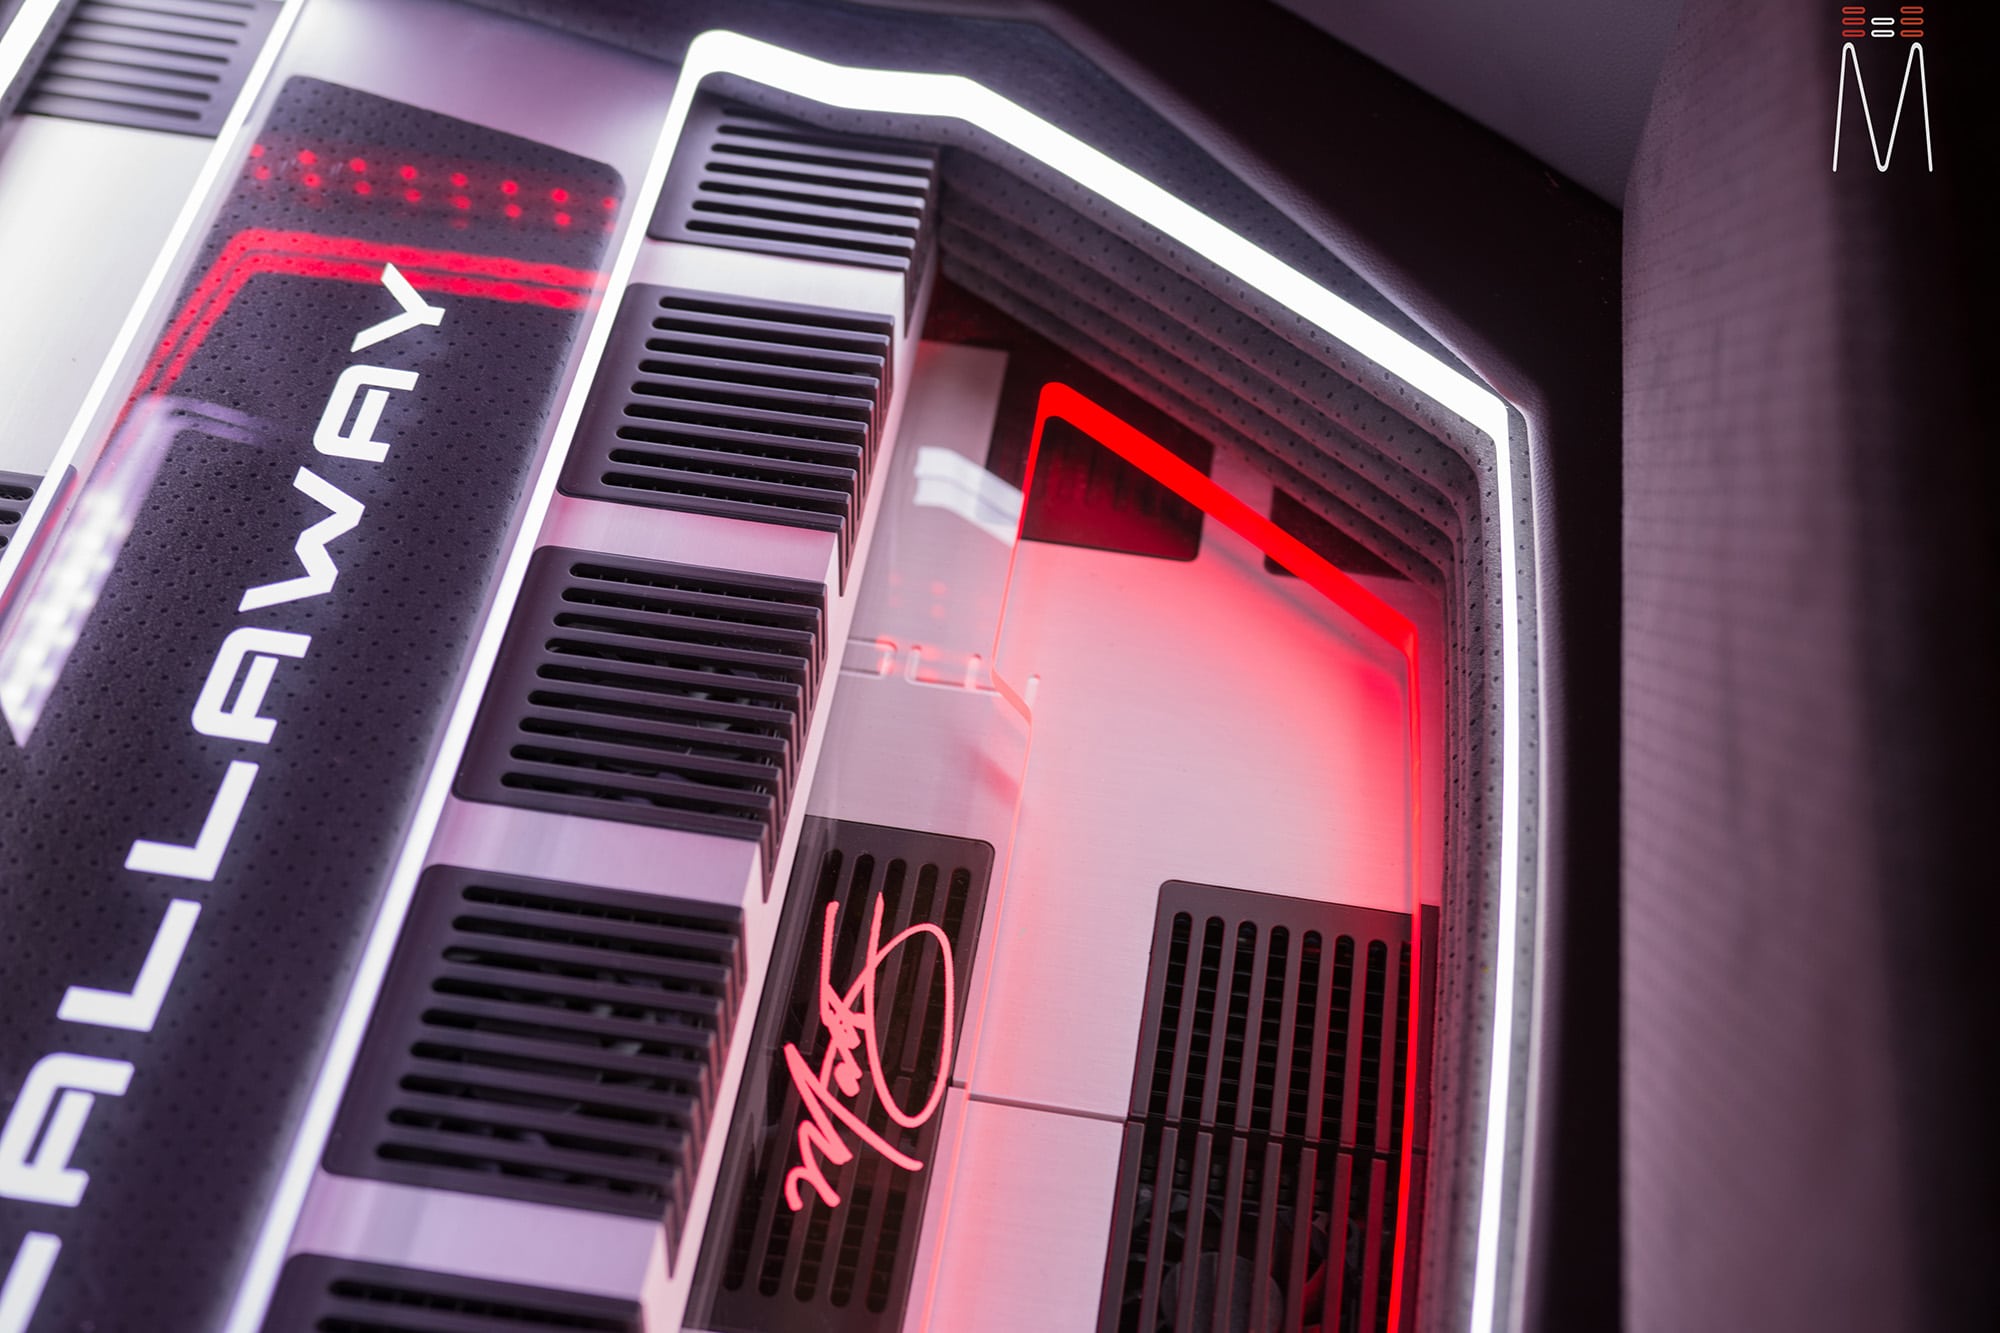
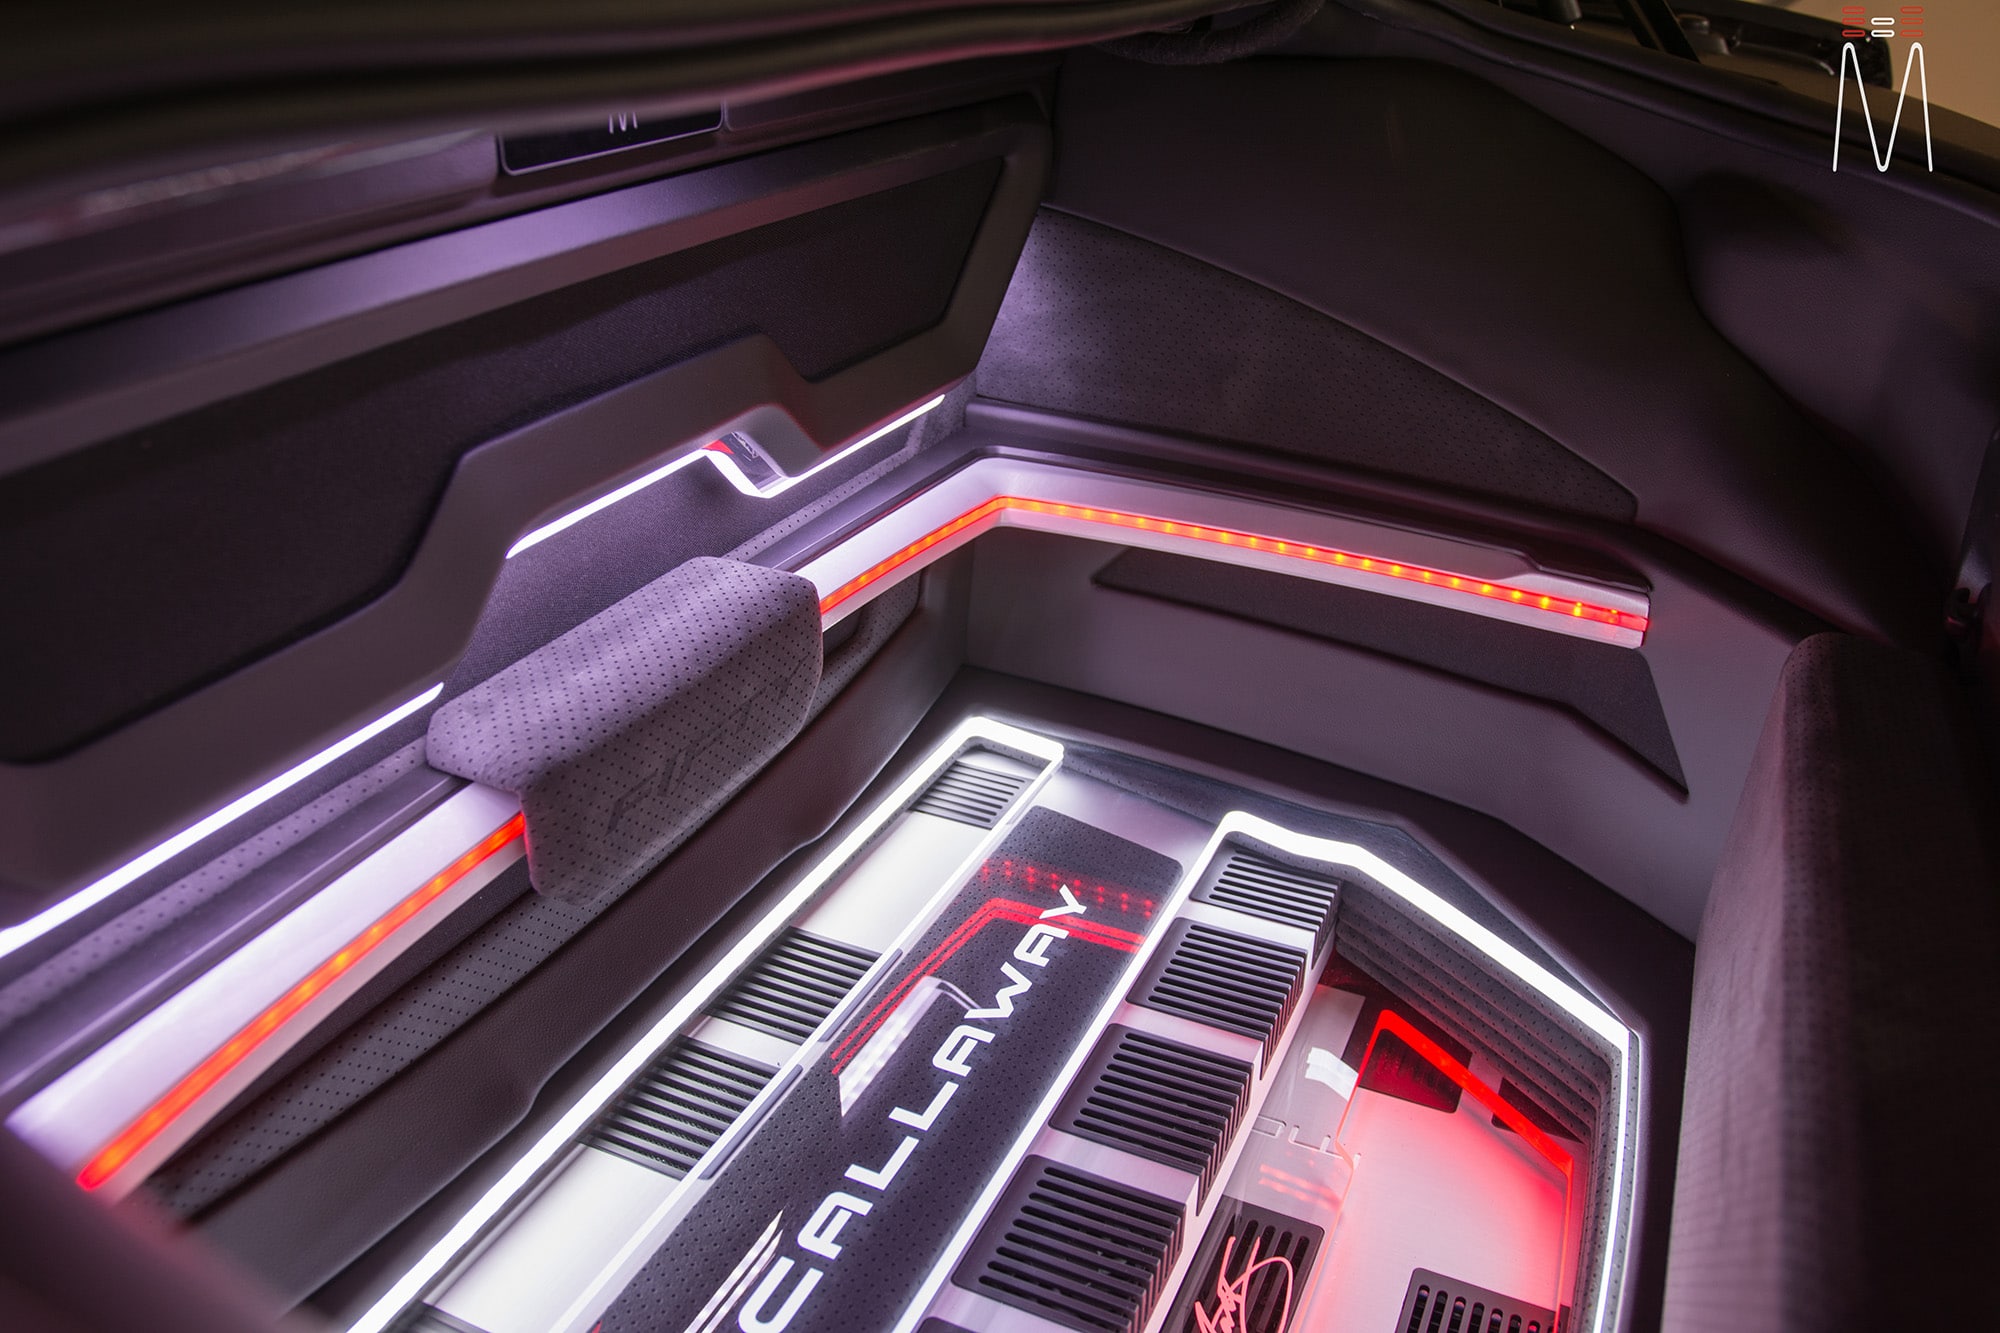
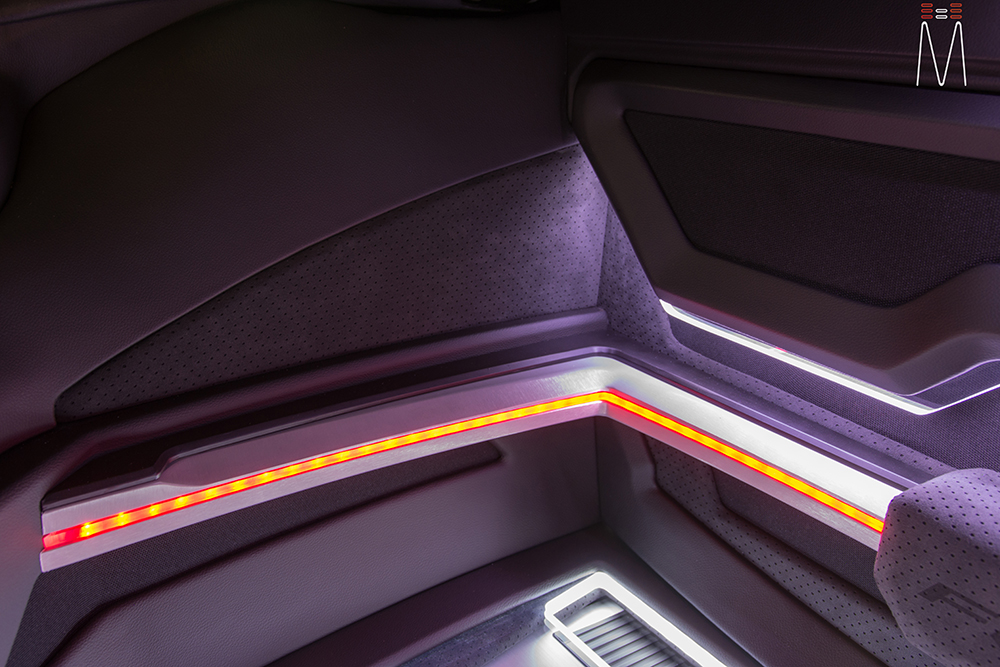
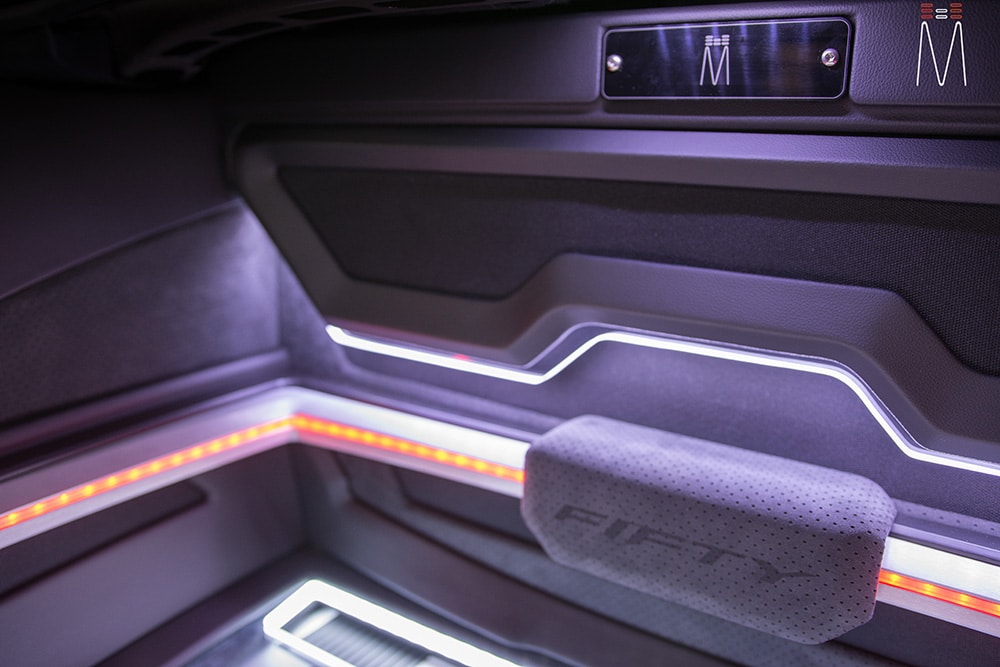
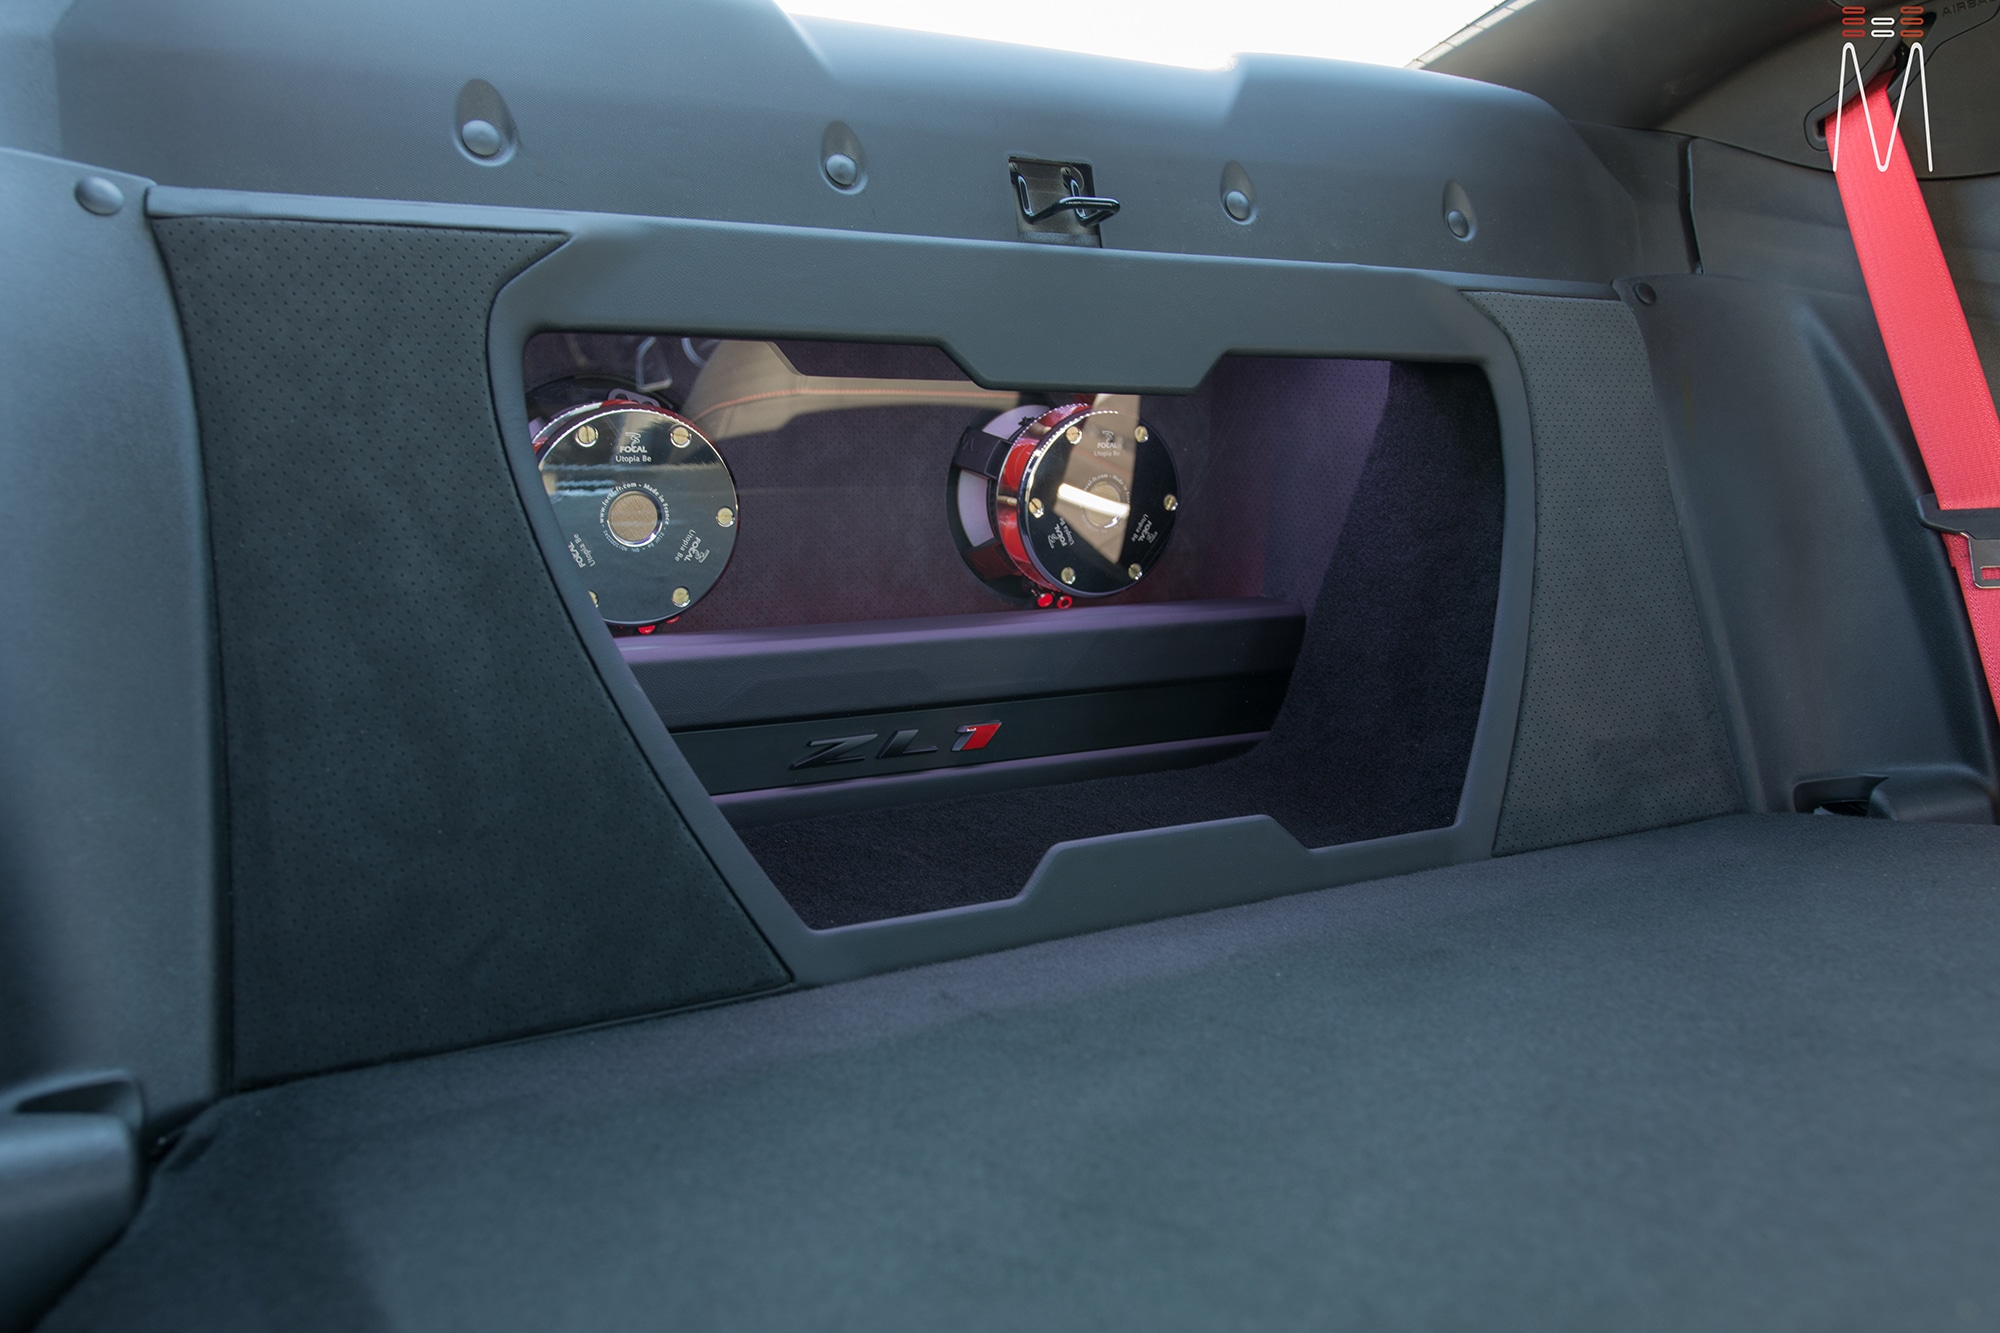
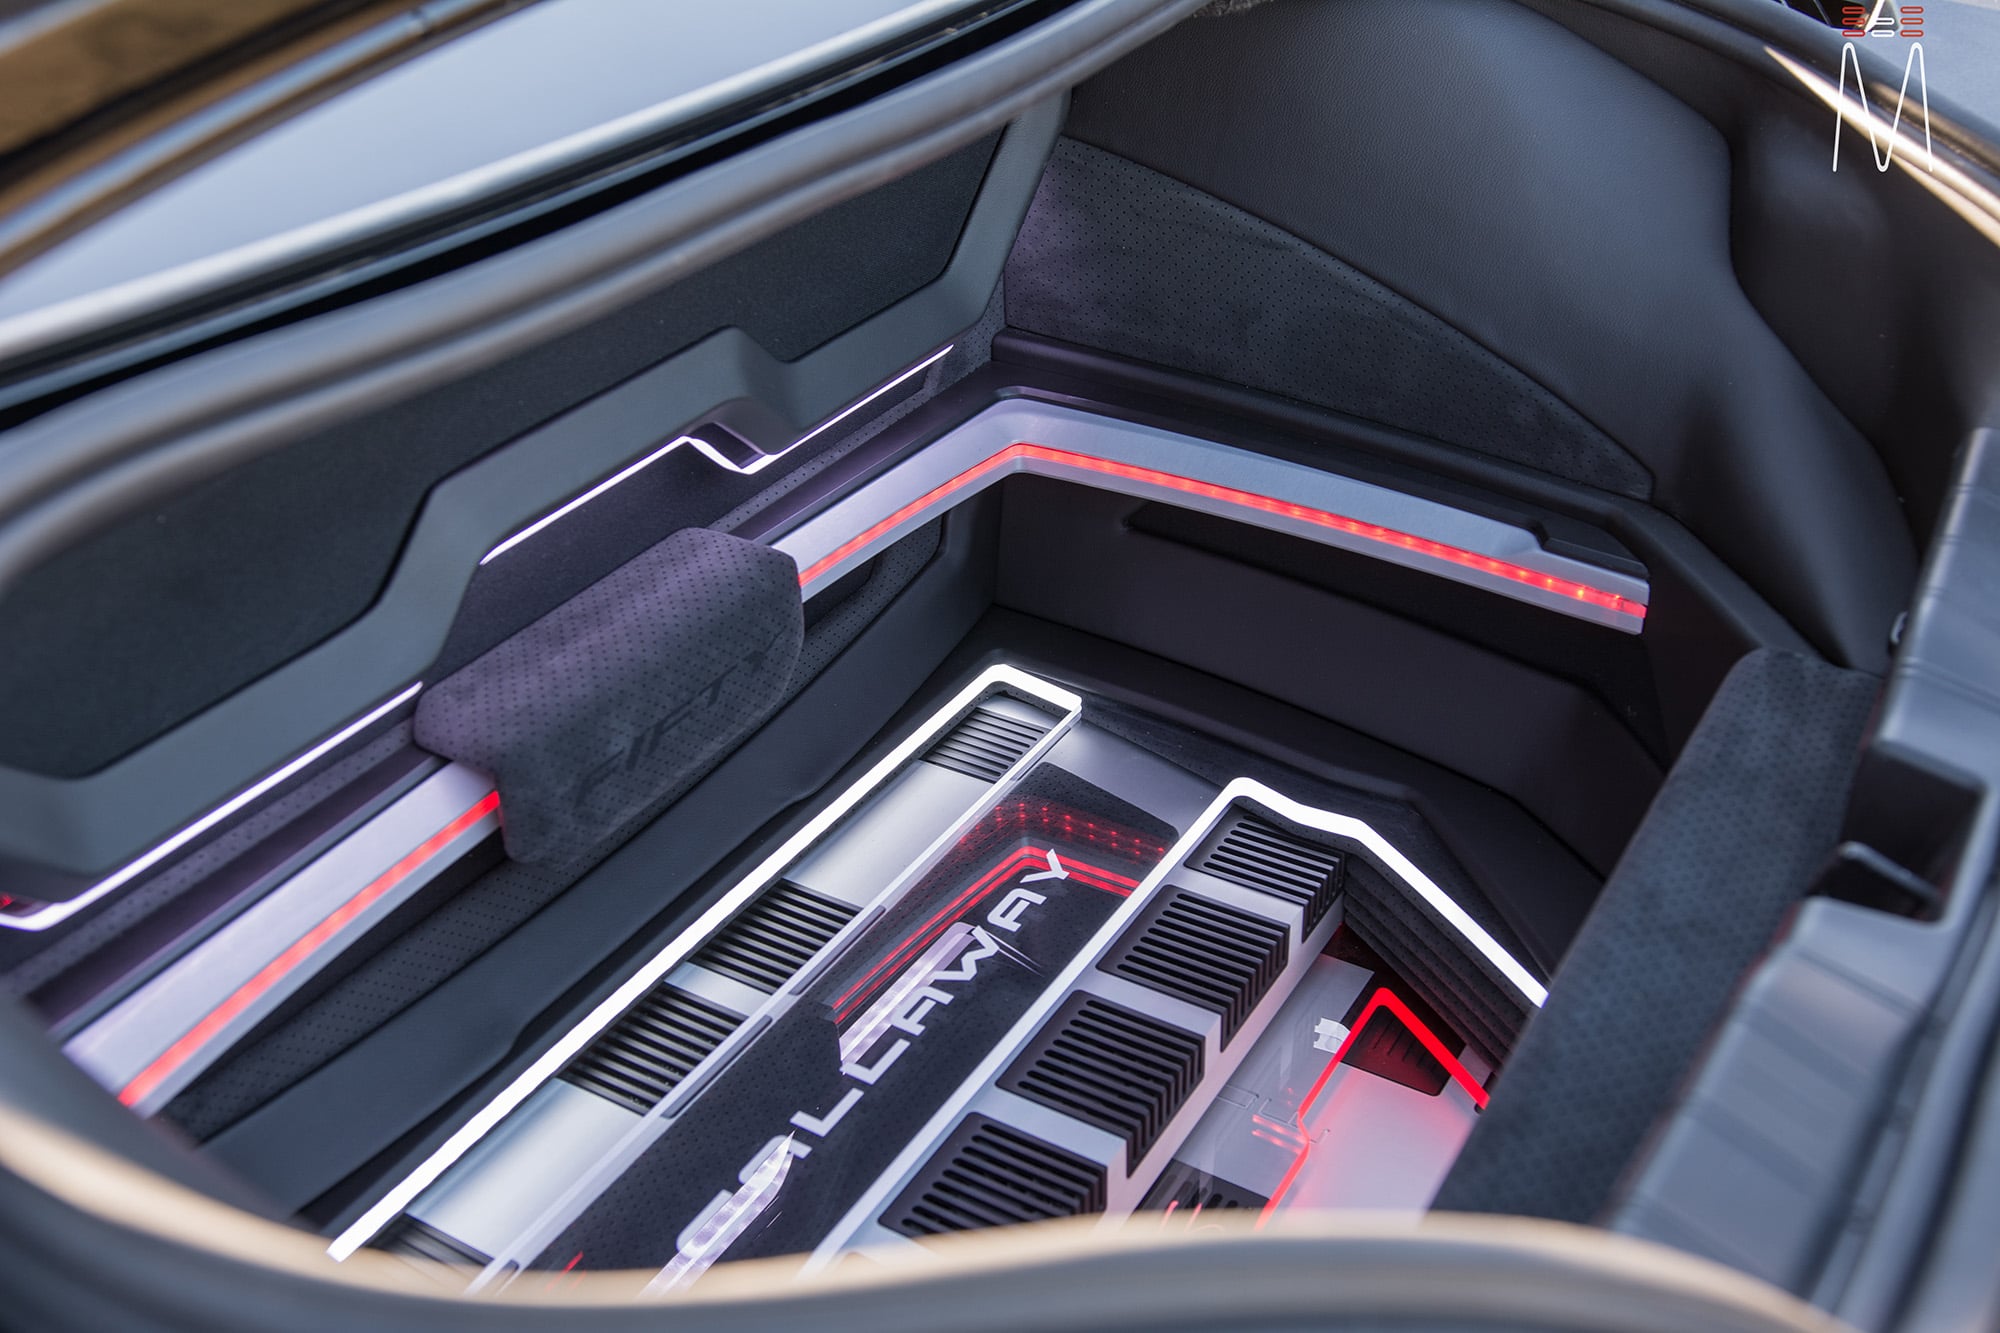
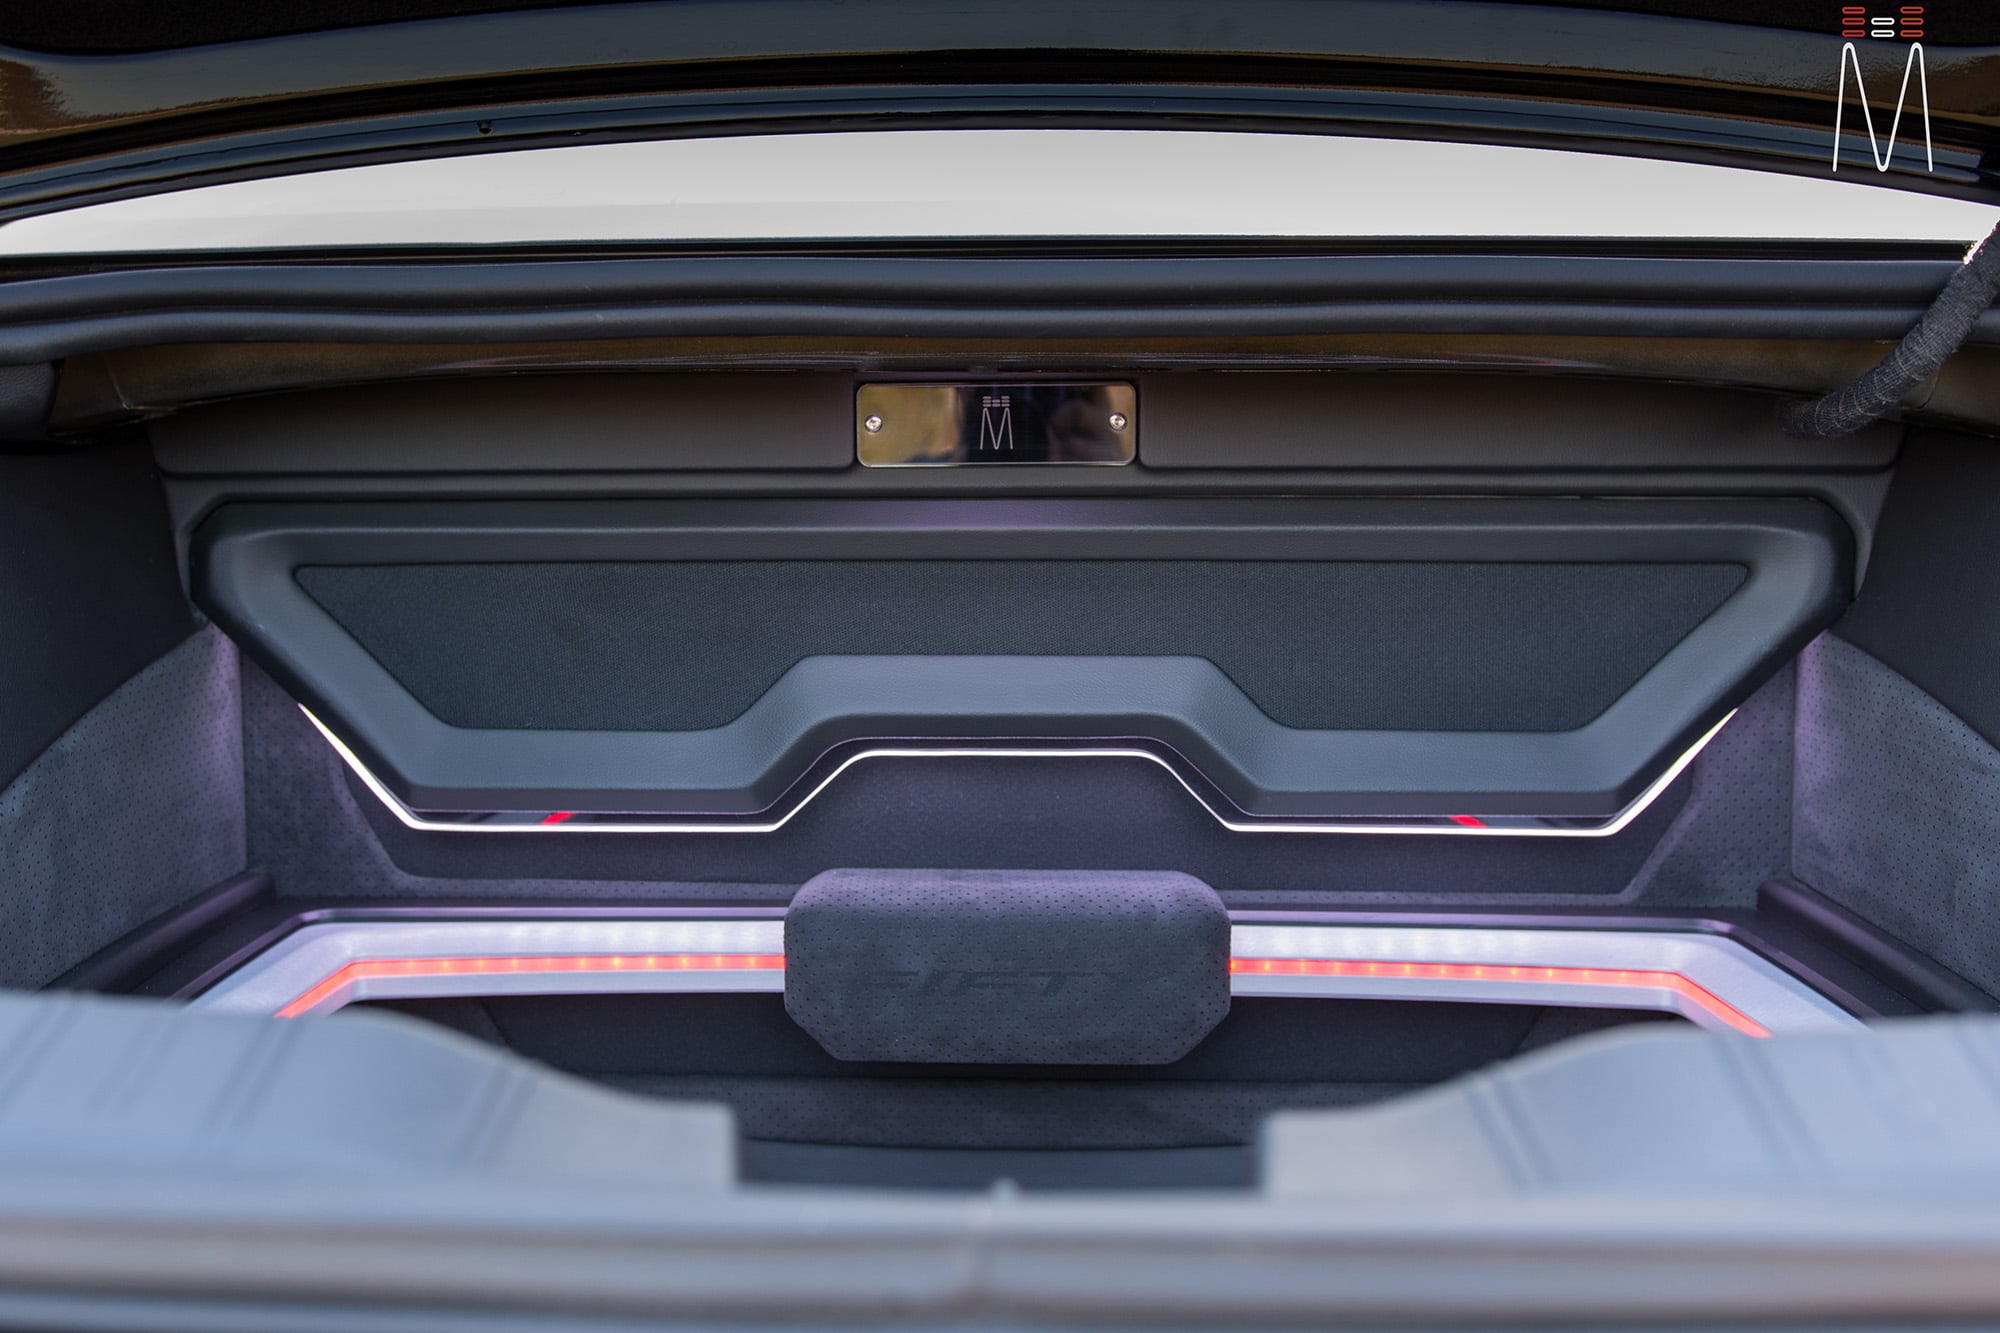
The subwoofers were housed in a baltic birch subwoofer enclosure with an acrylic window, which gives you sight to view the beautiful magnets. The rear of the enclosure can be viewed if you pull down the rear seat.
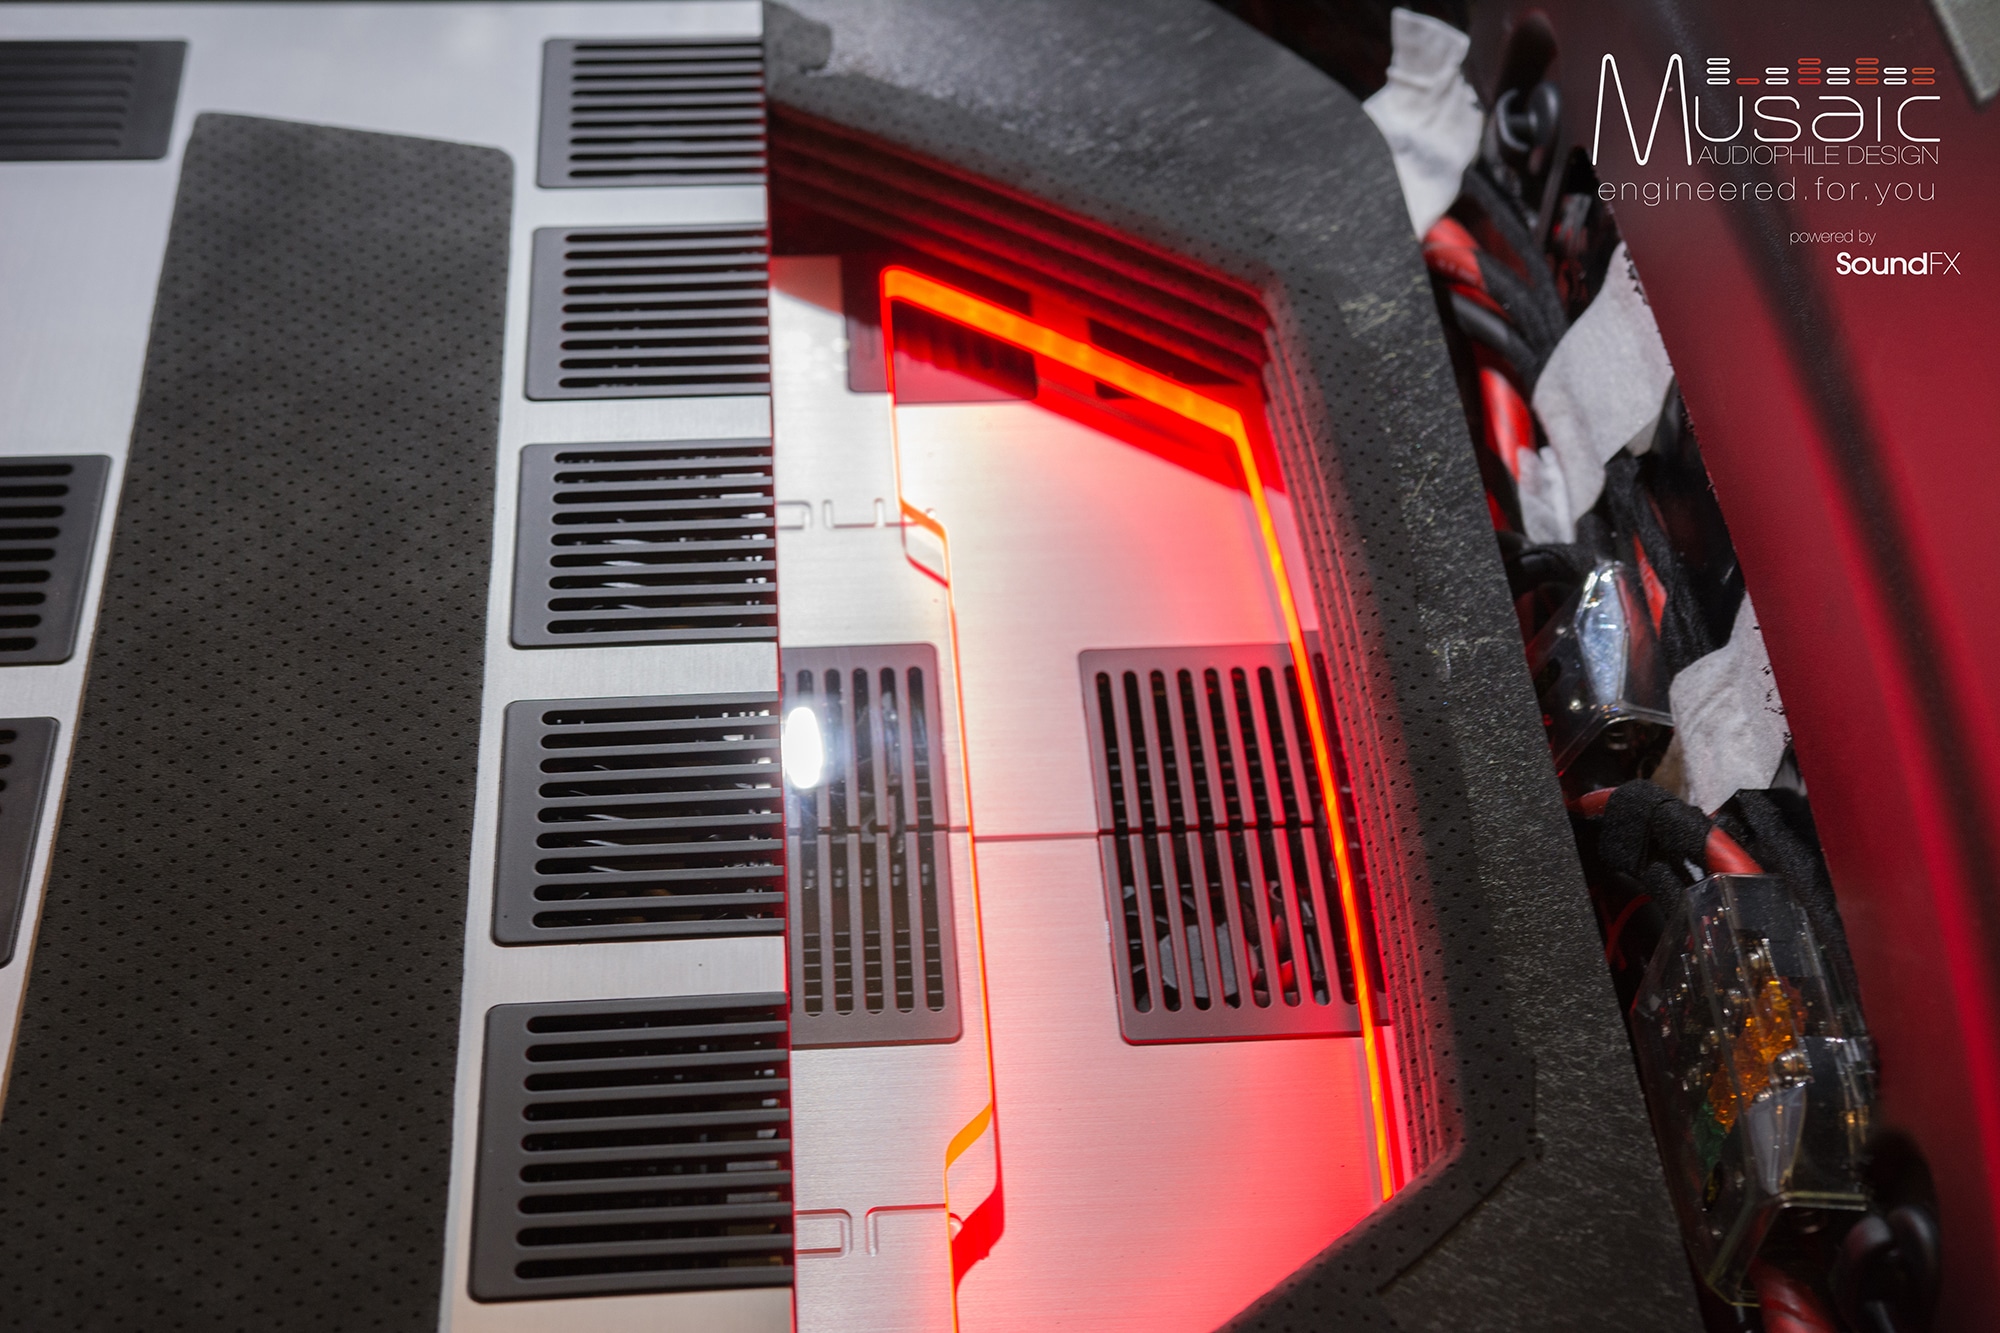
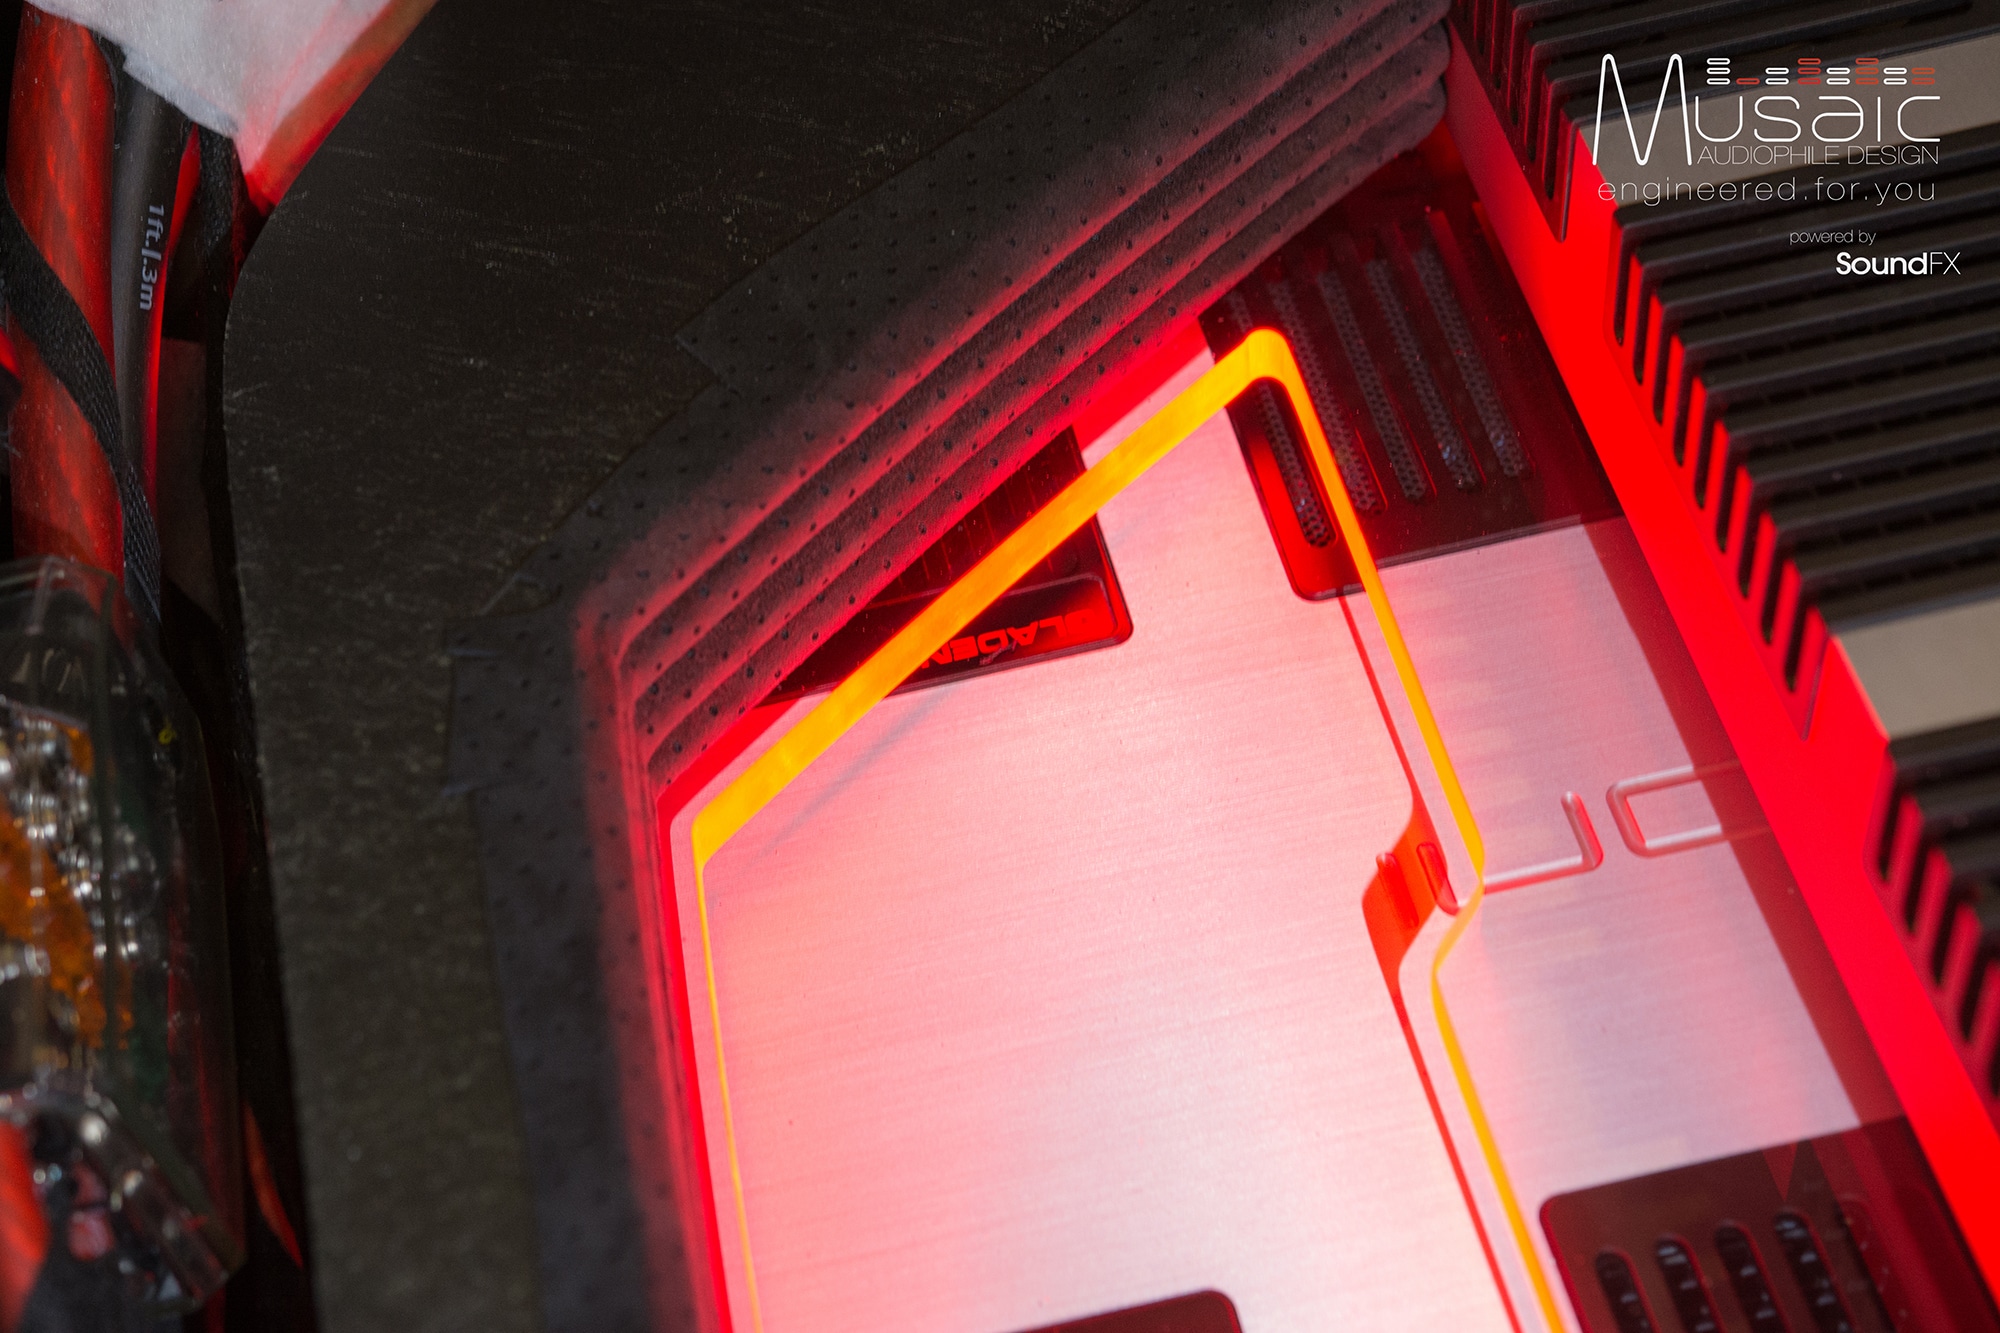
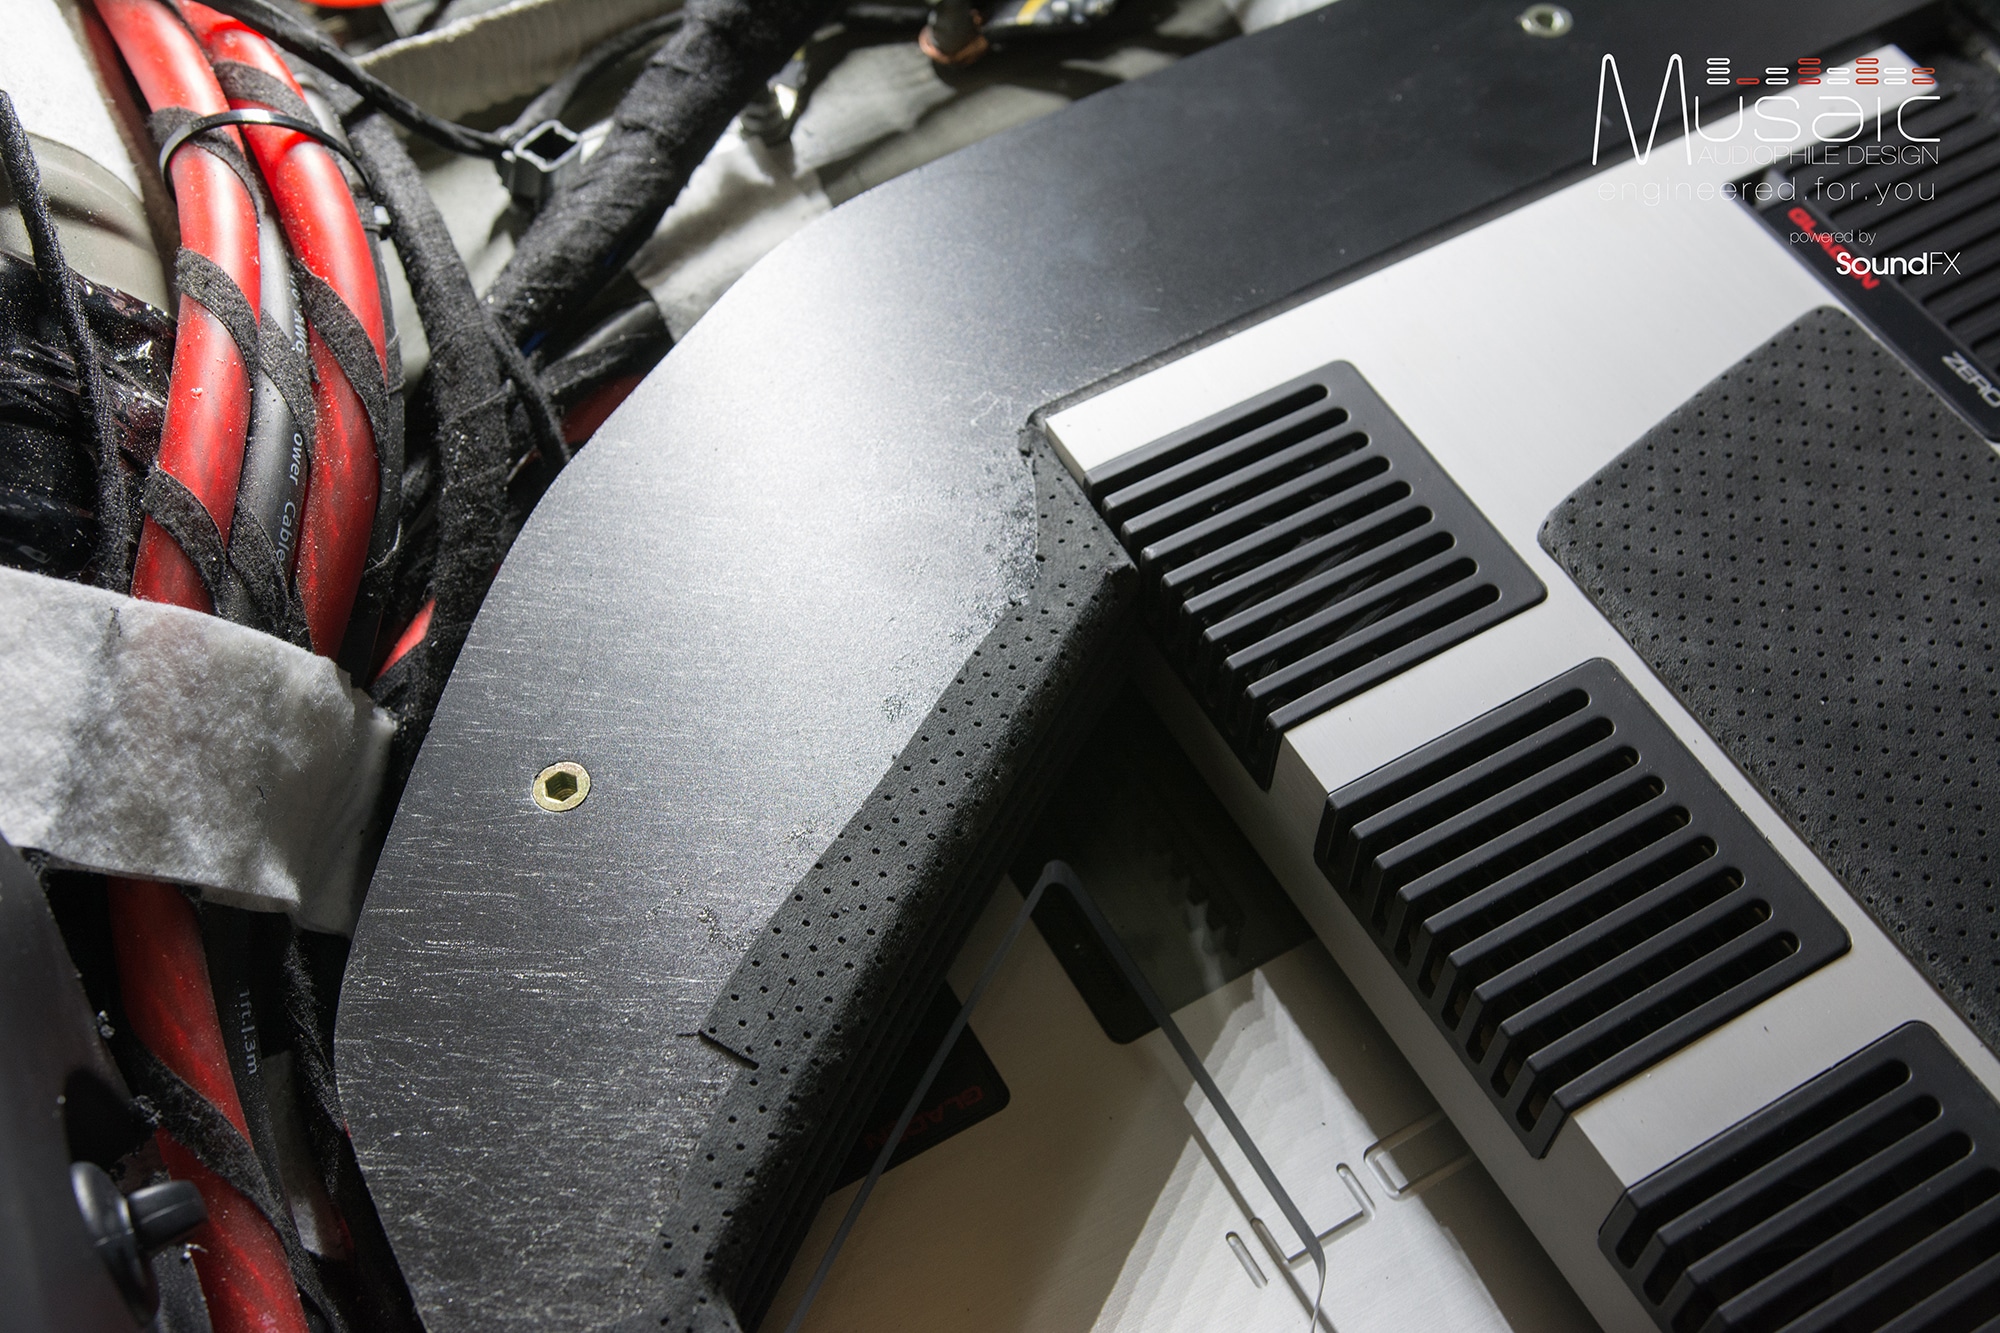
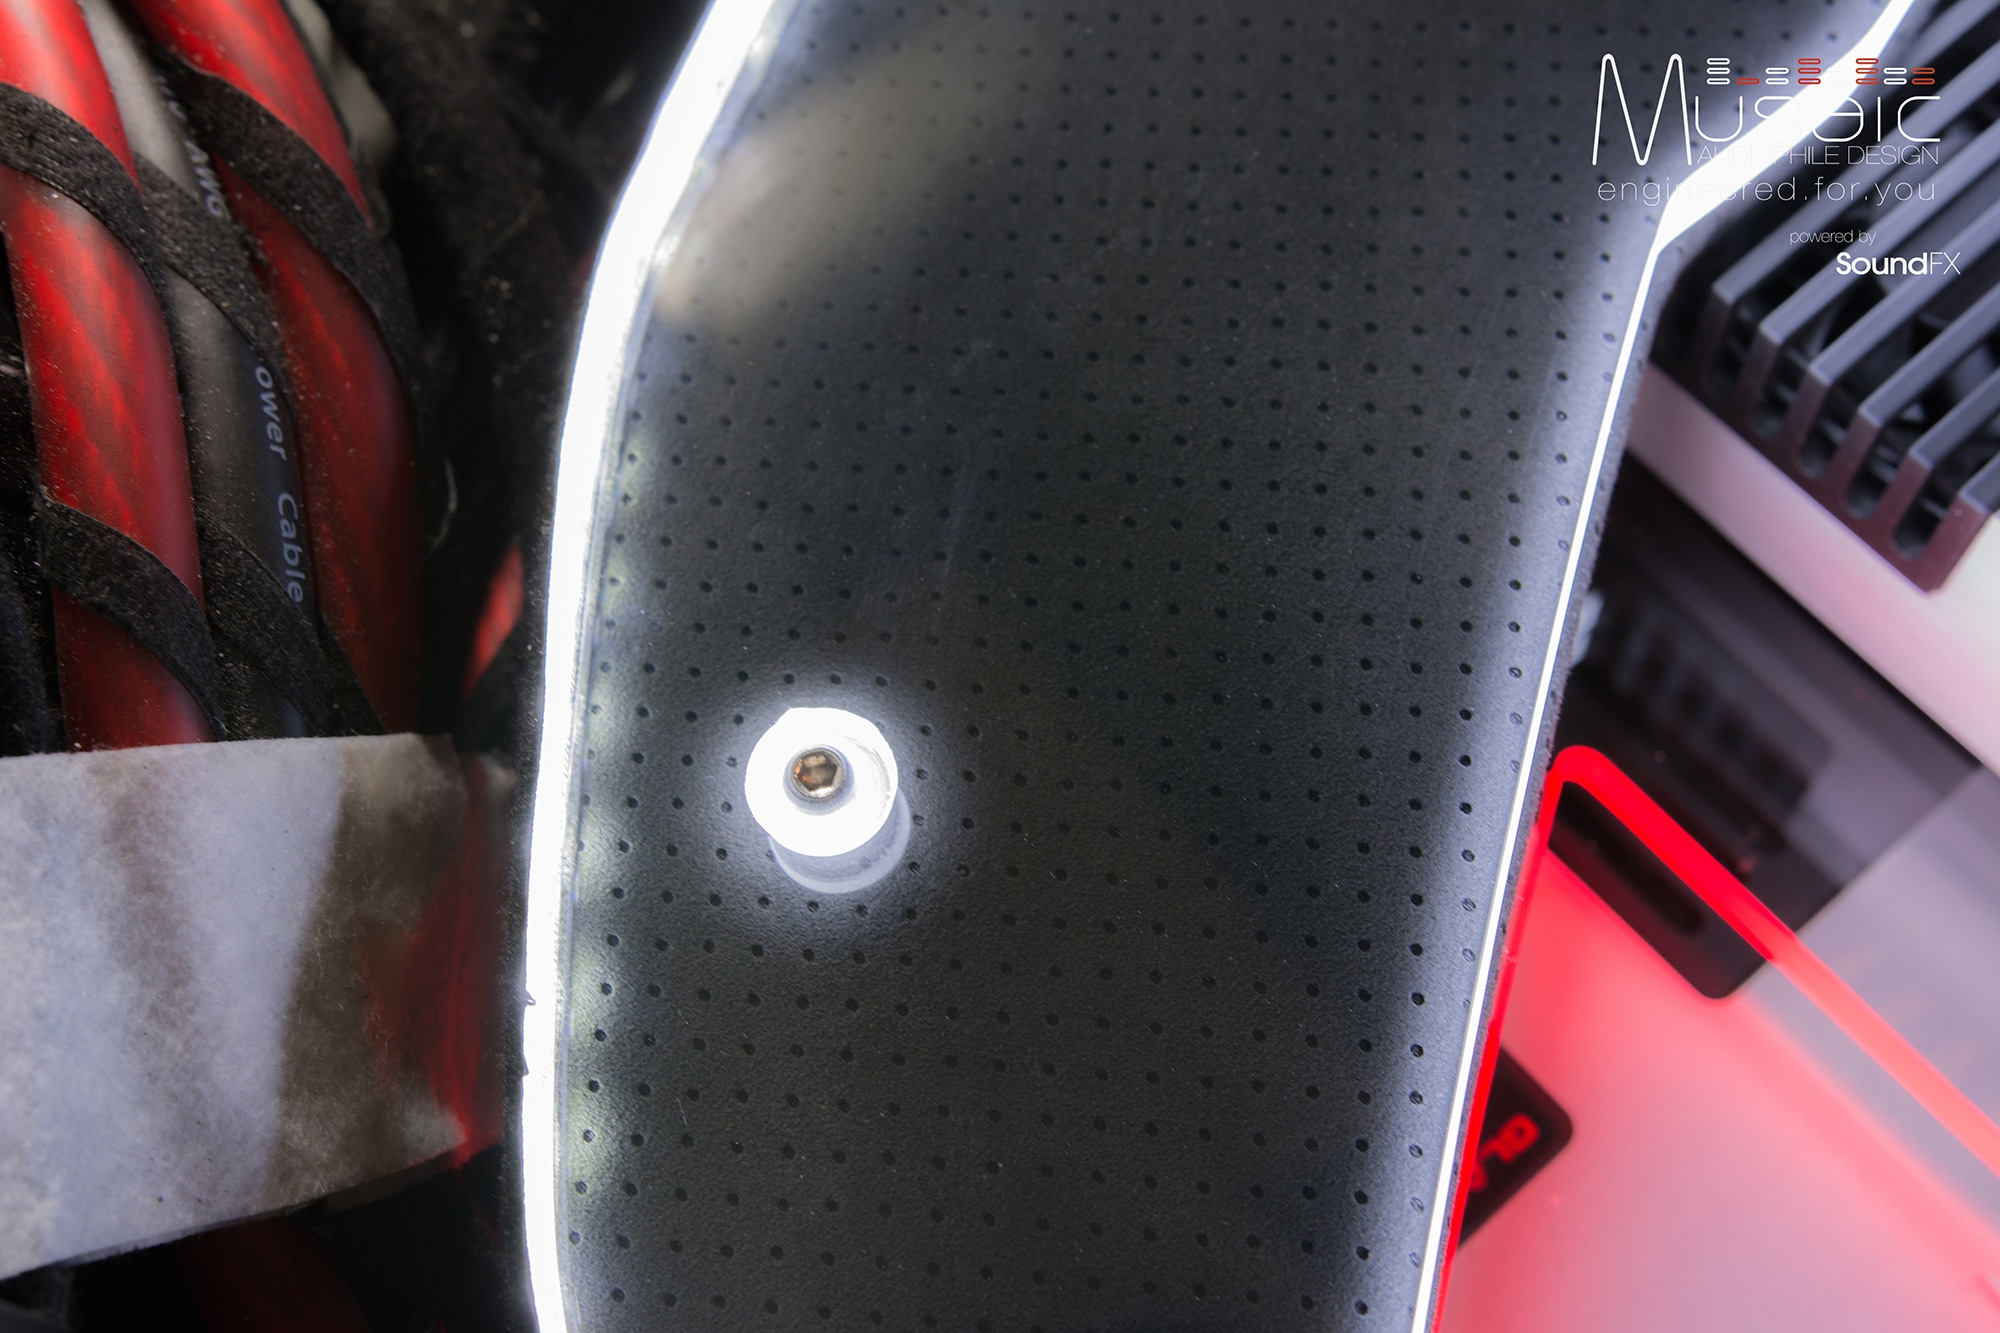
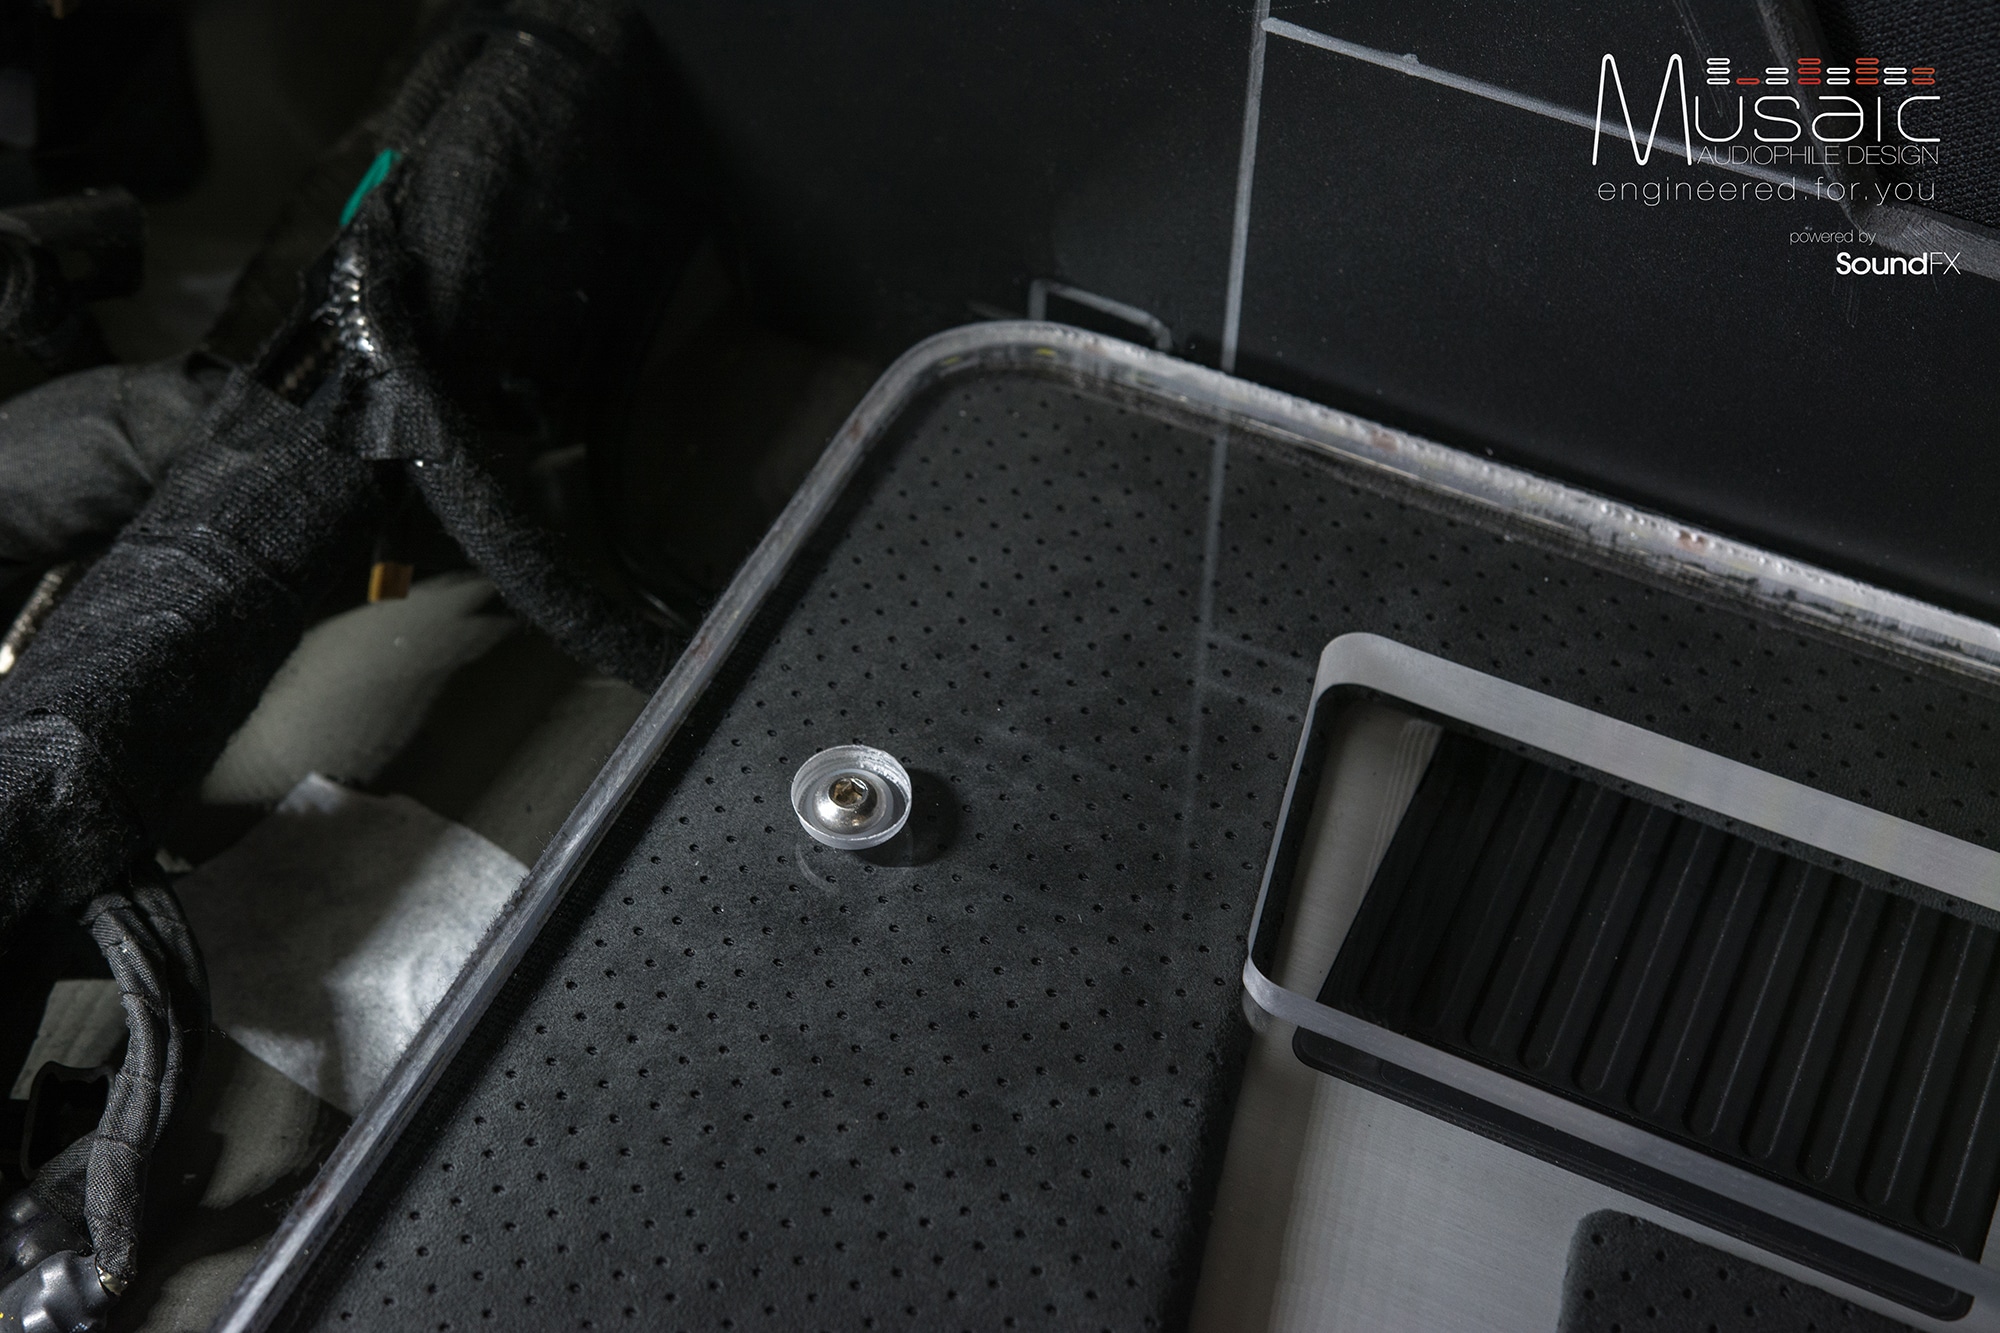
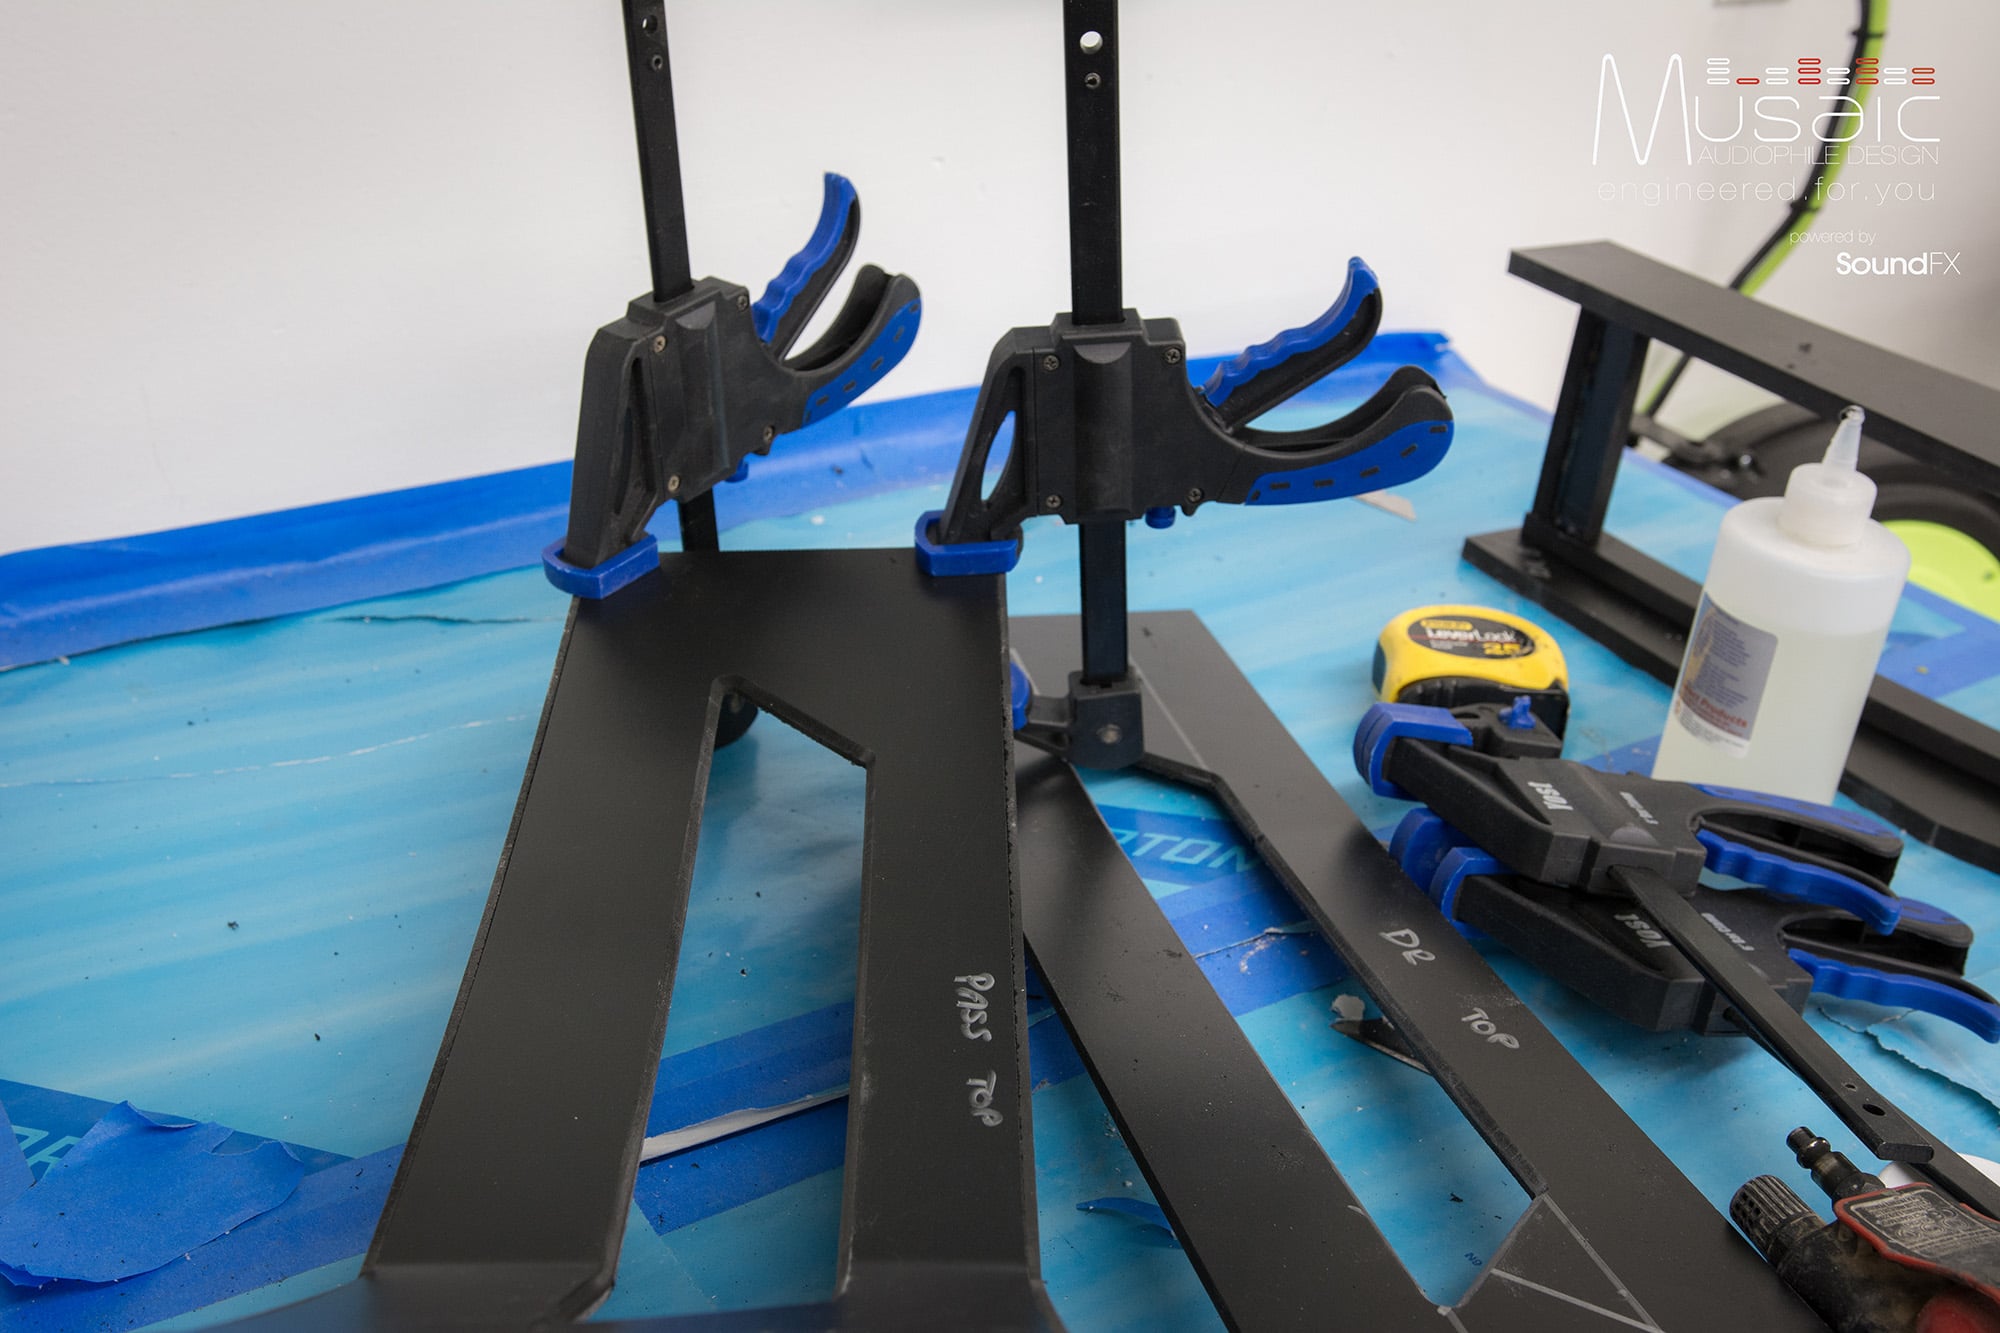
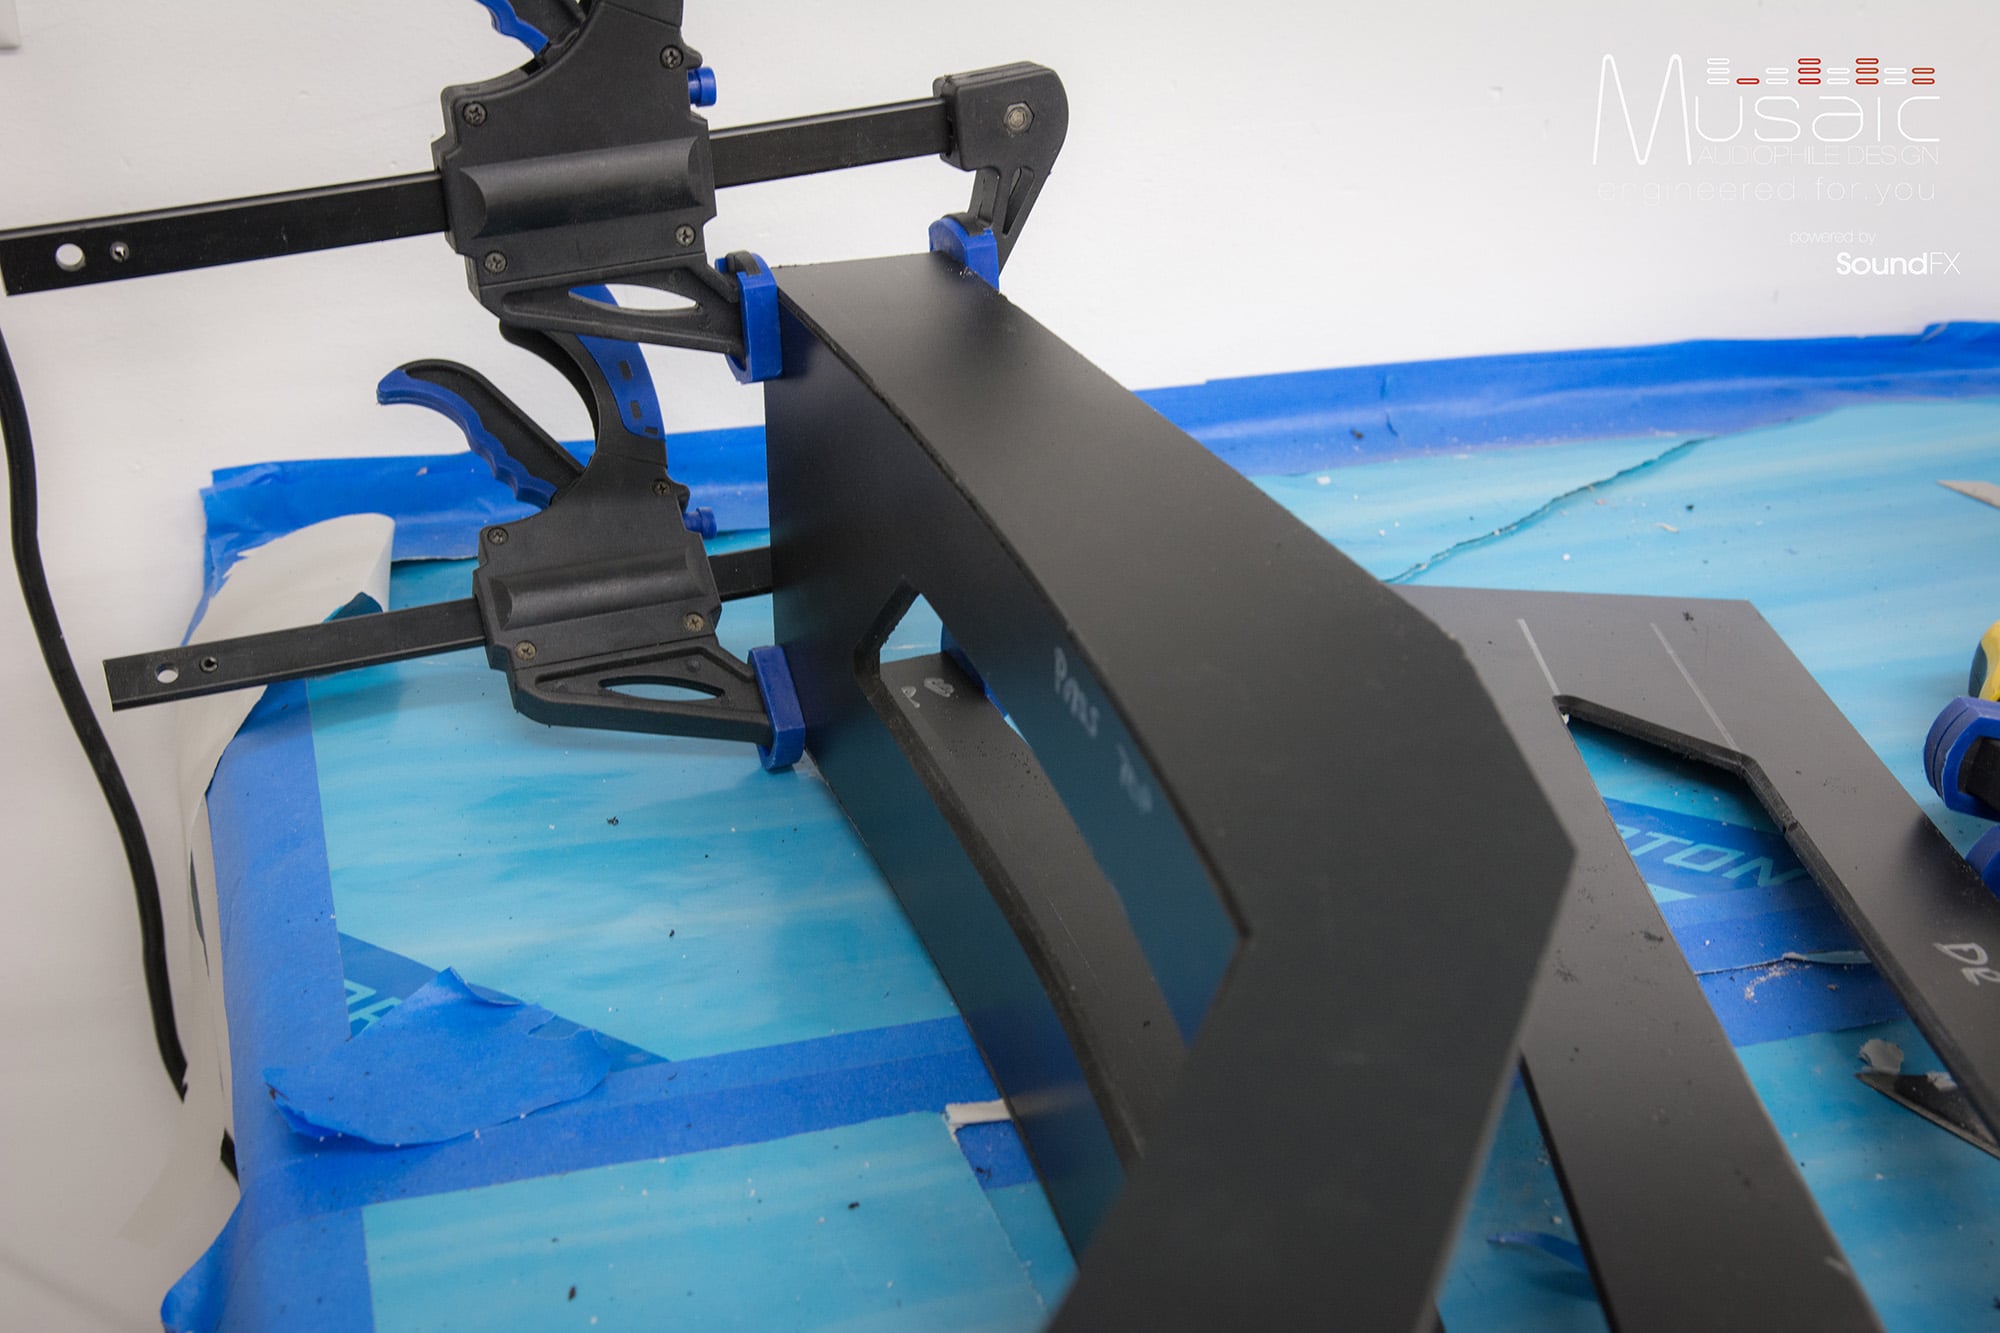
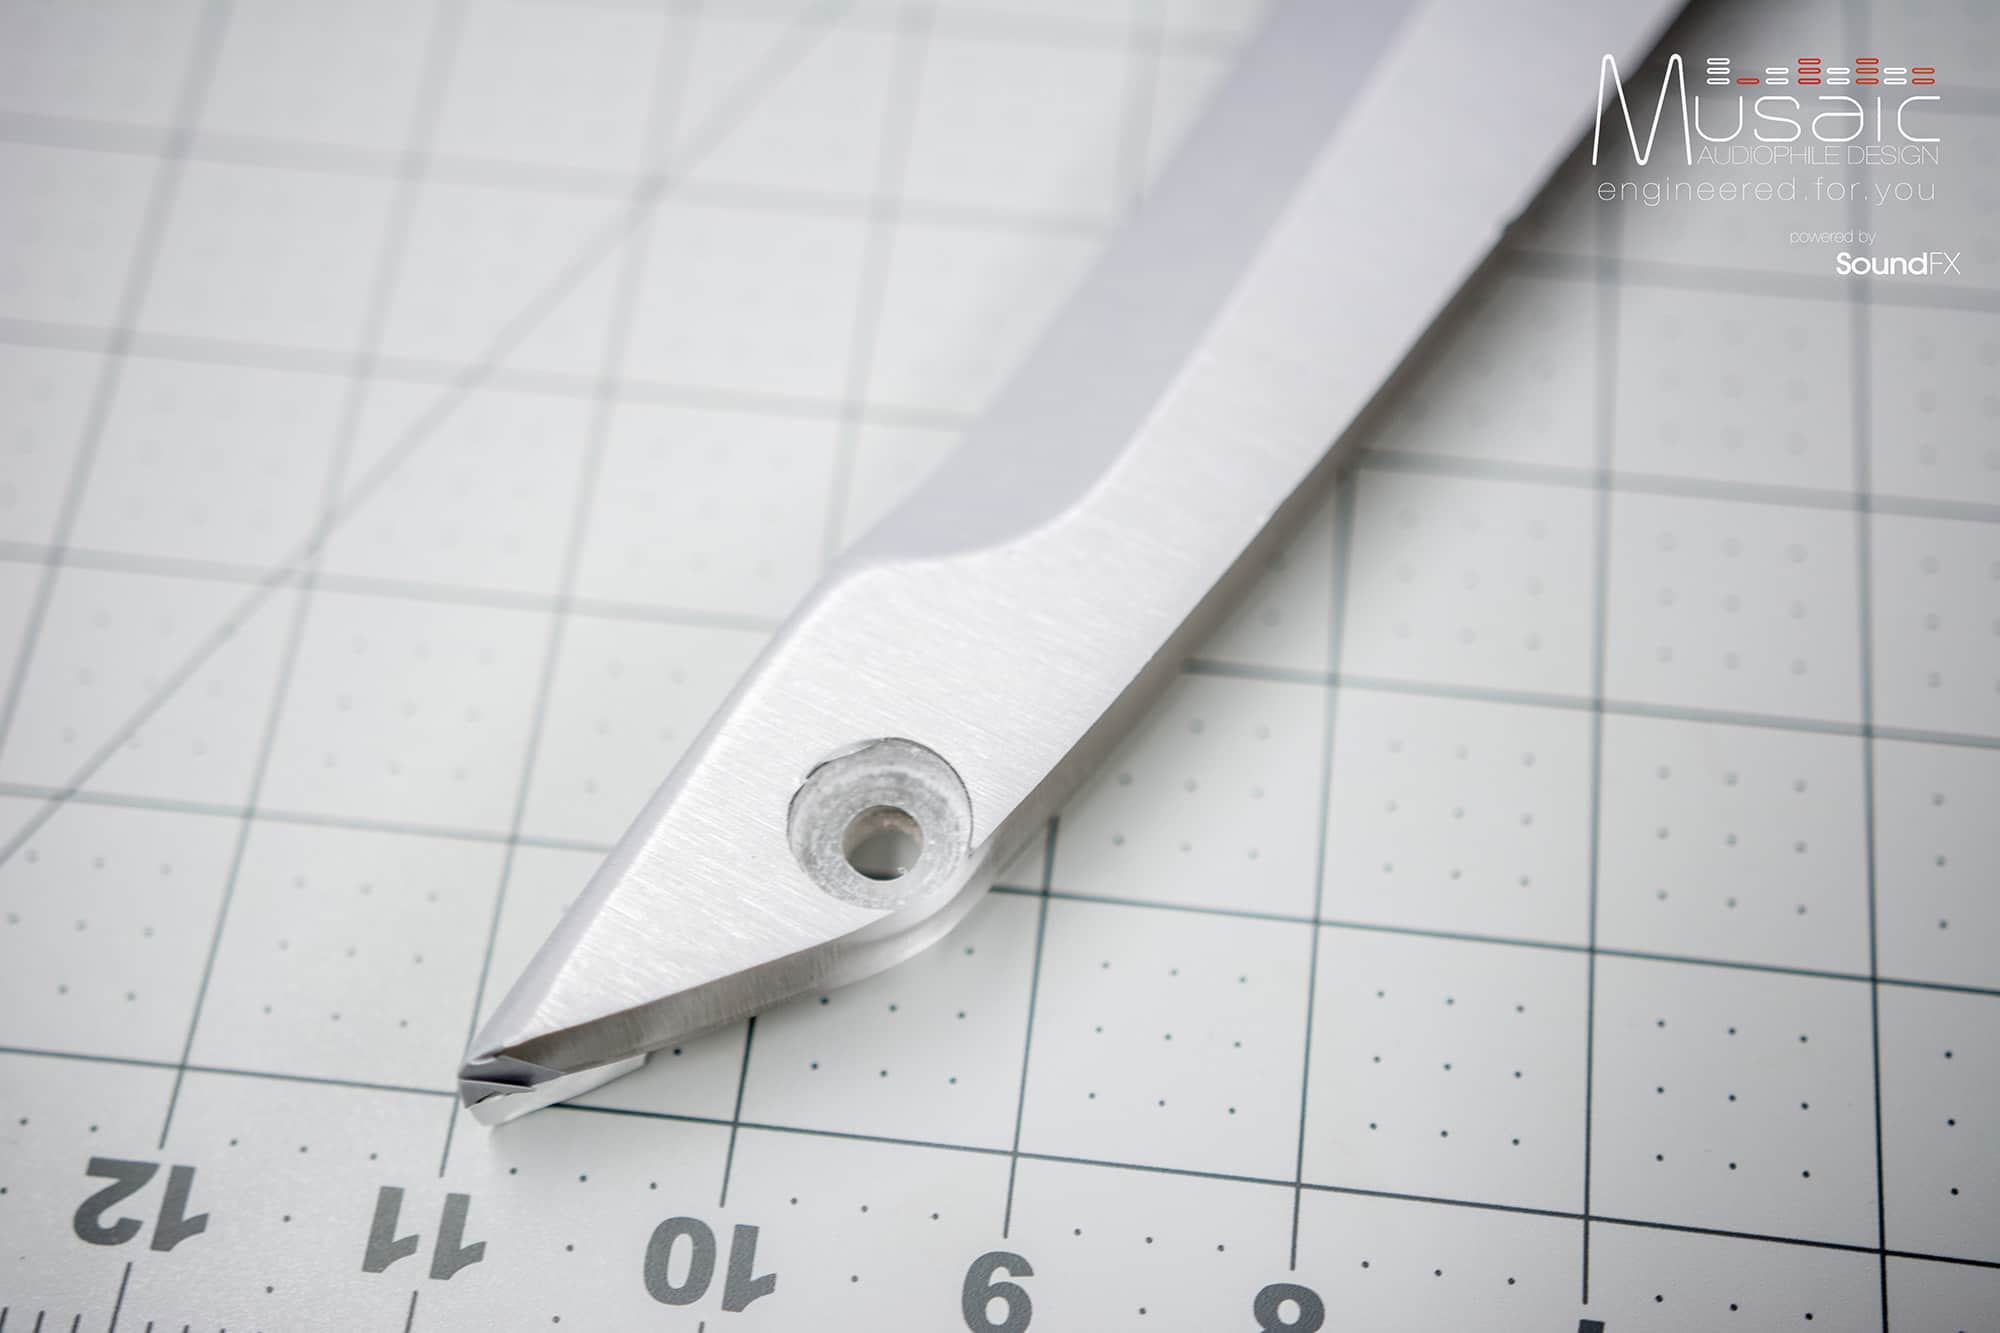
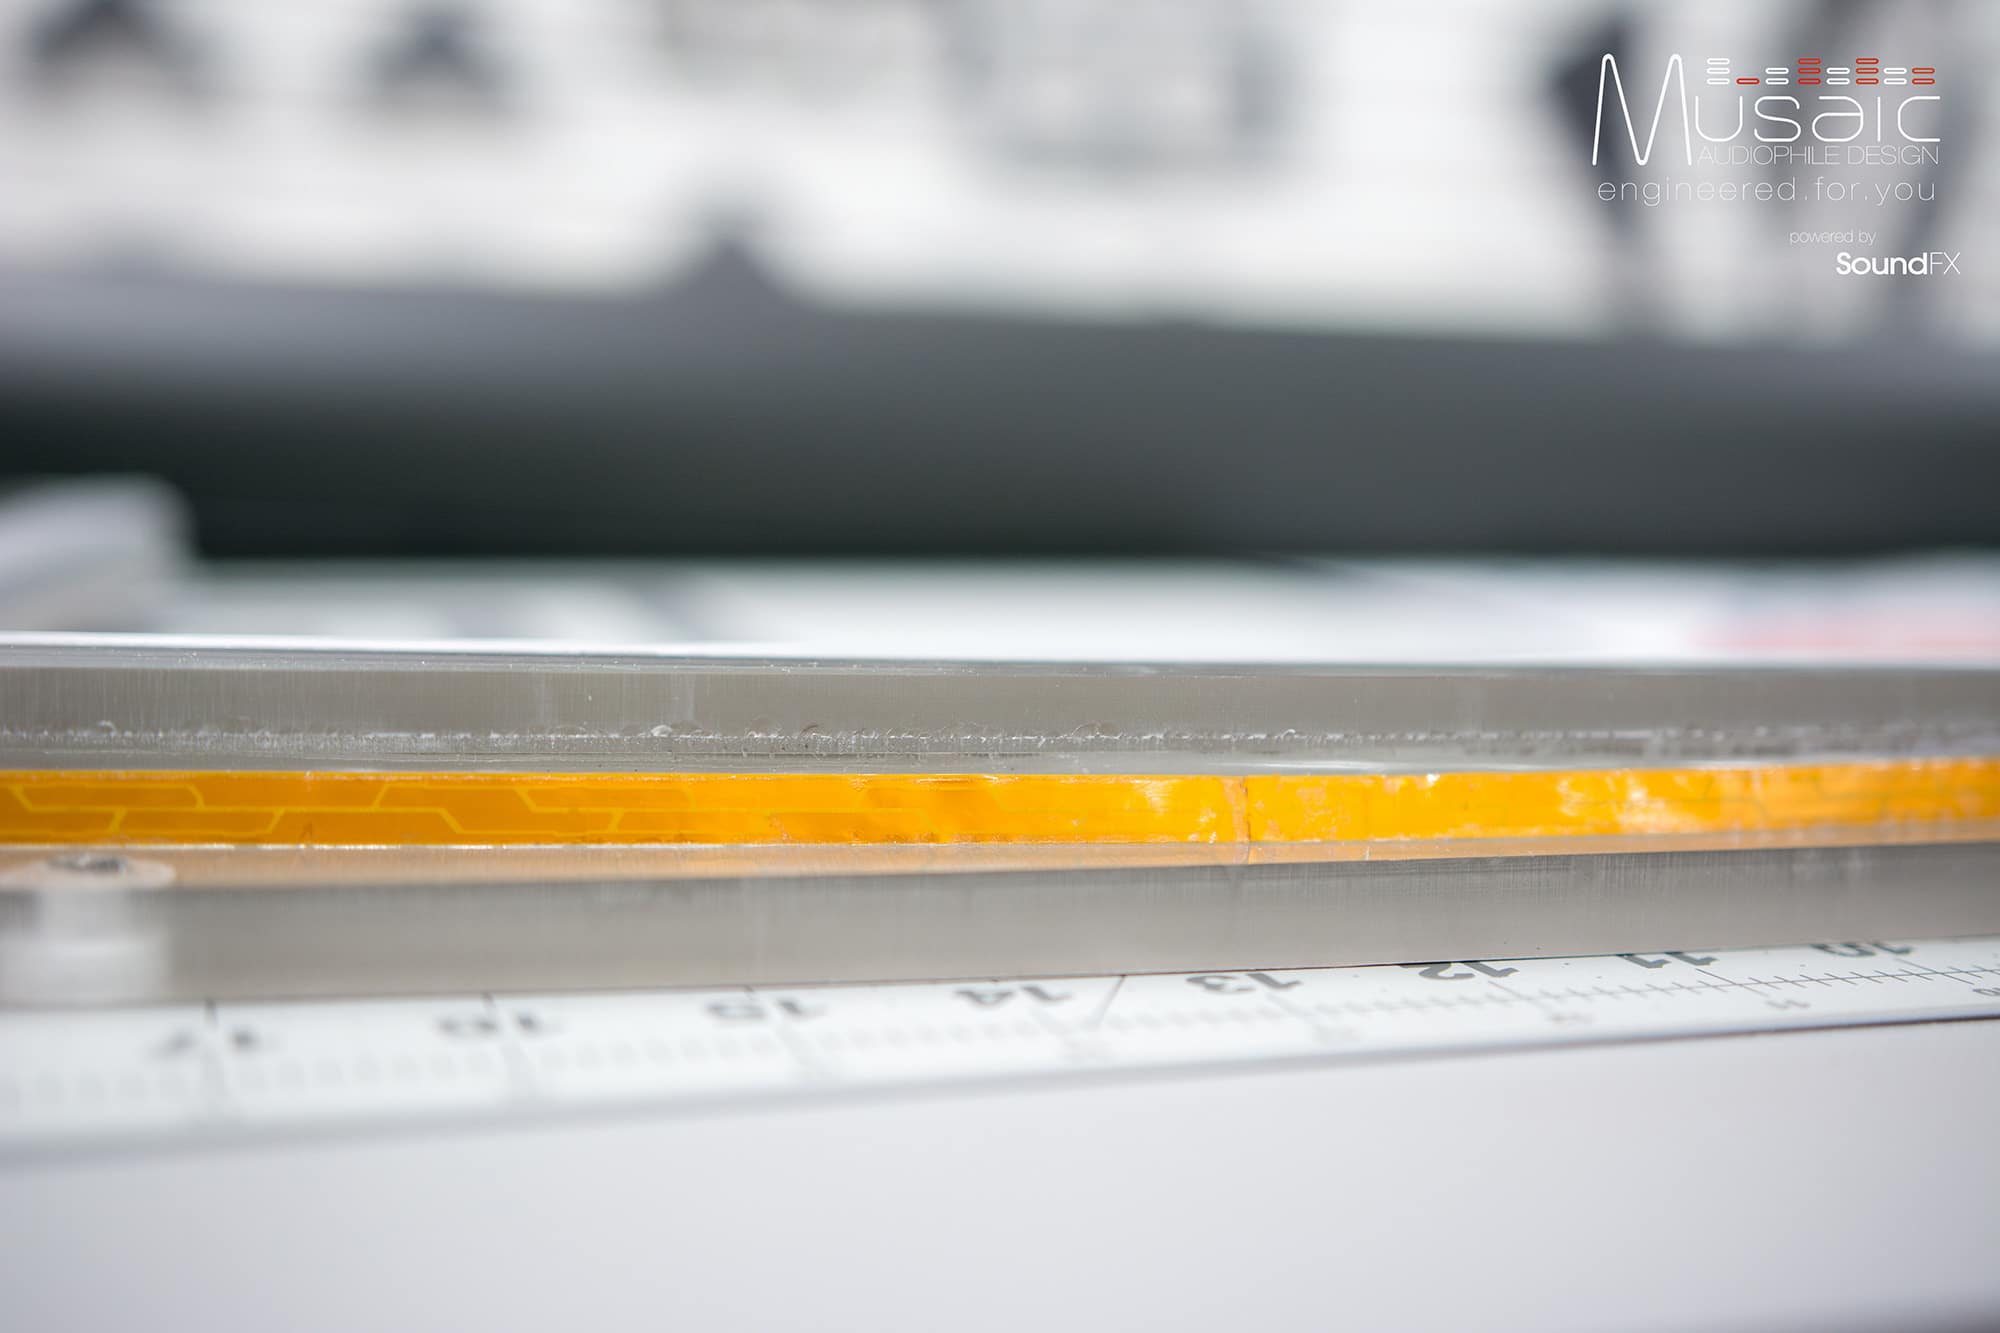
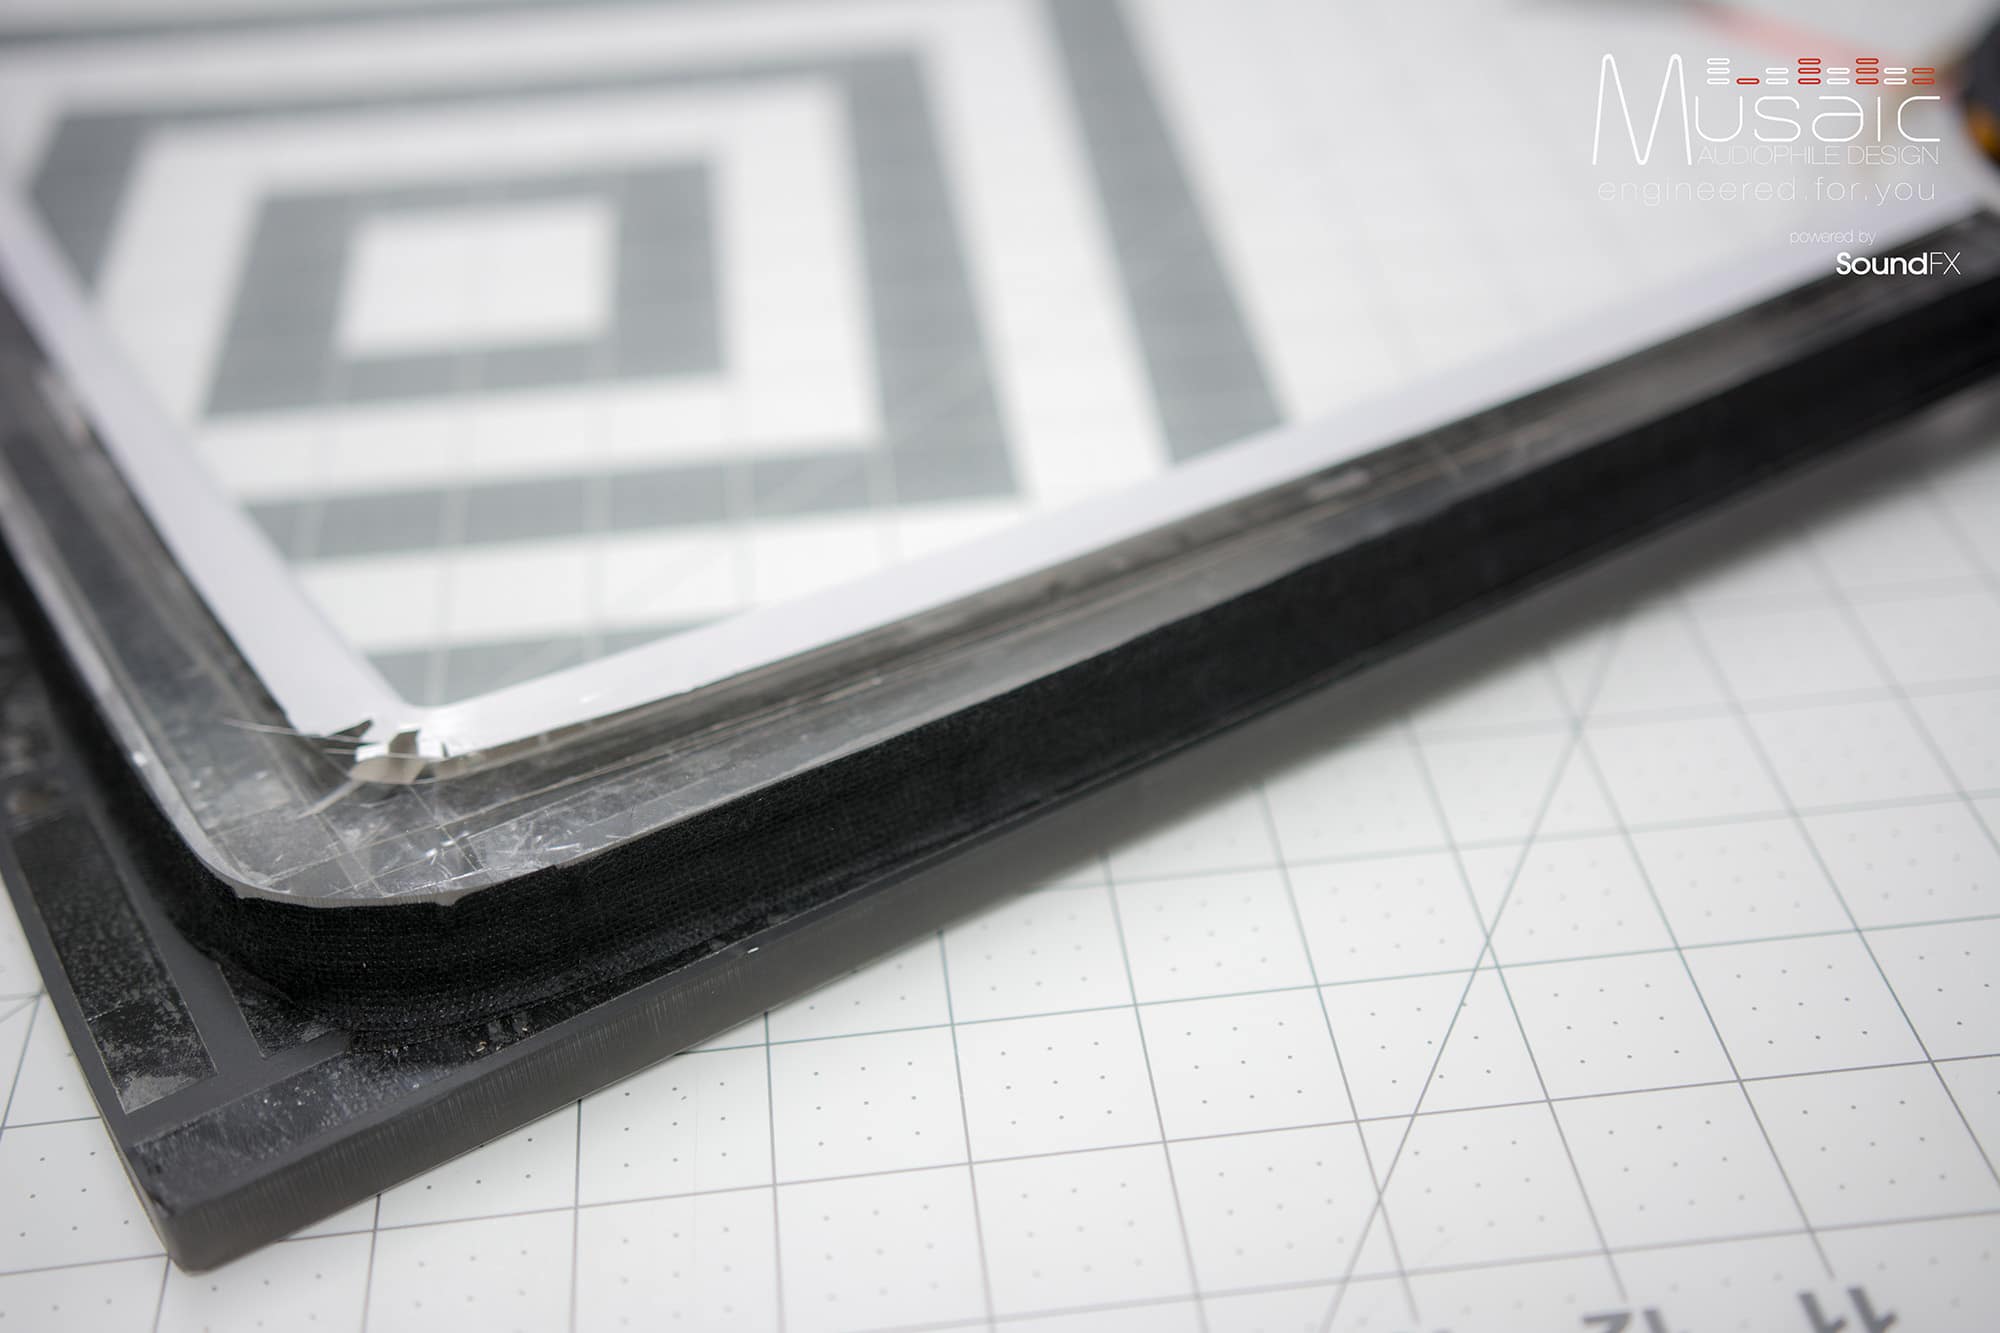
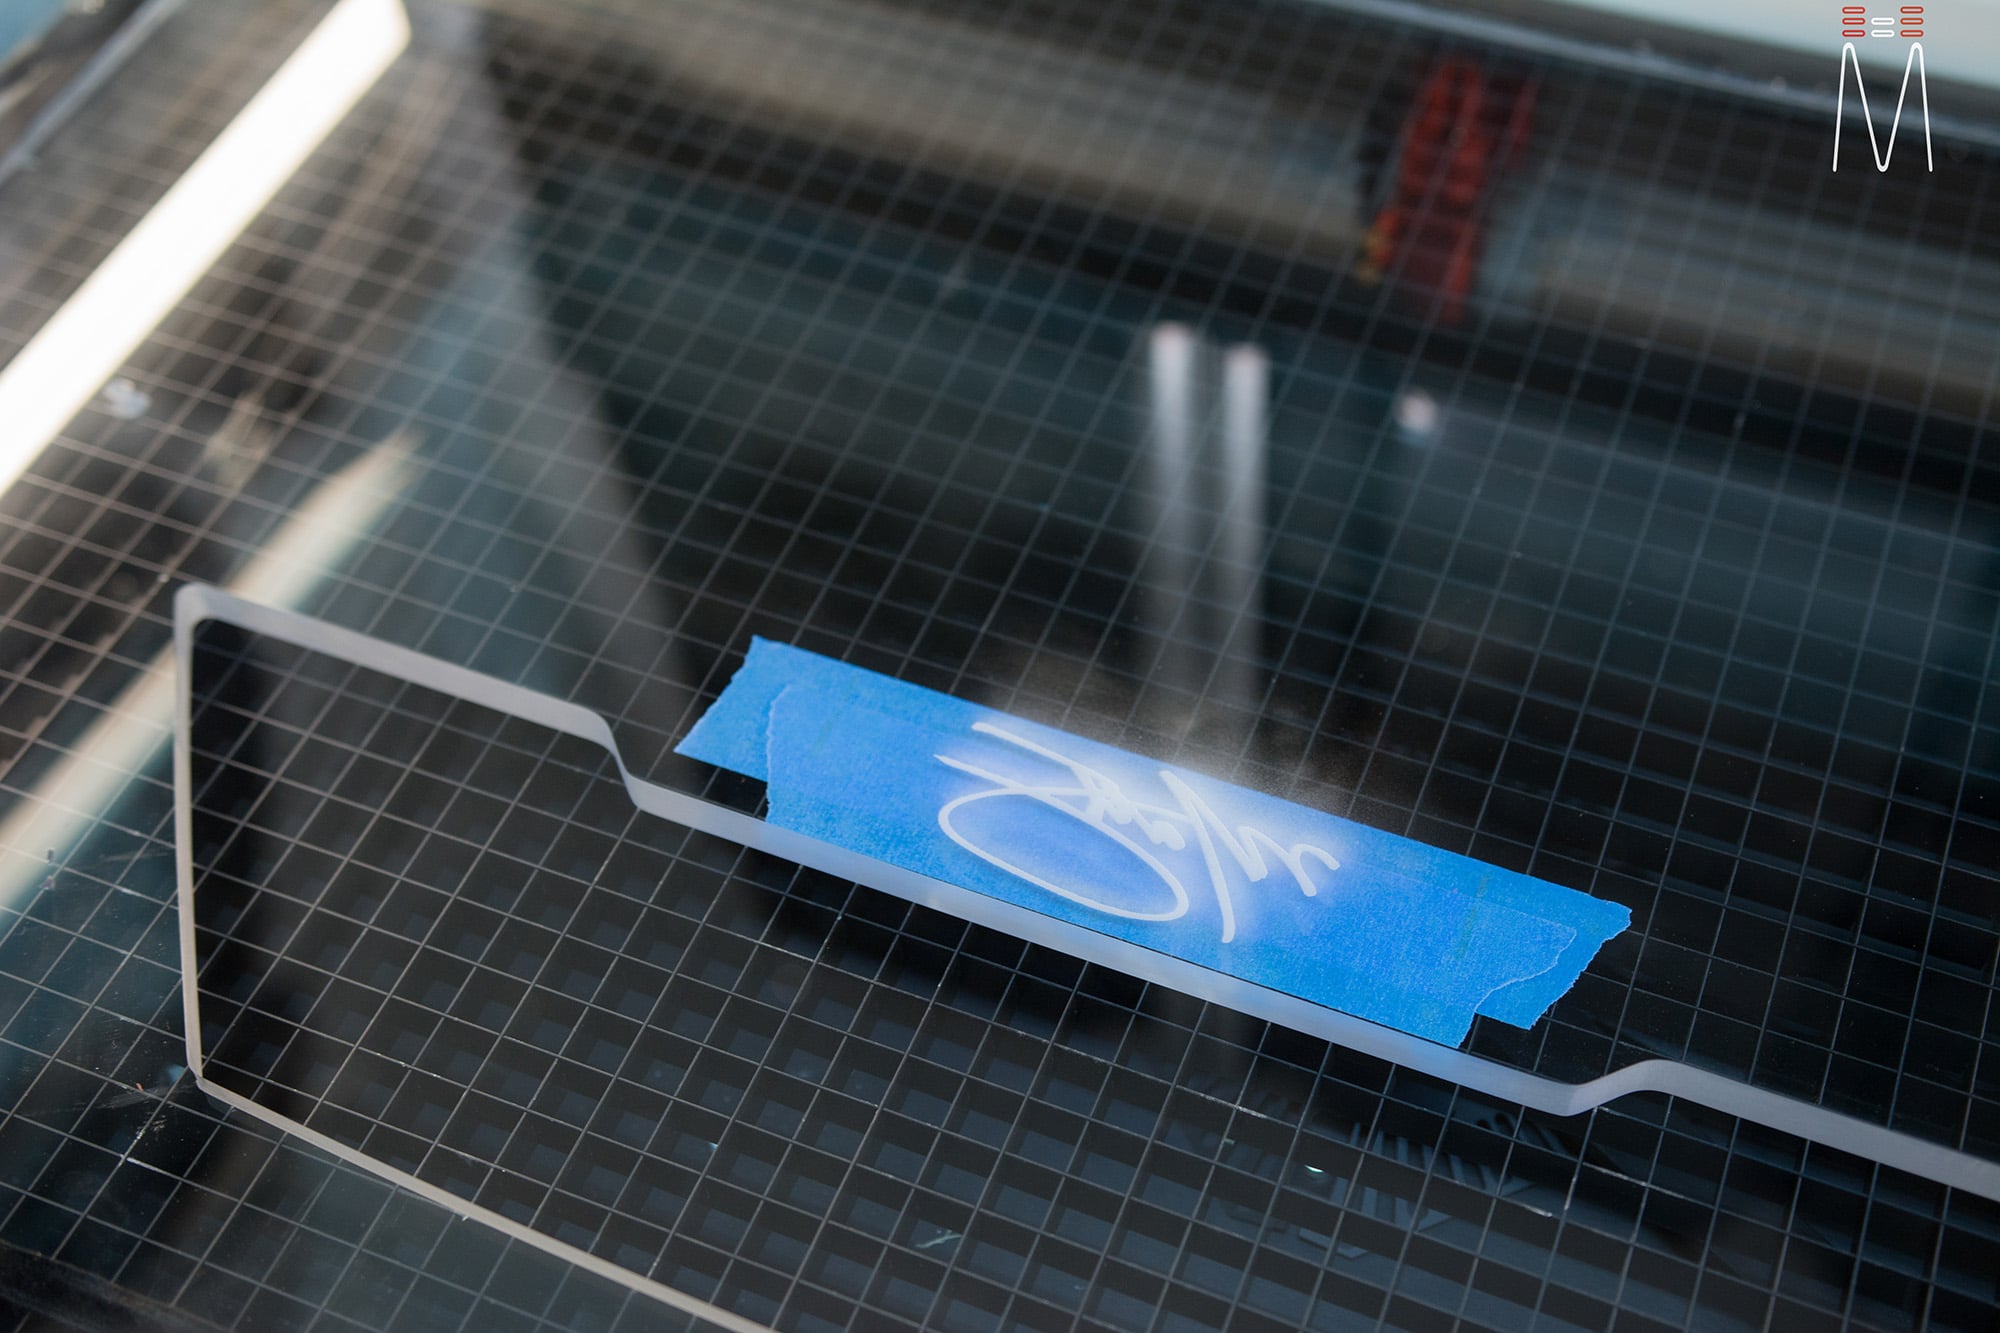
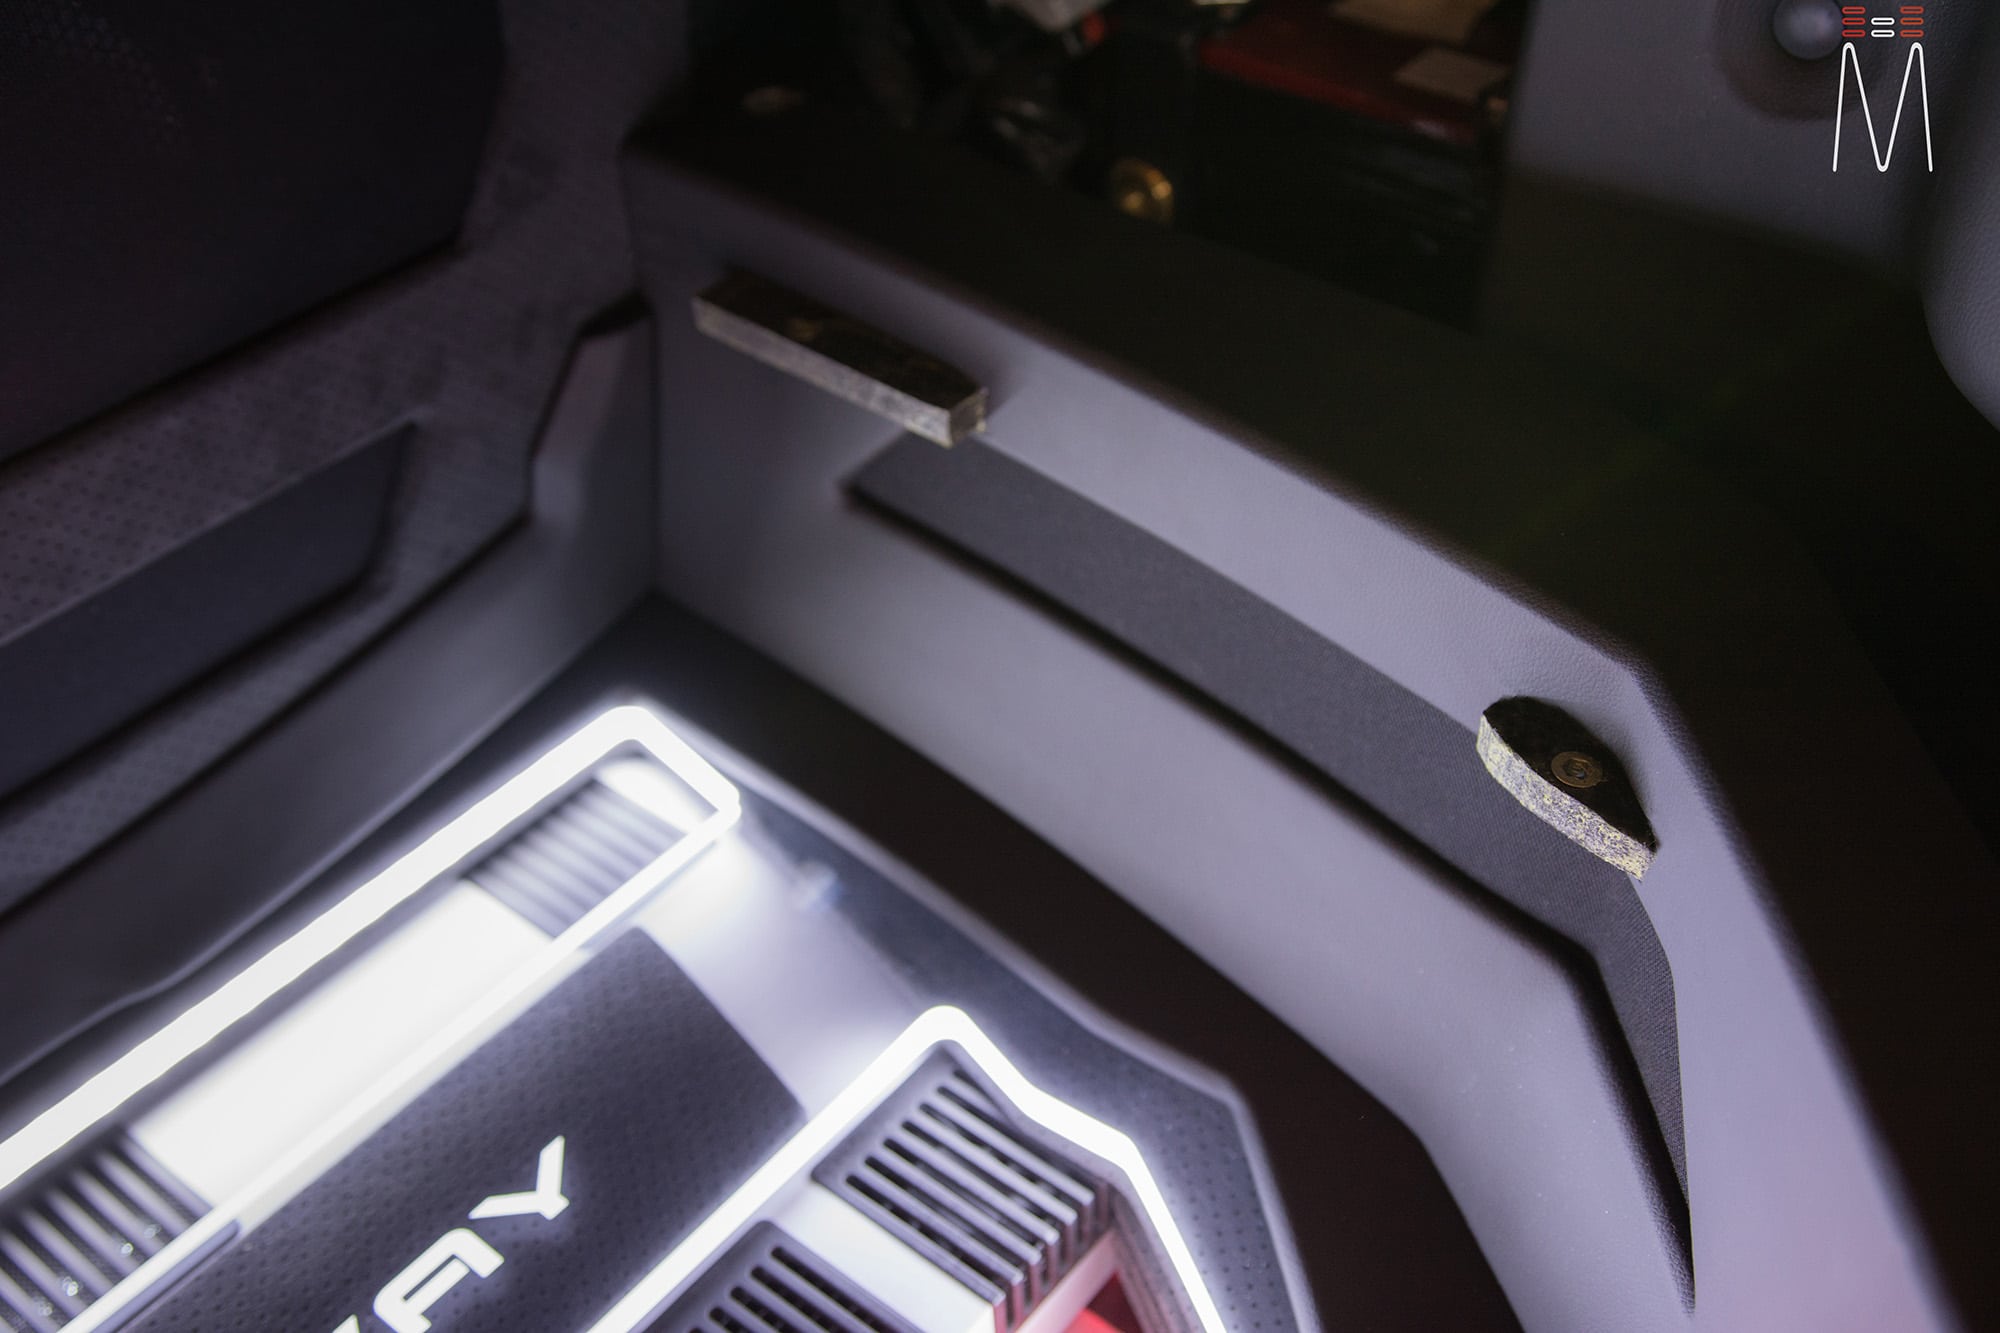
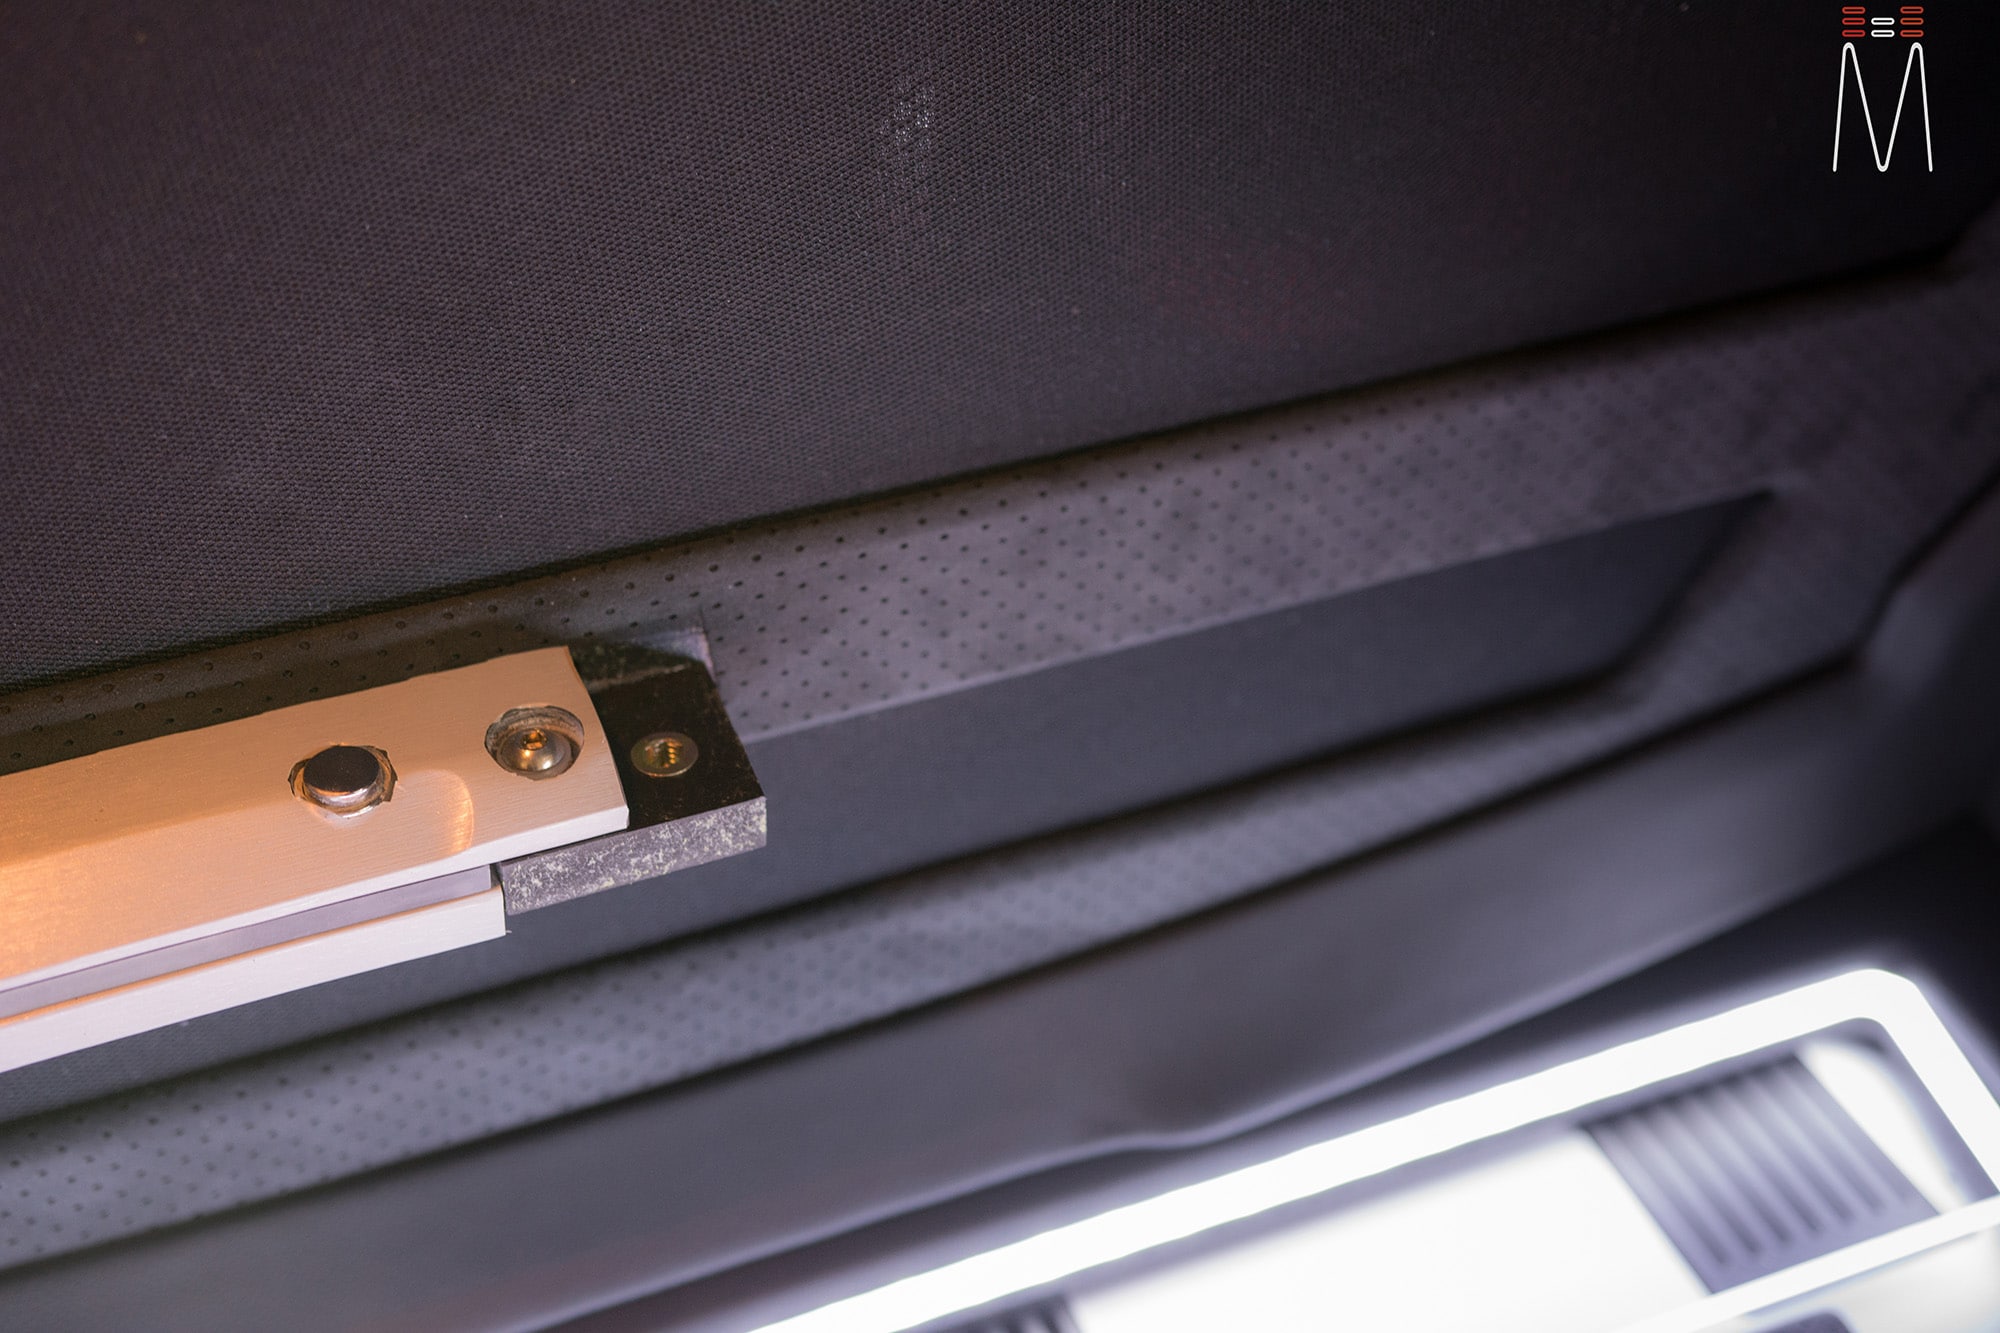
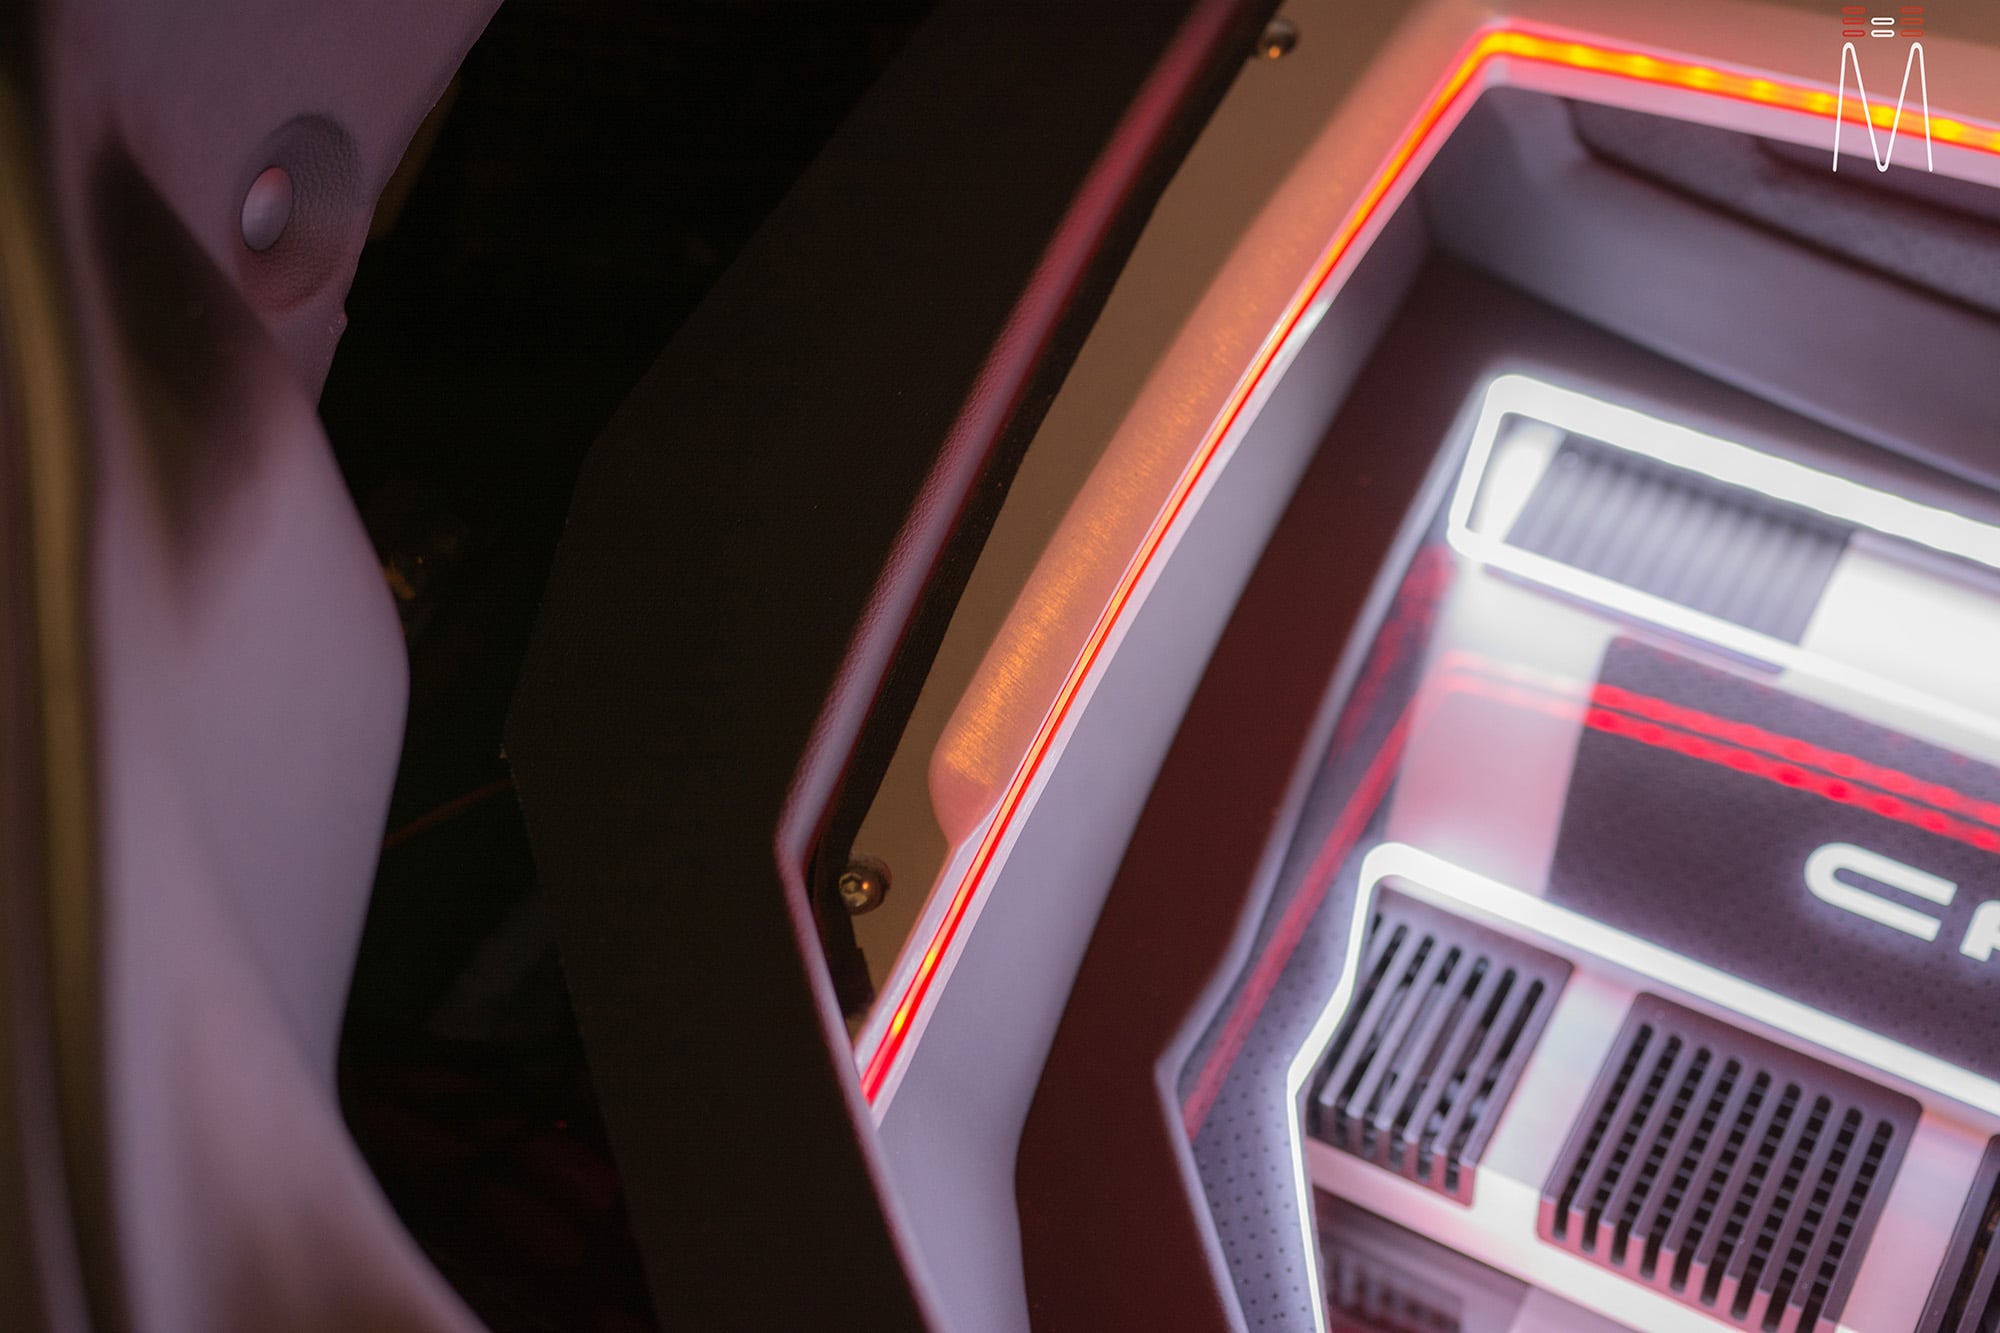
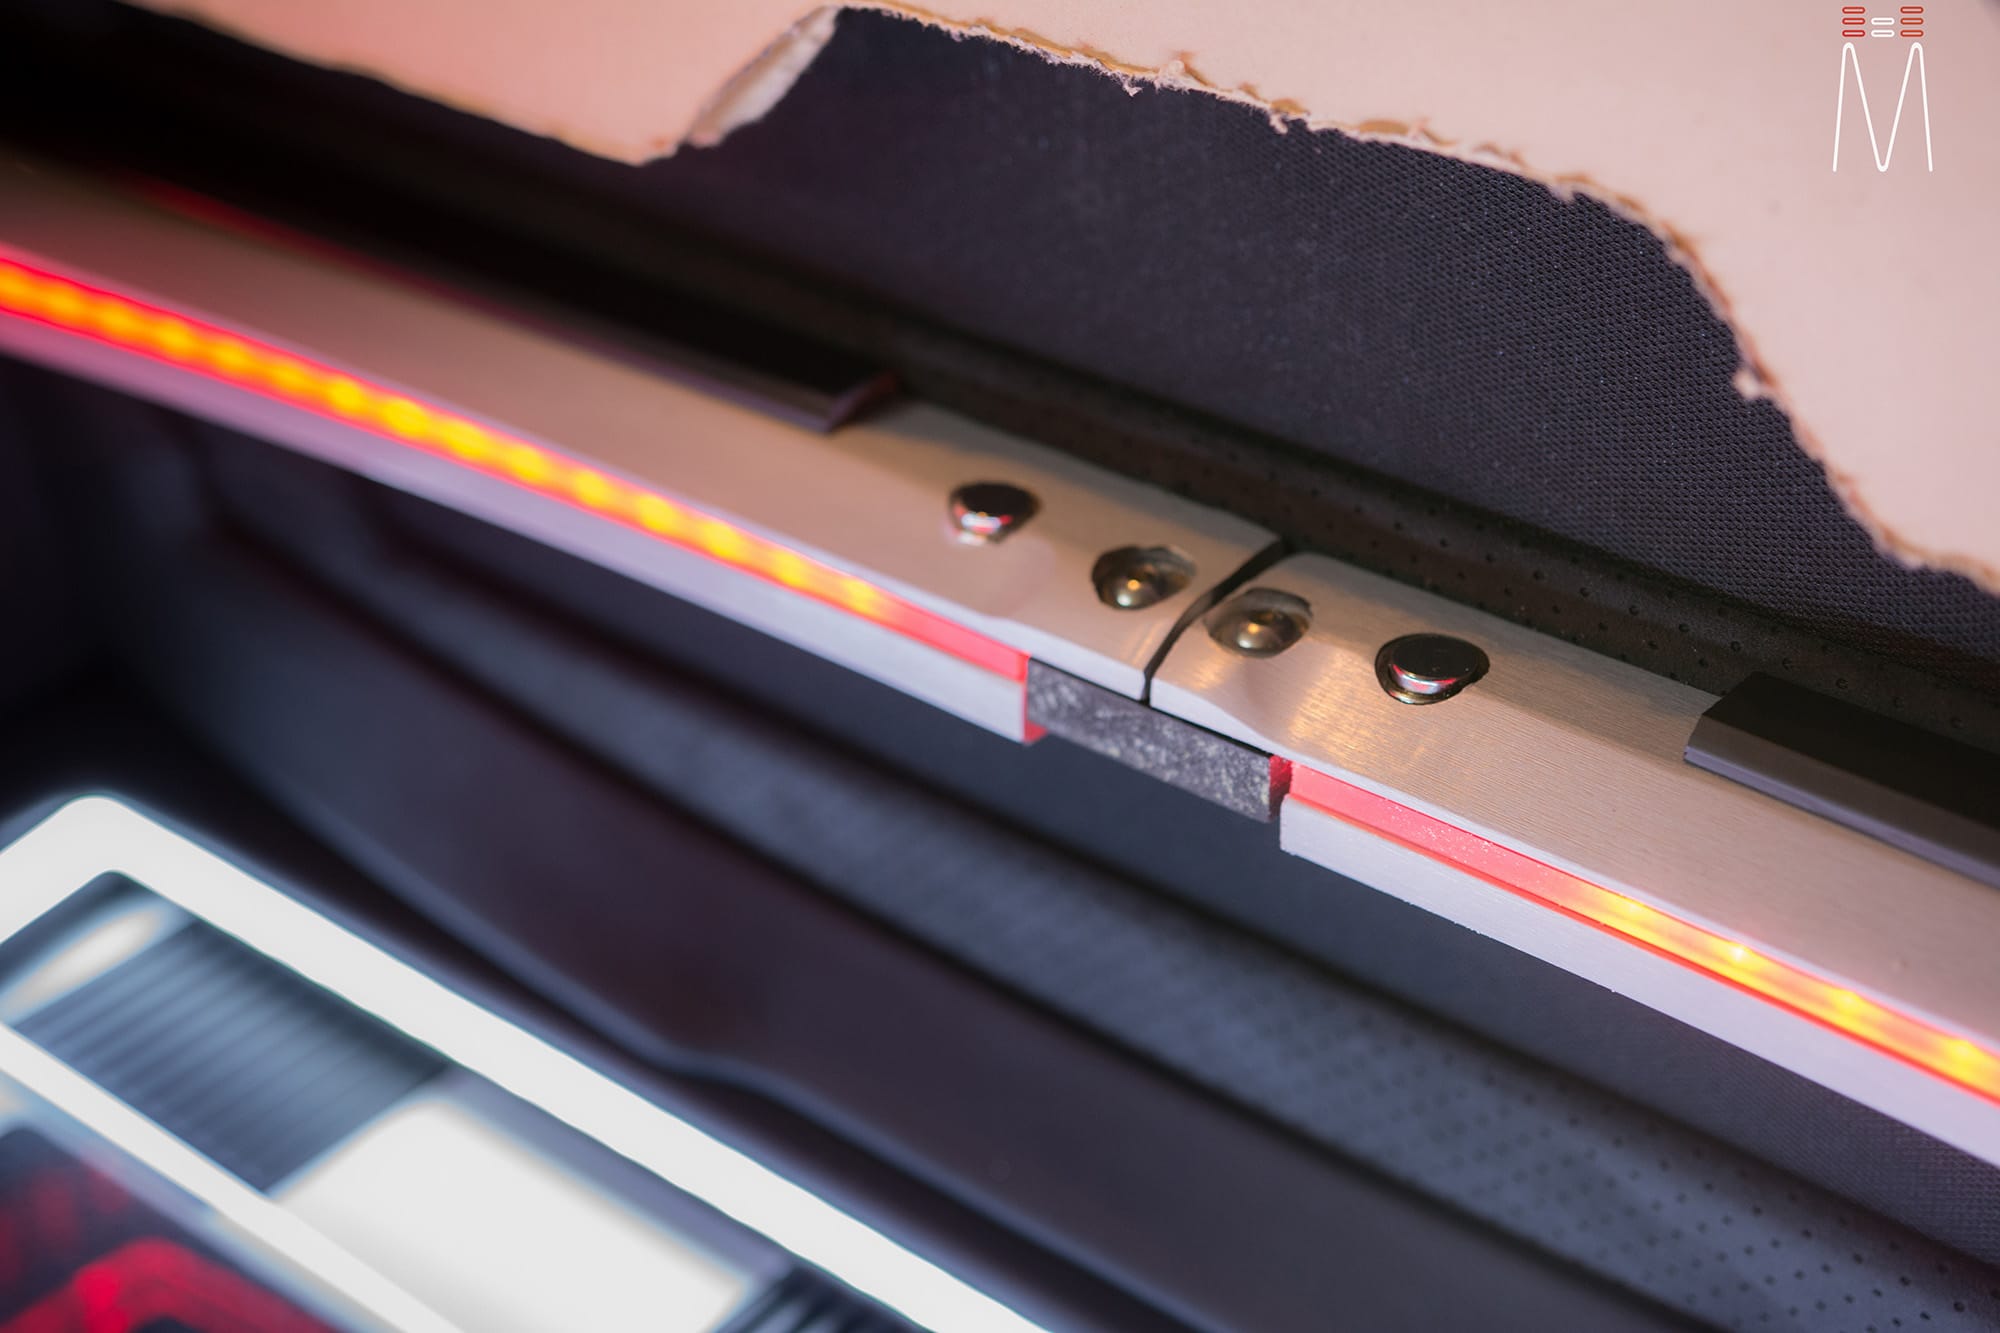
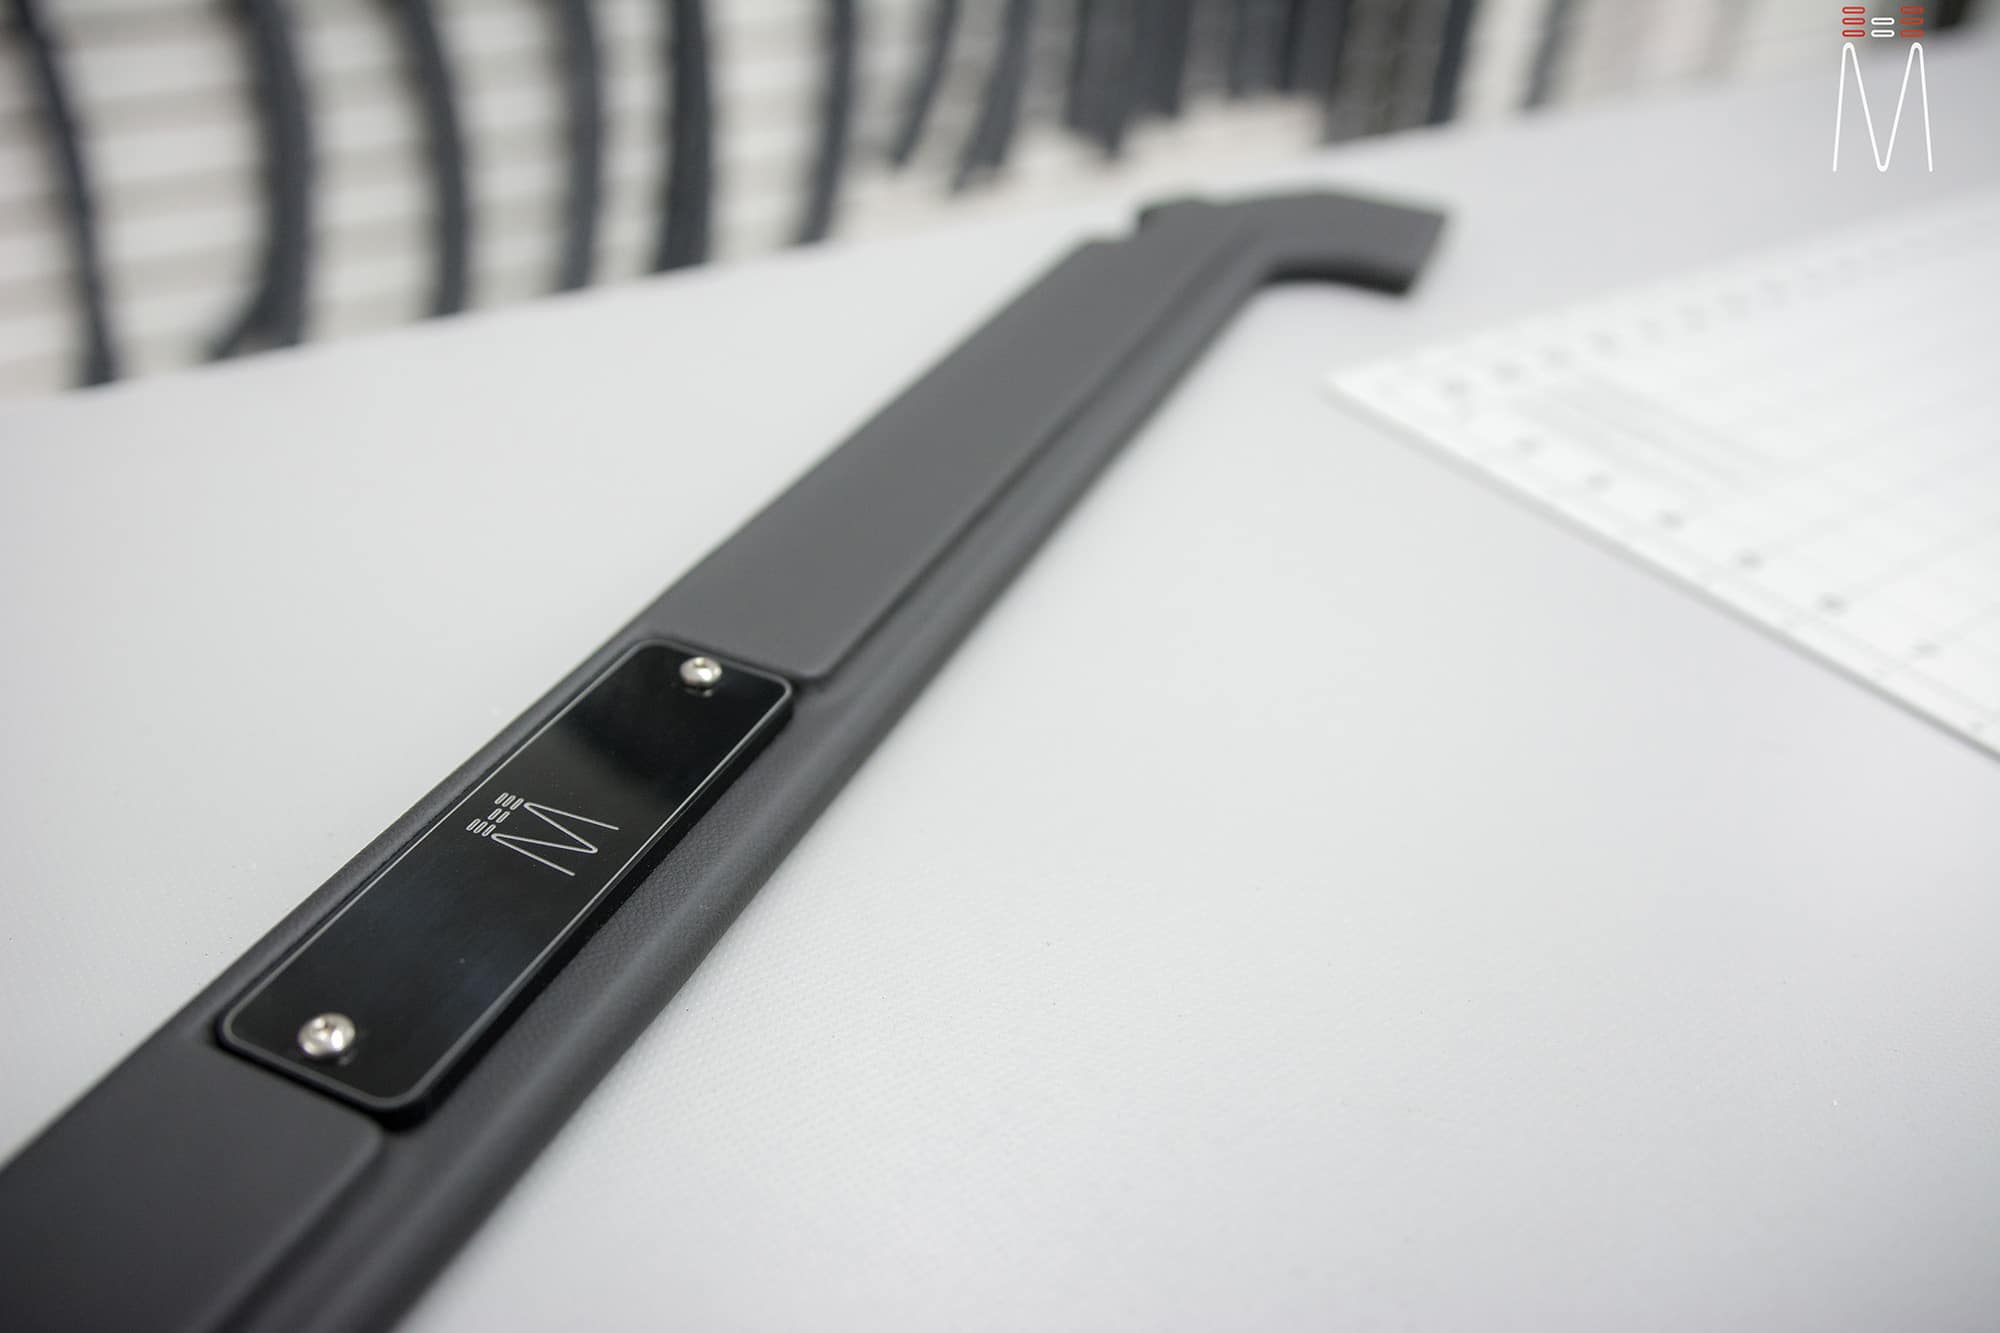
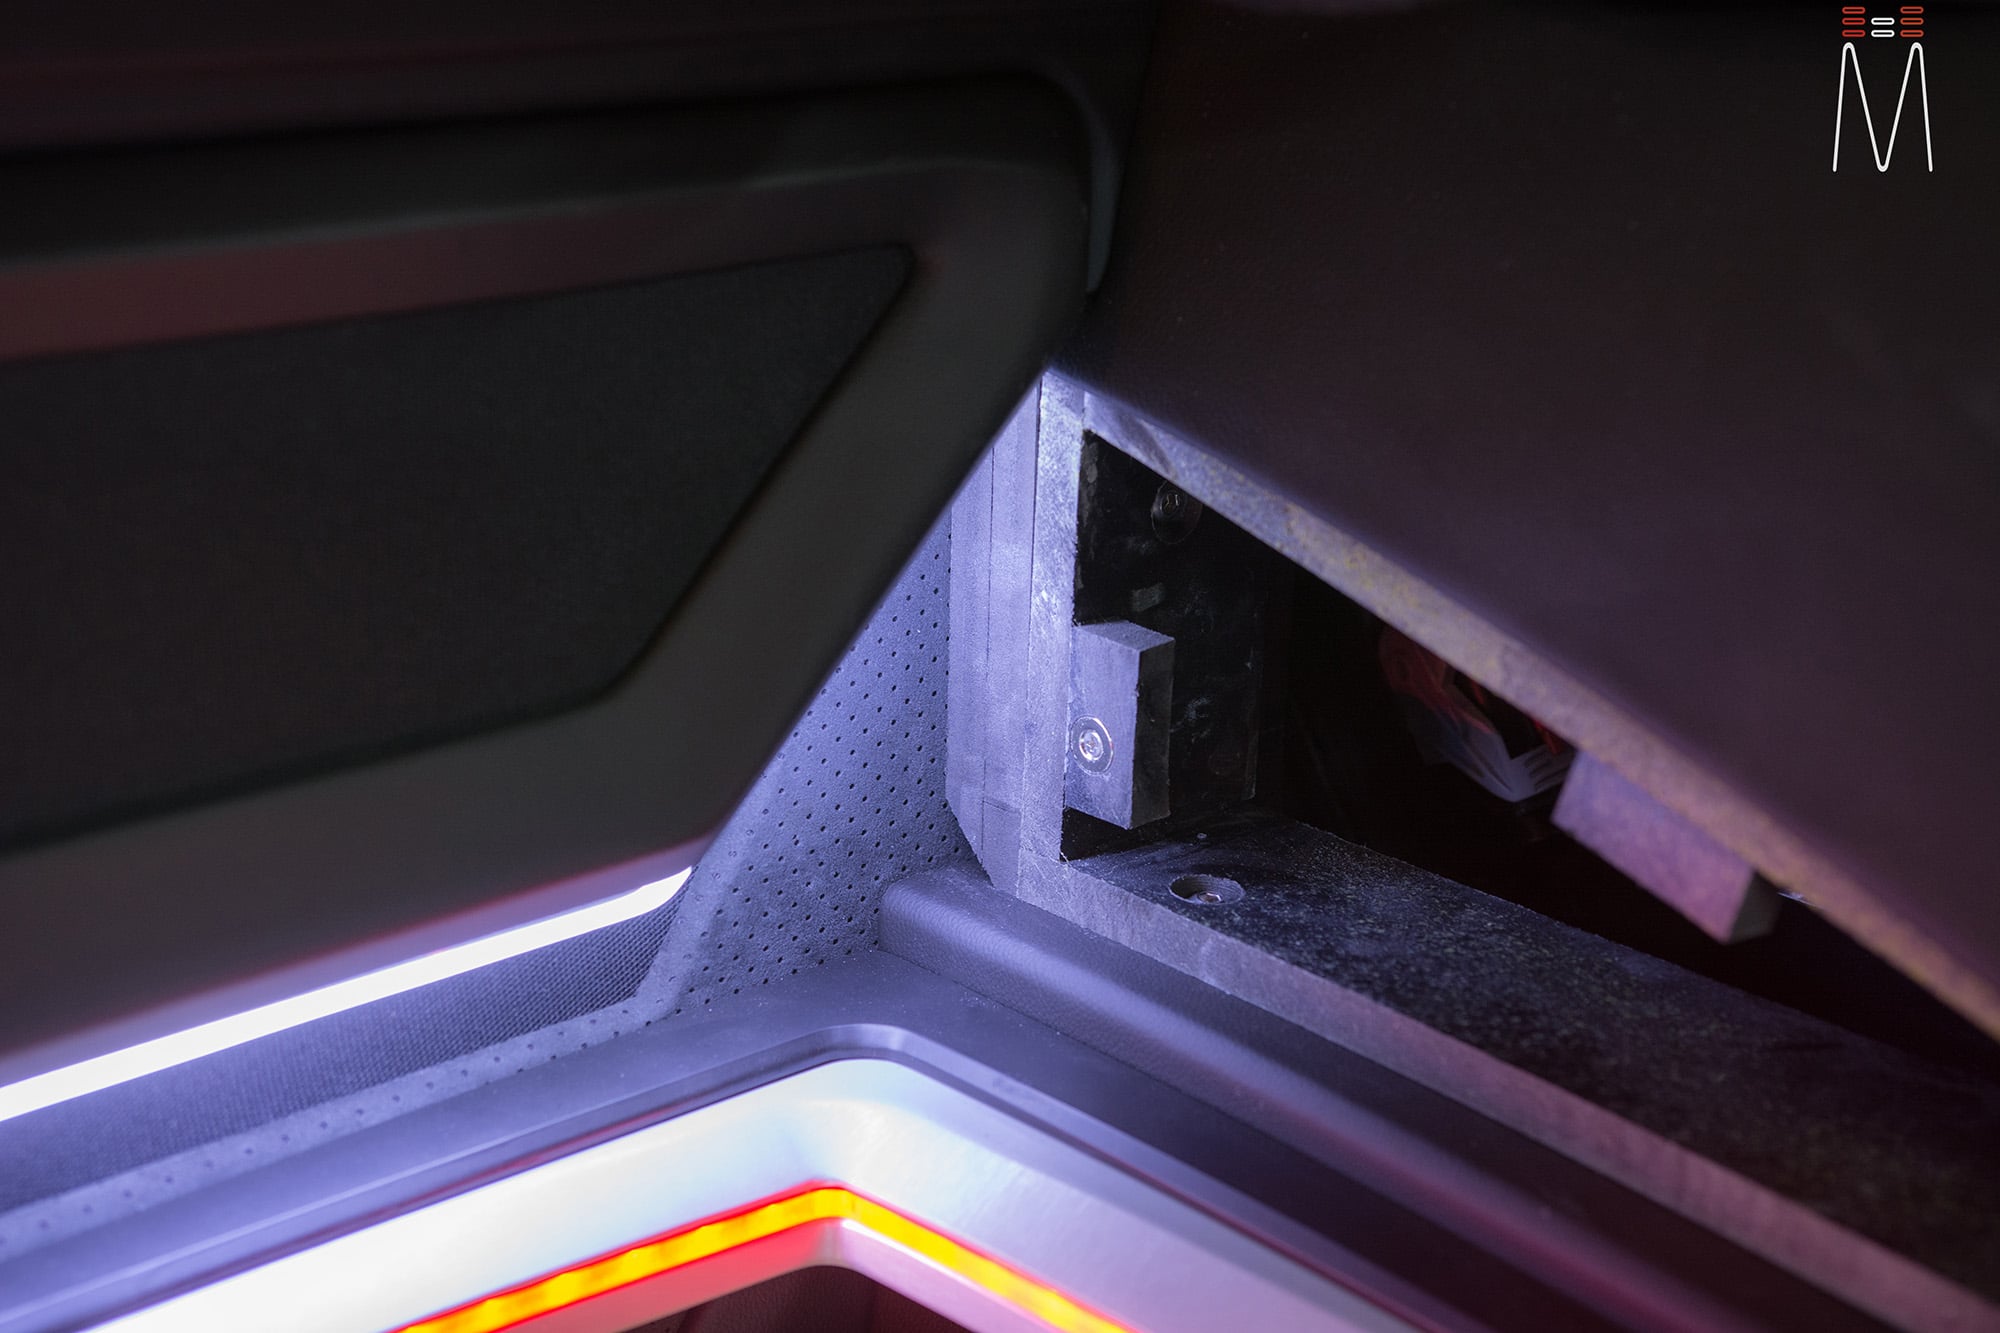
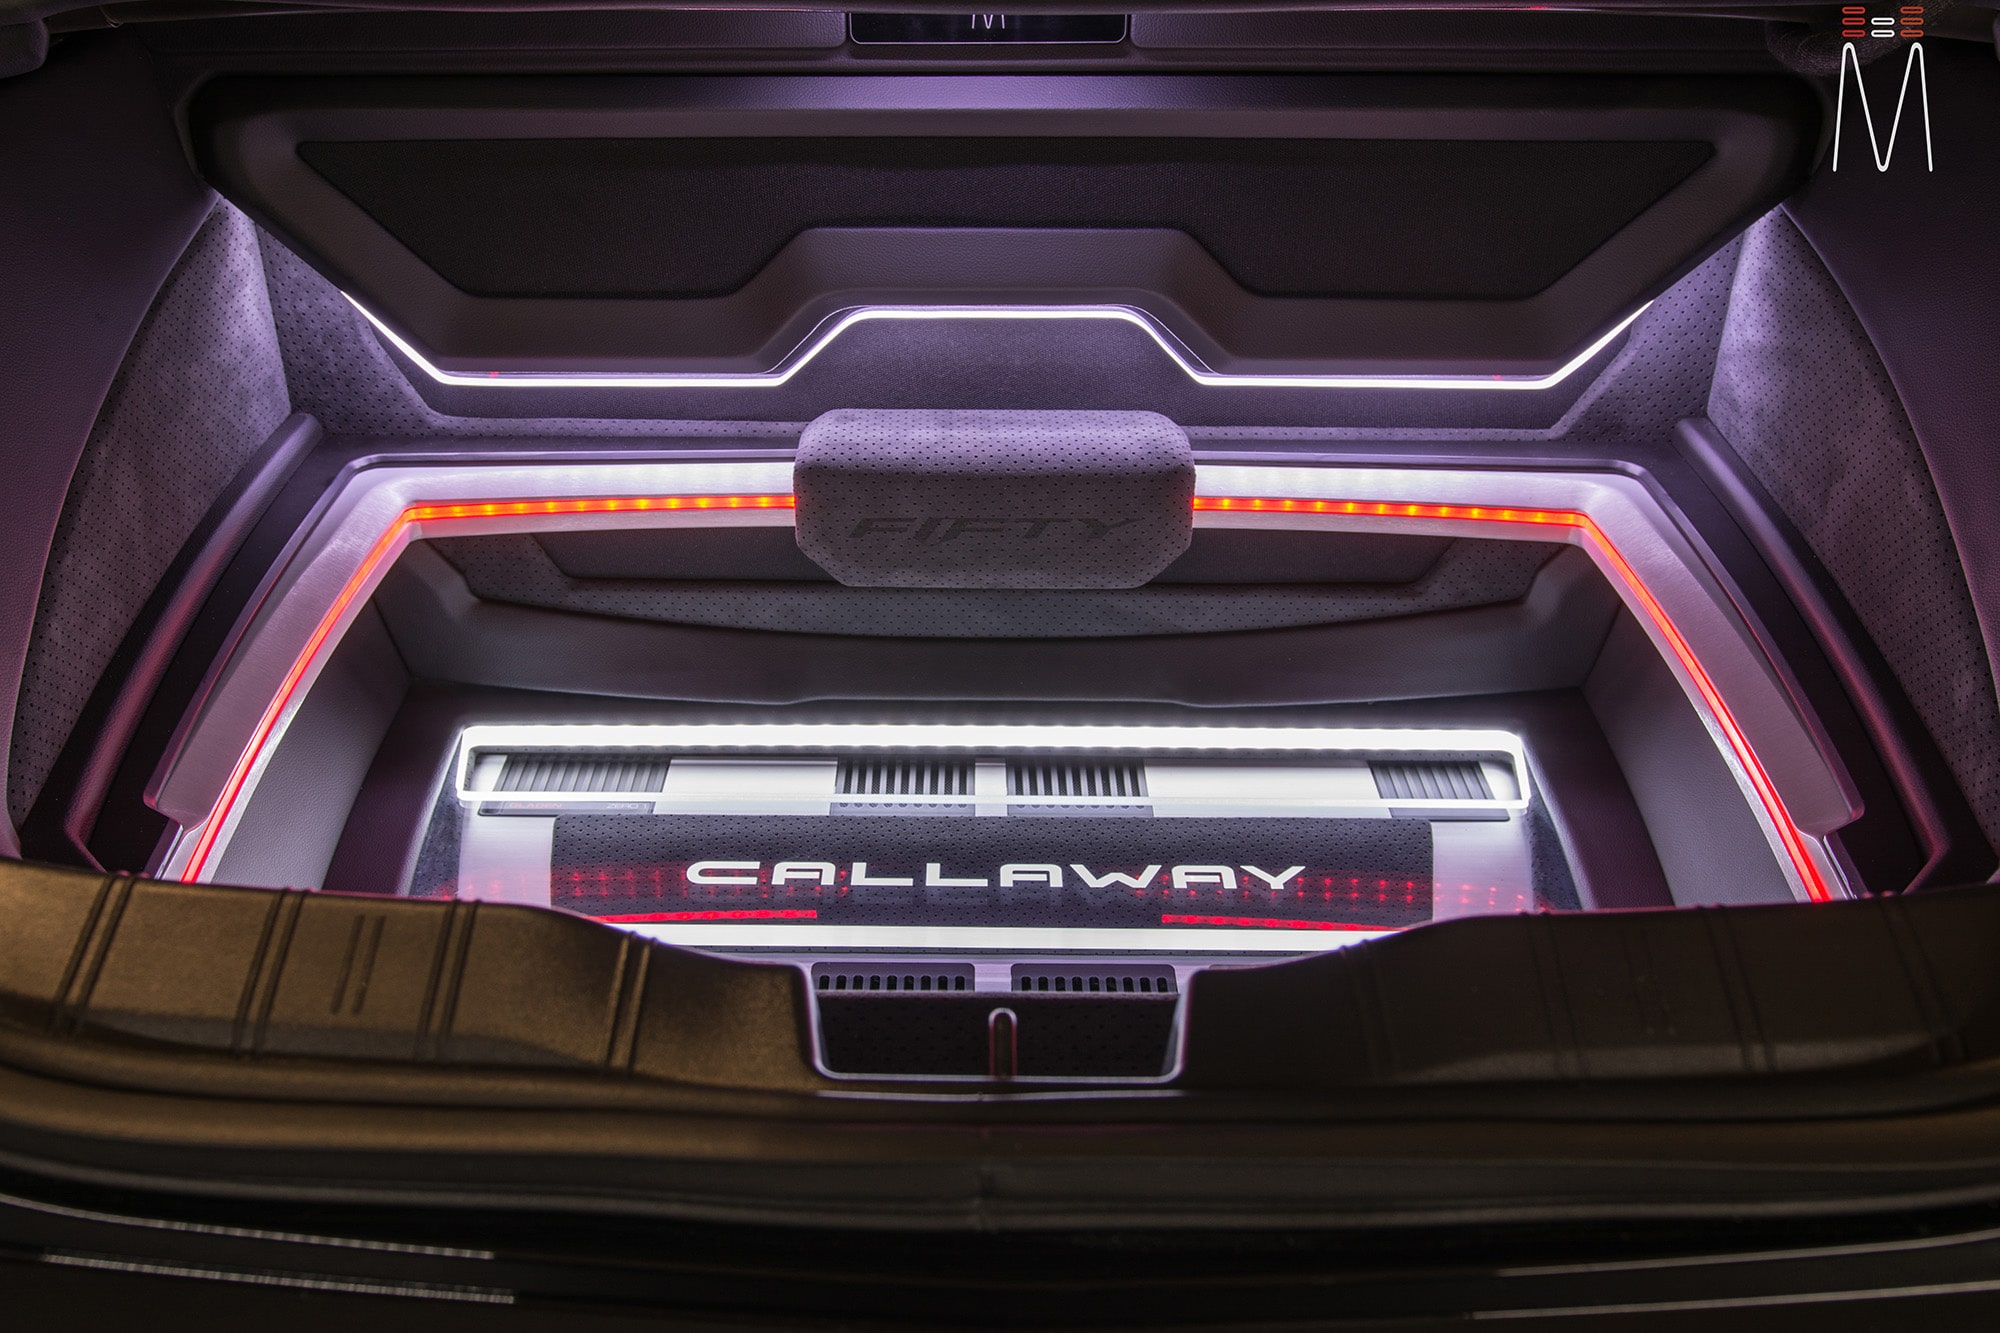
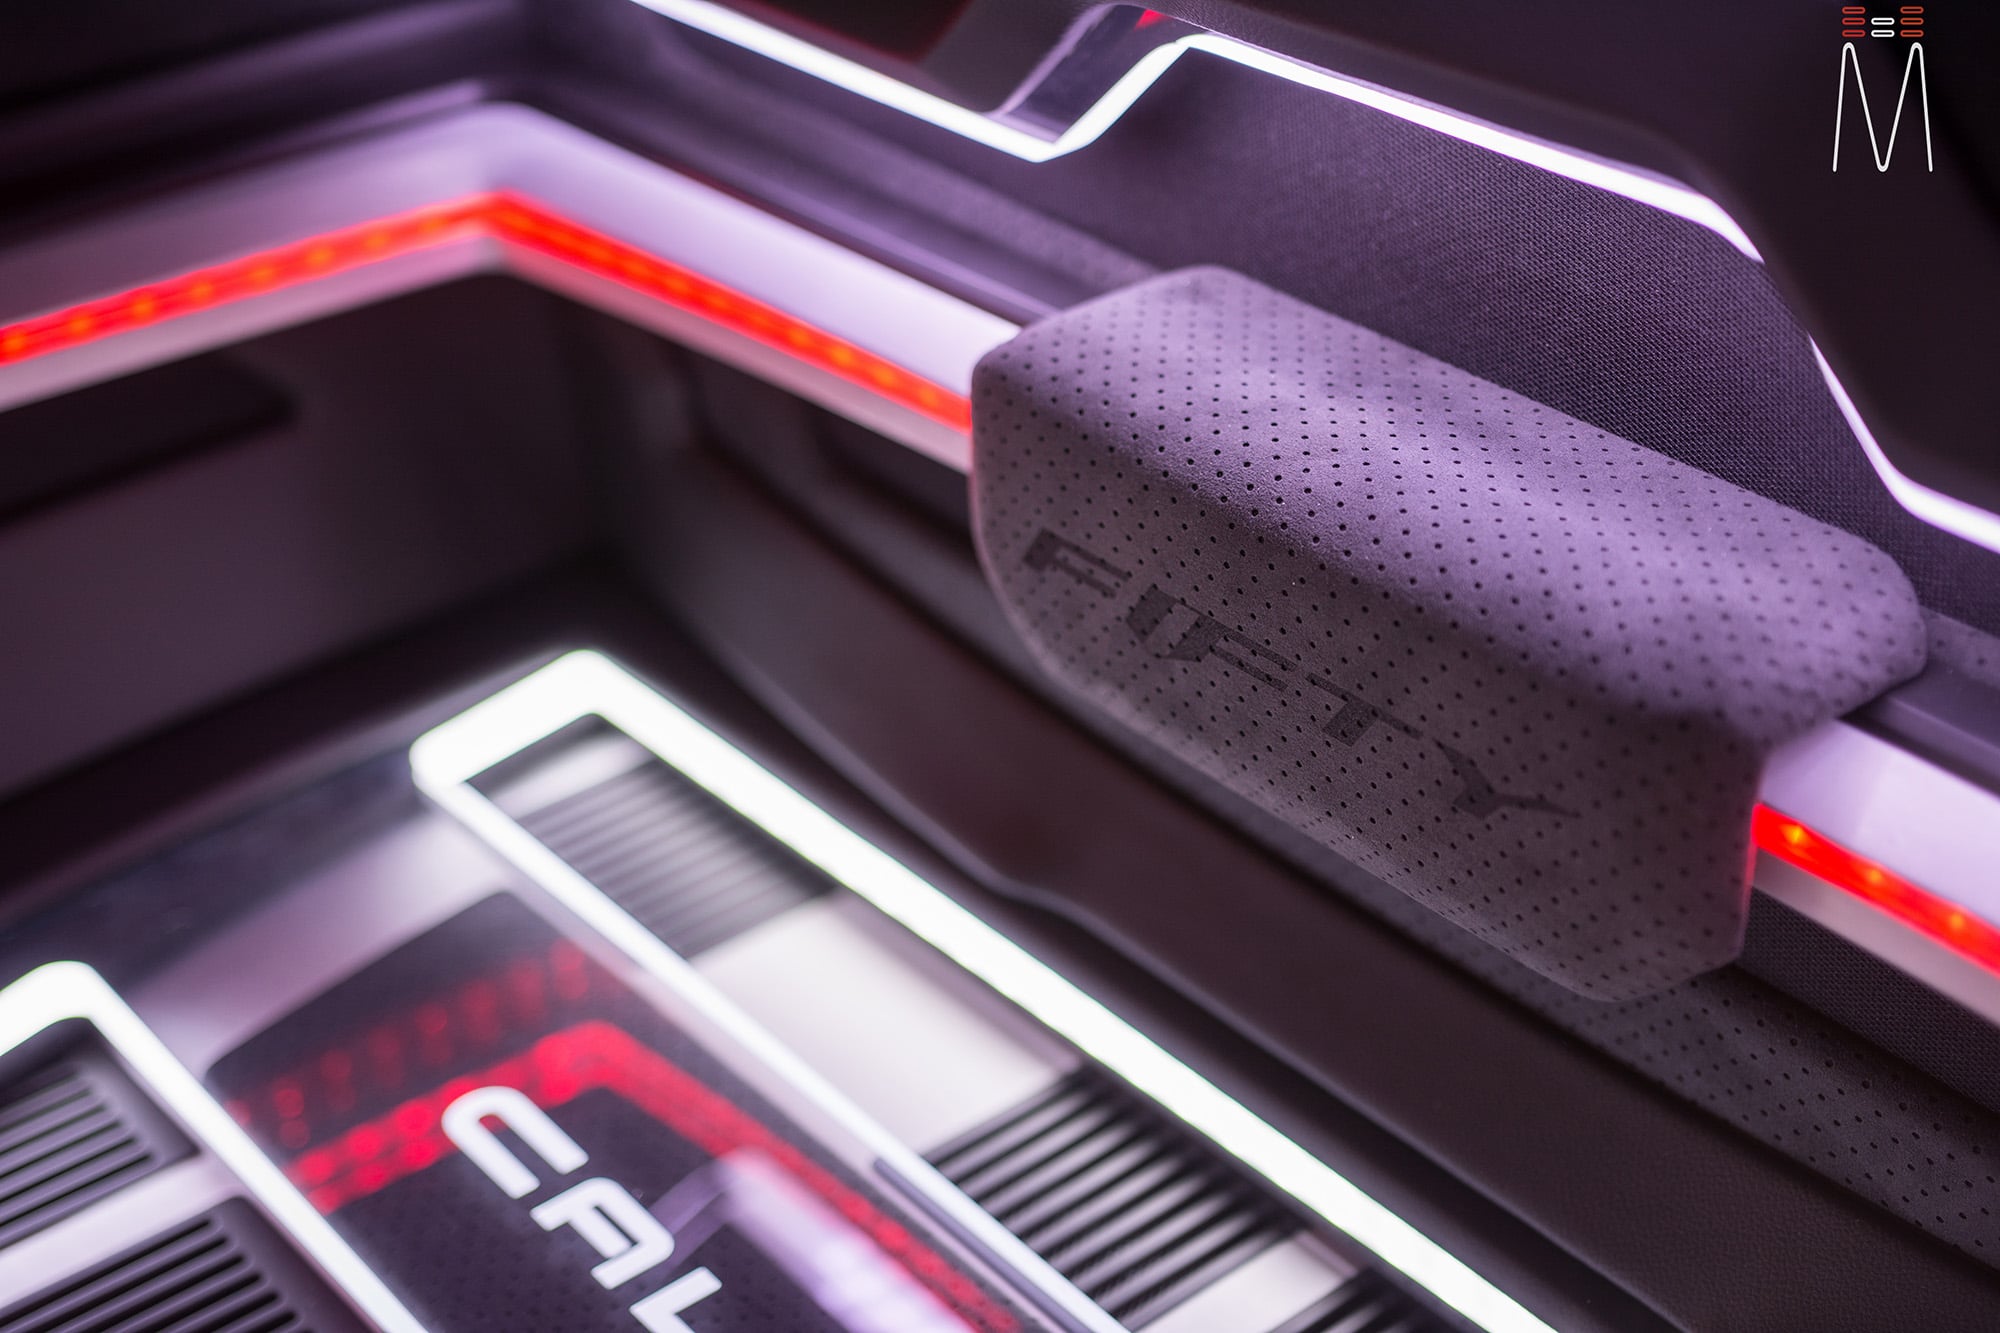
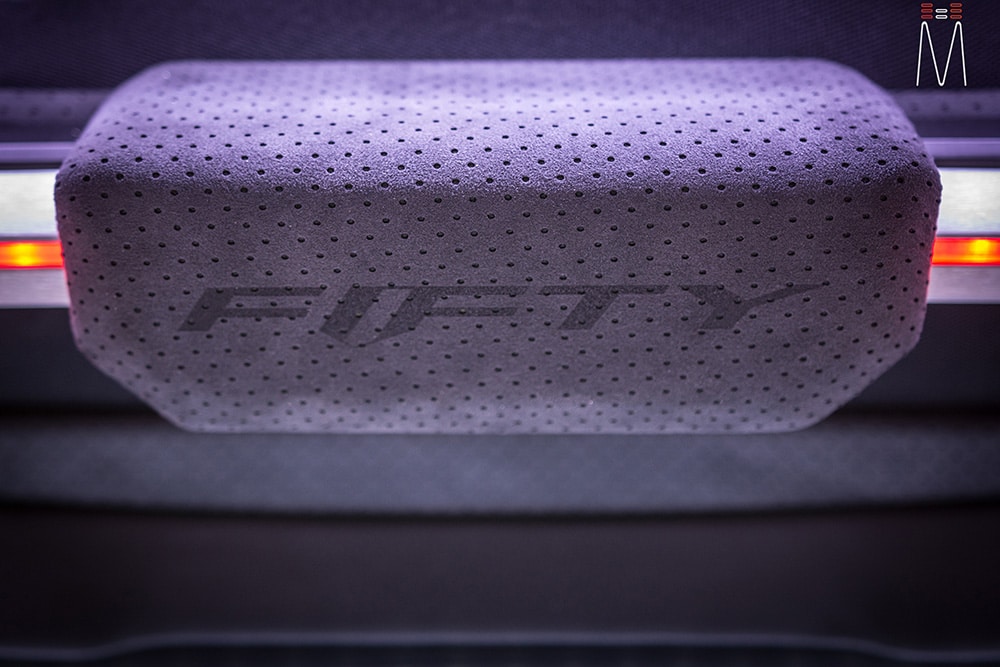
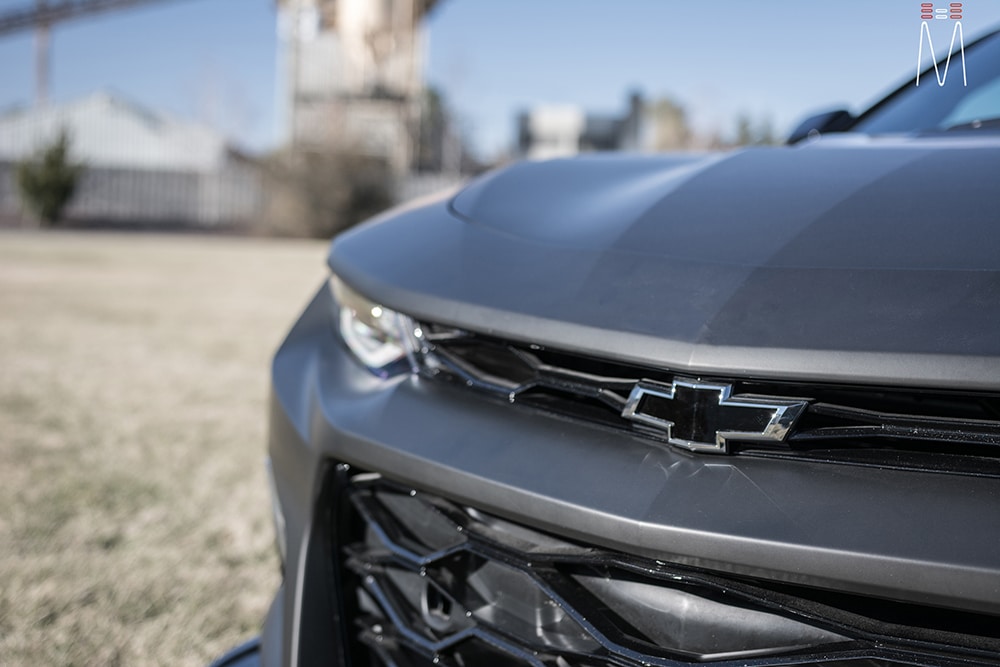
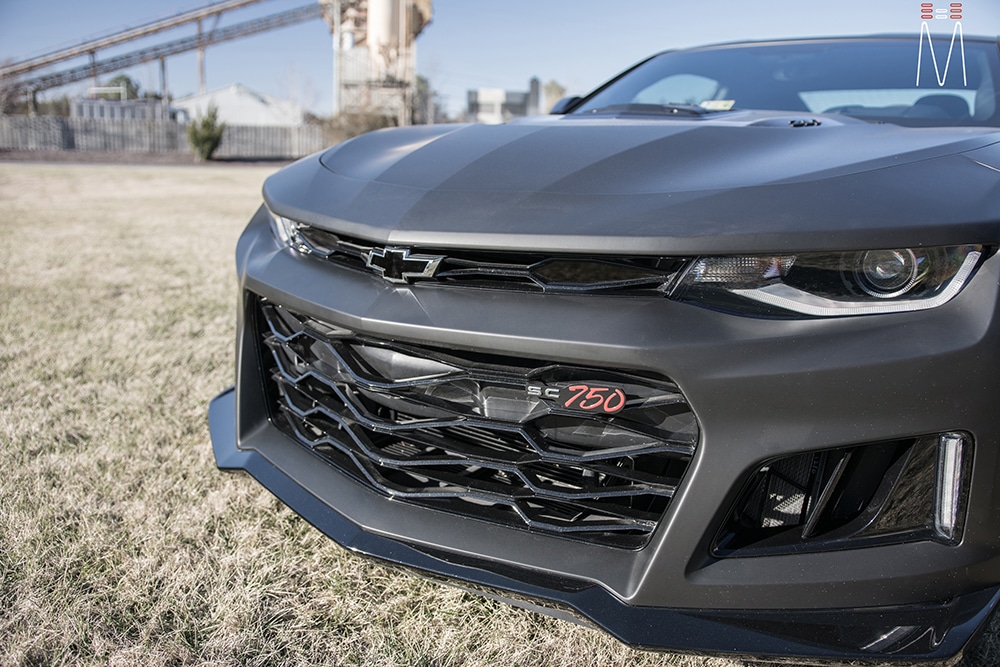
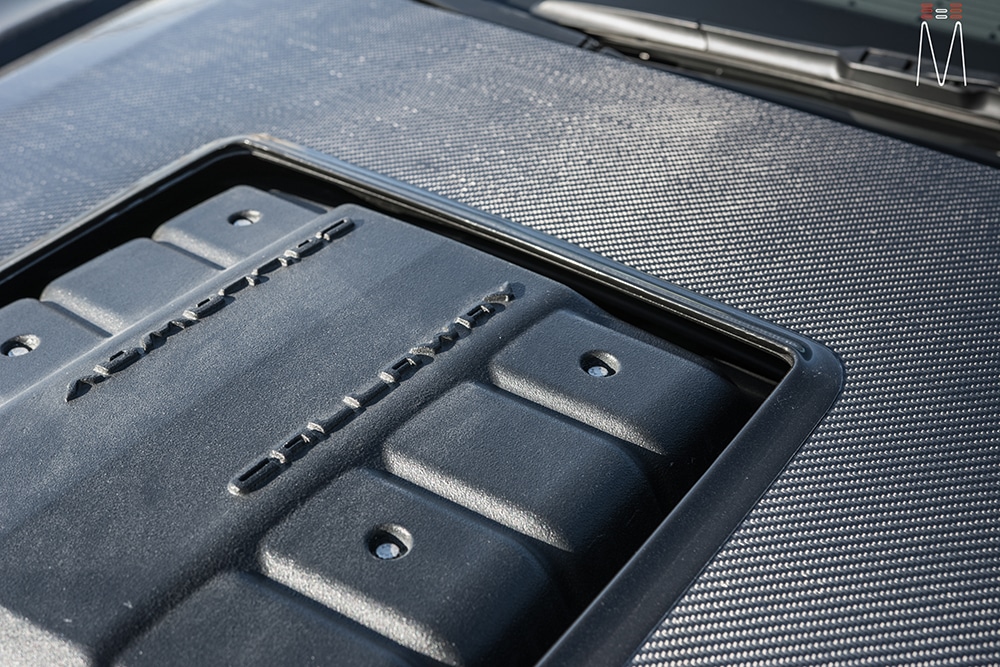
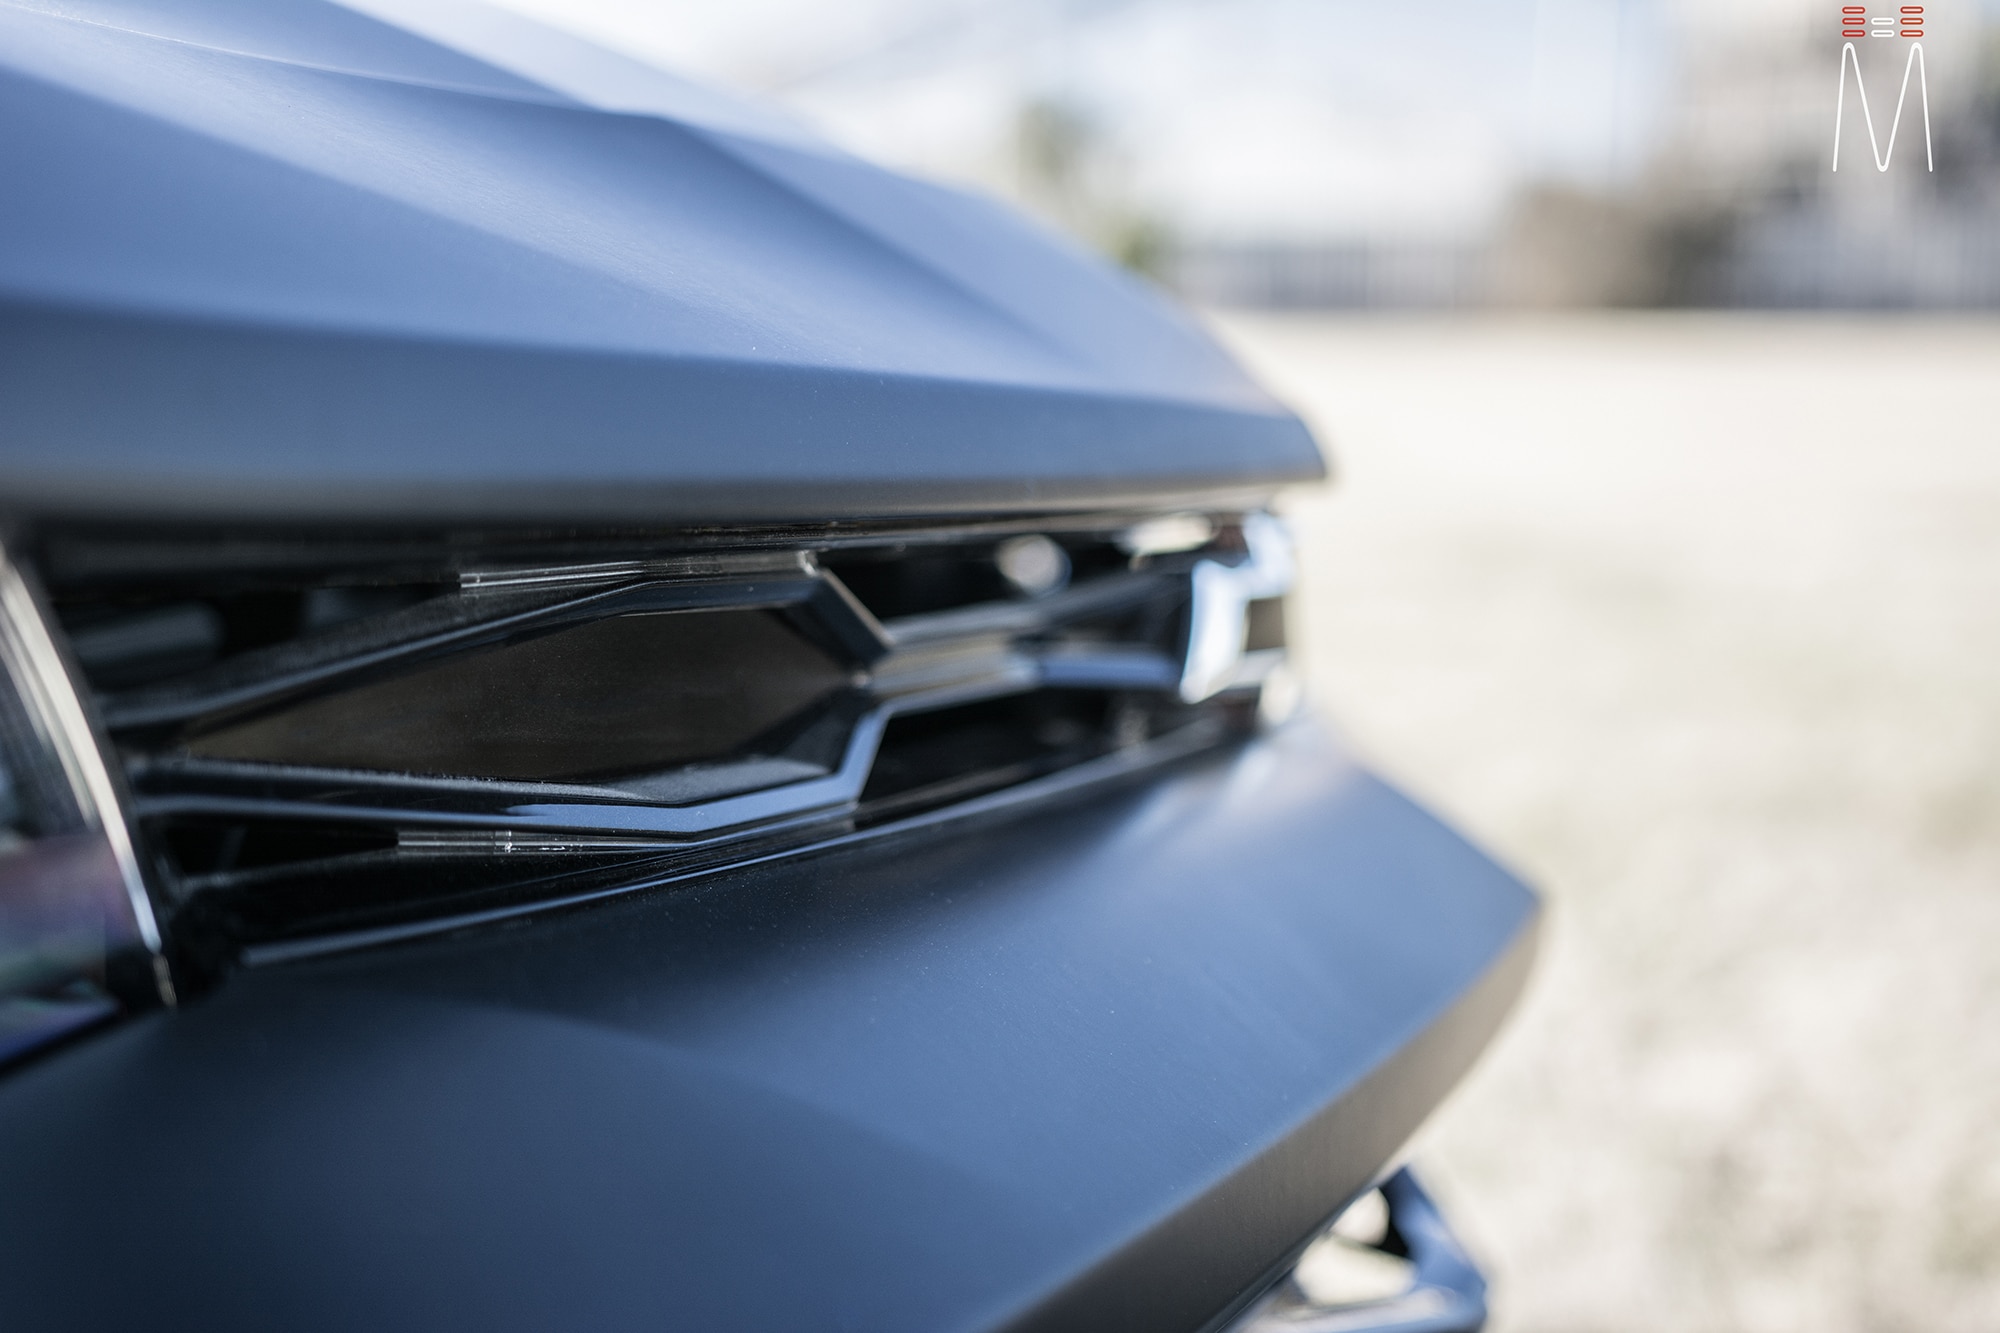
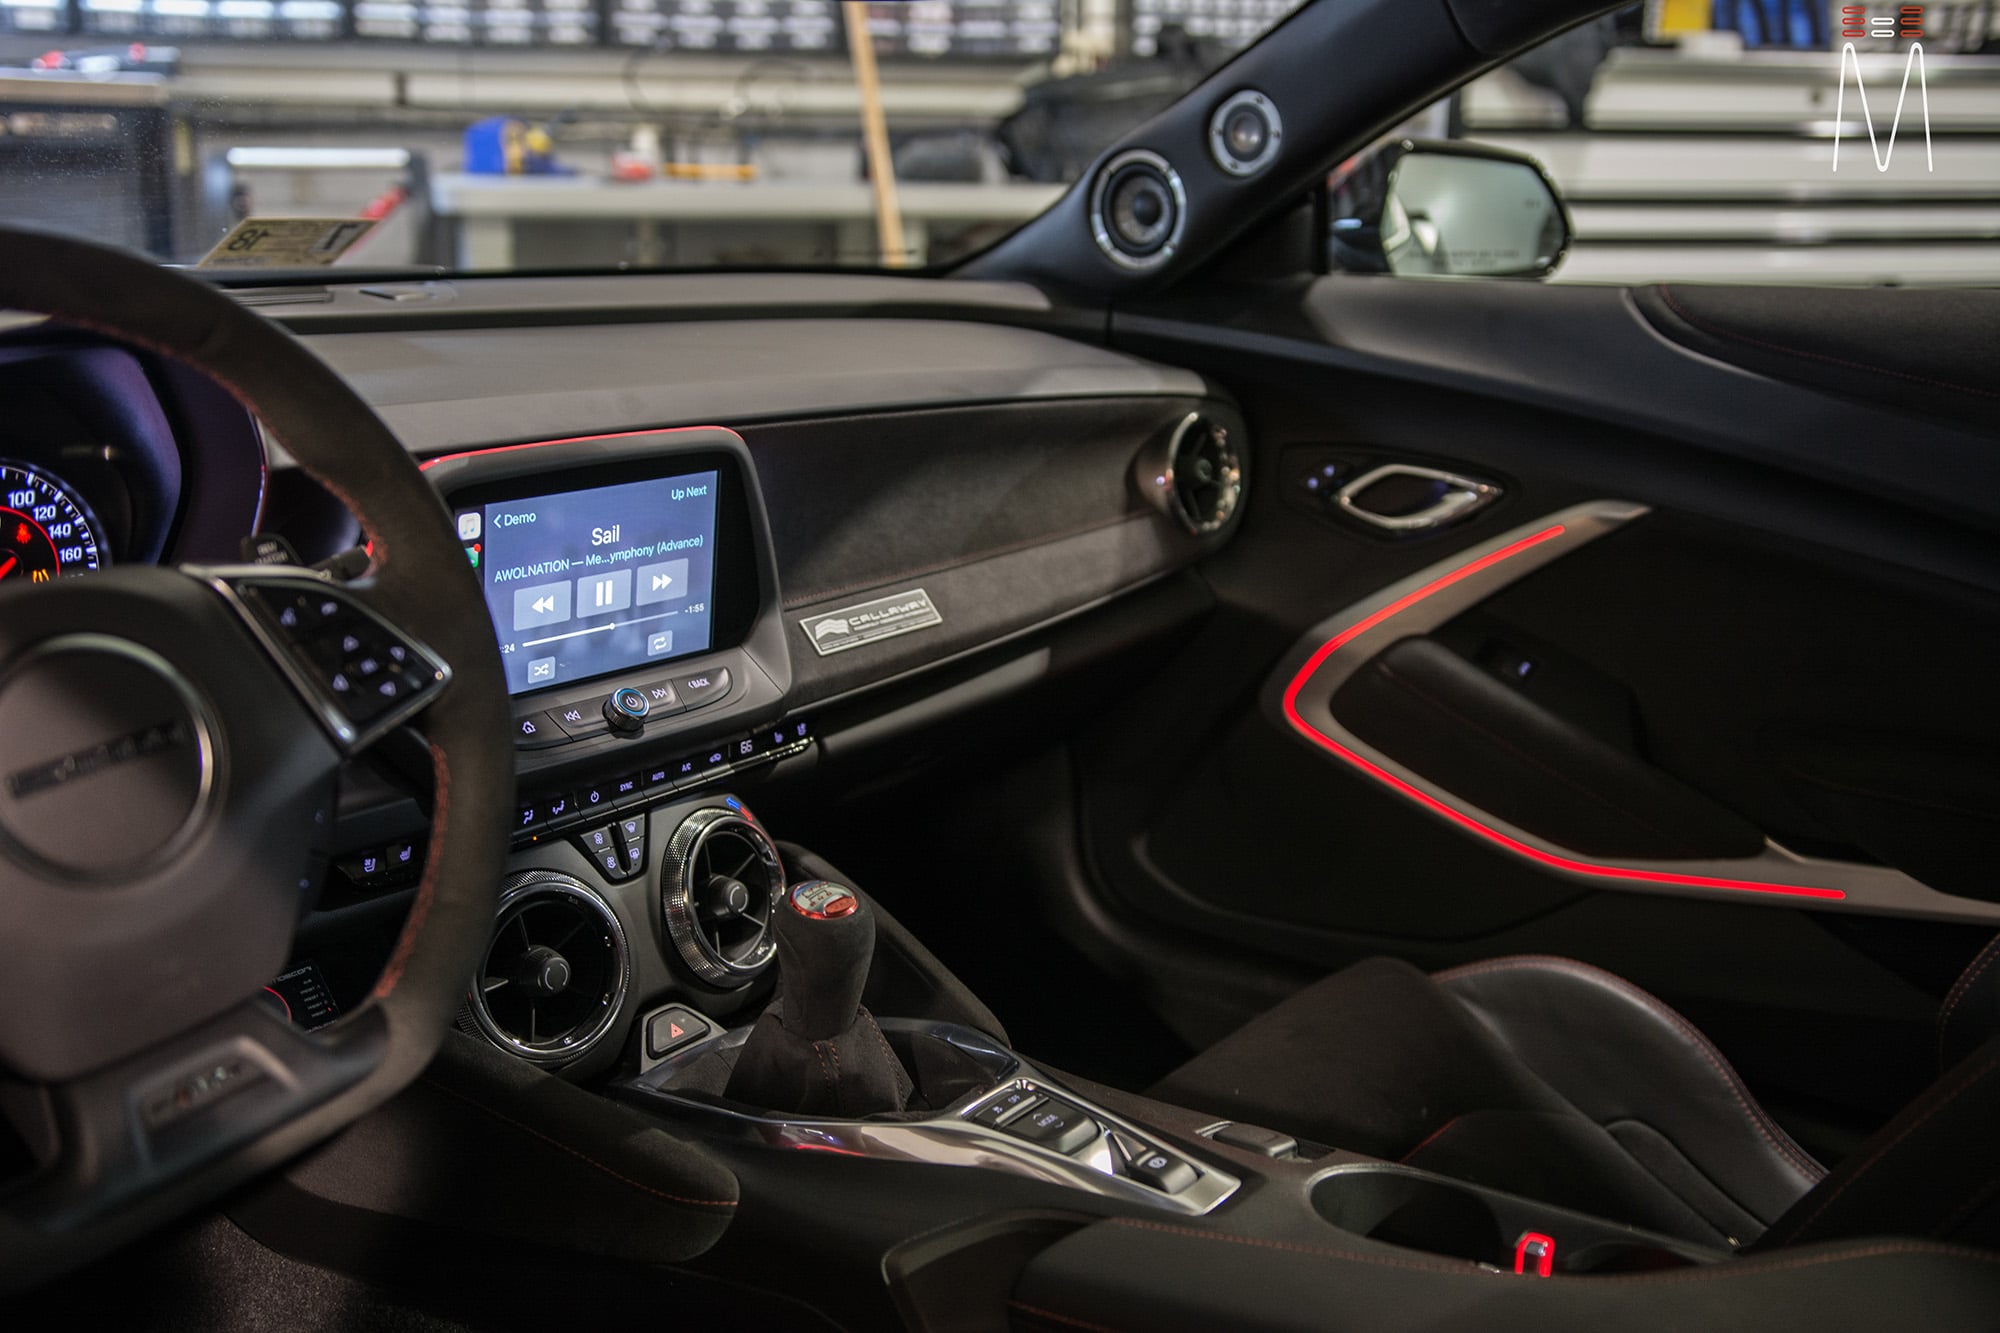
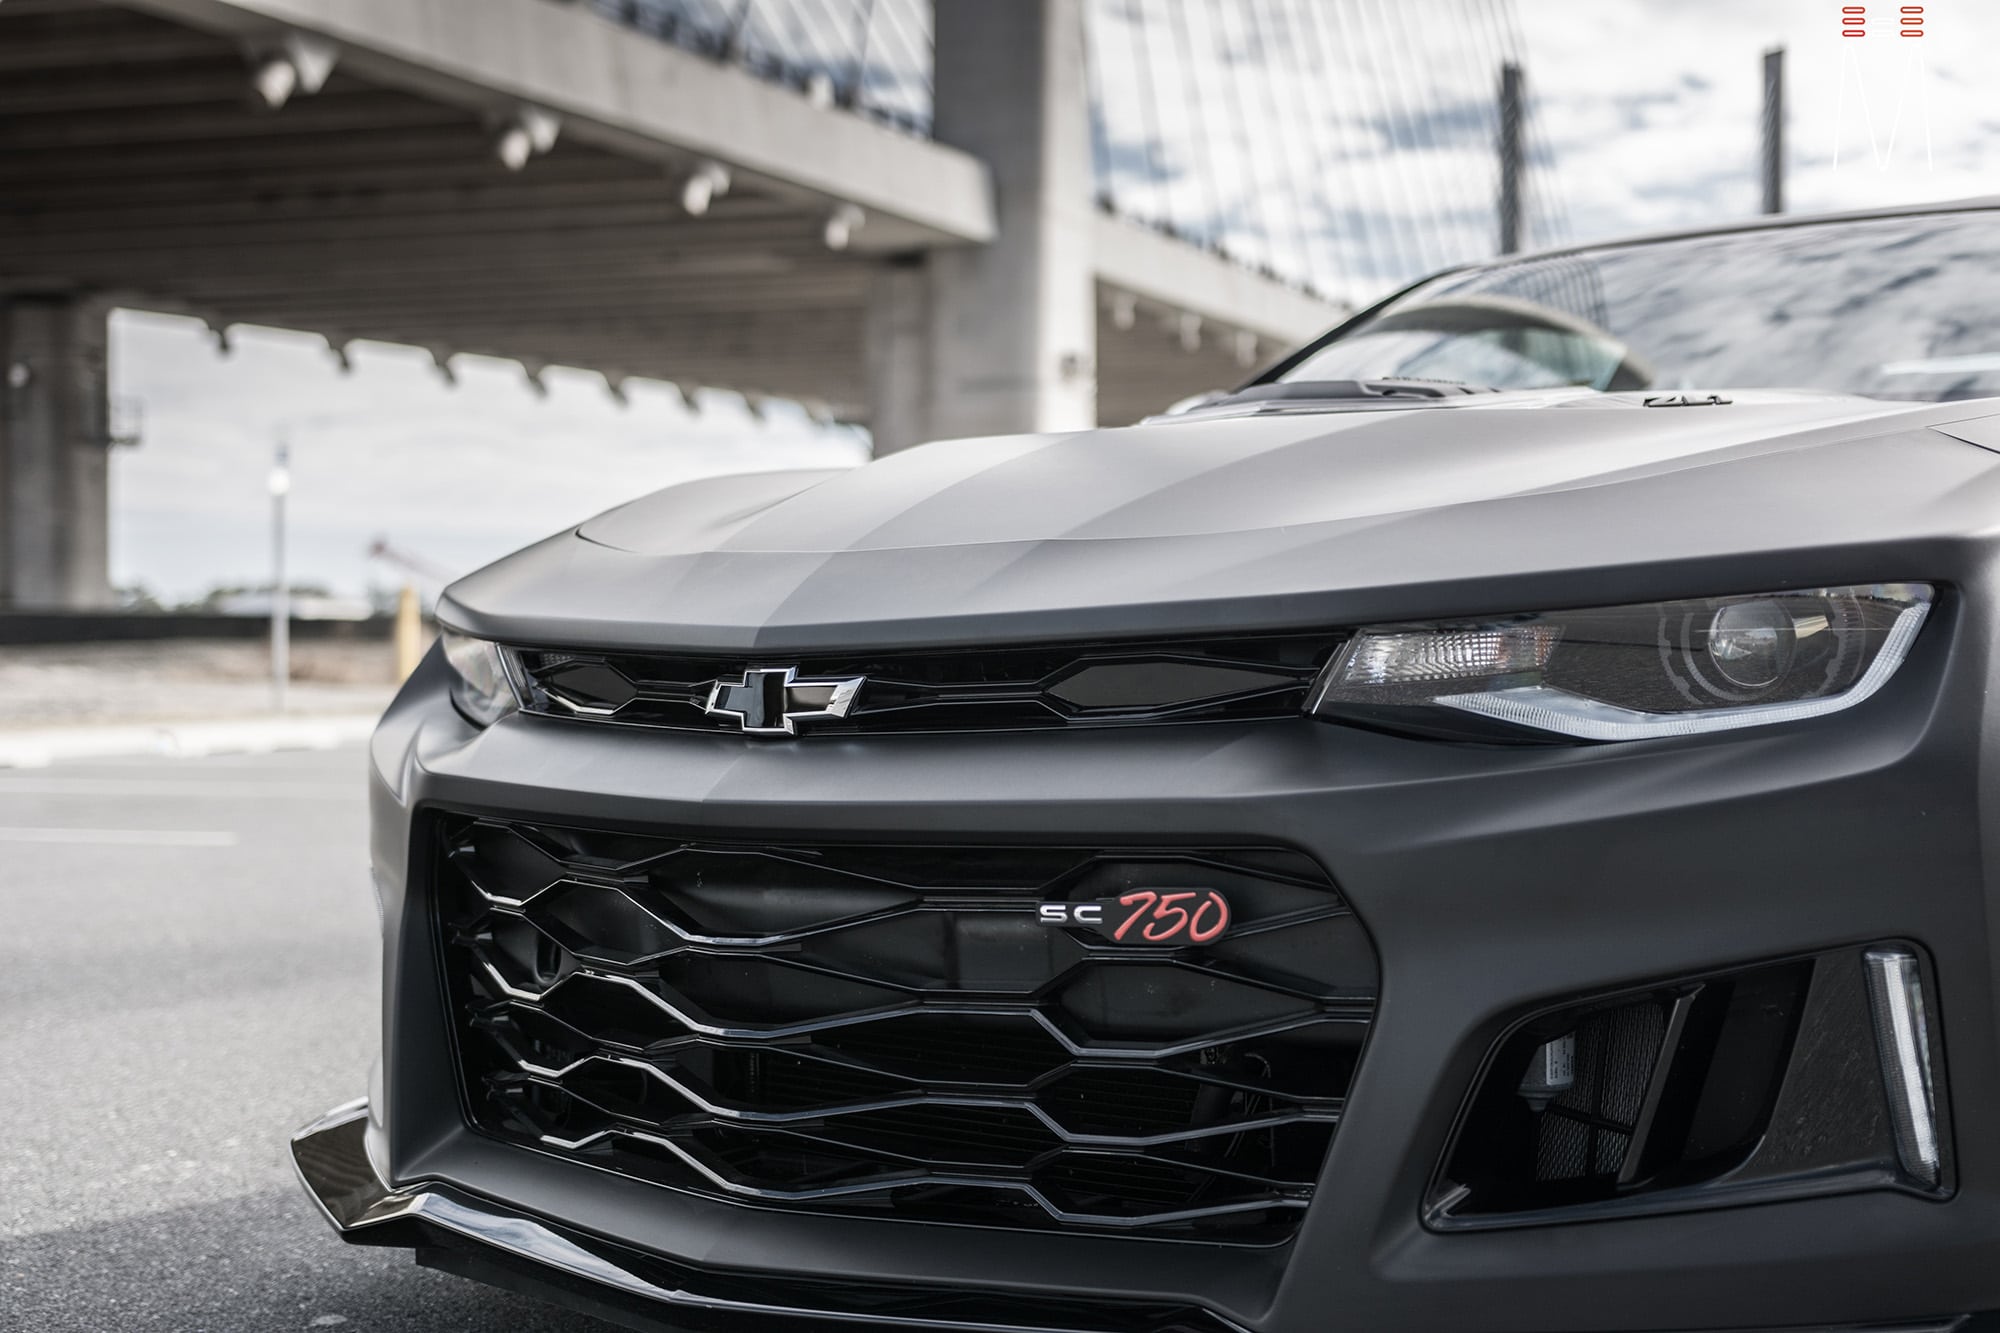
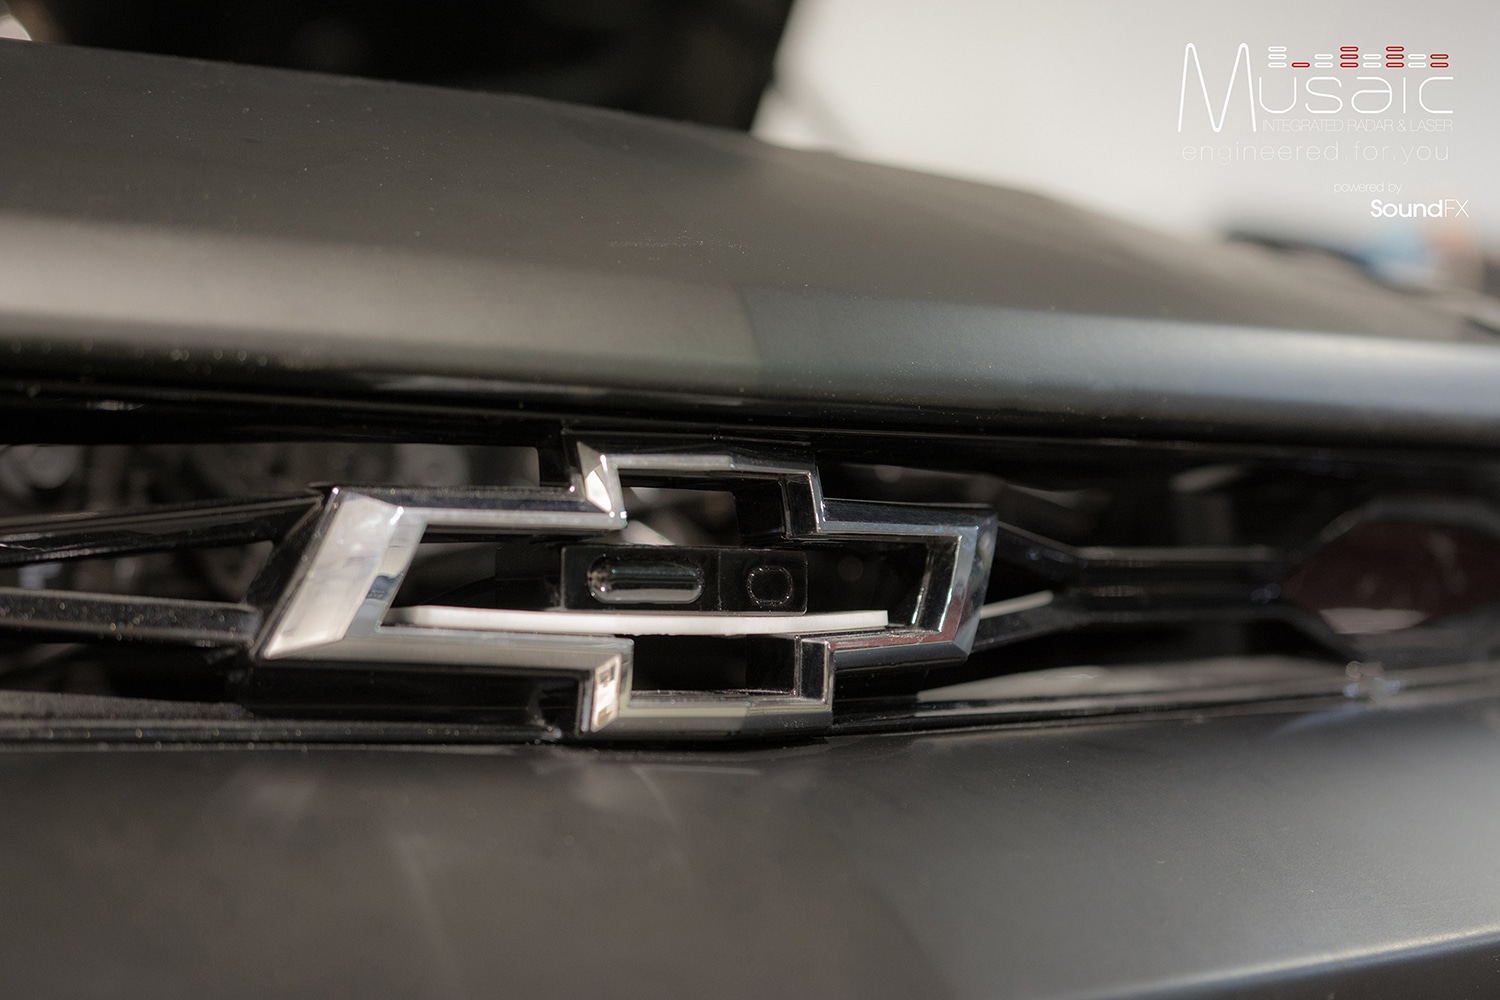
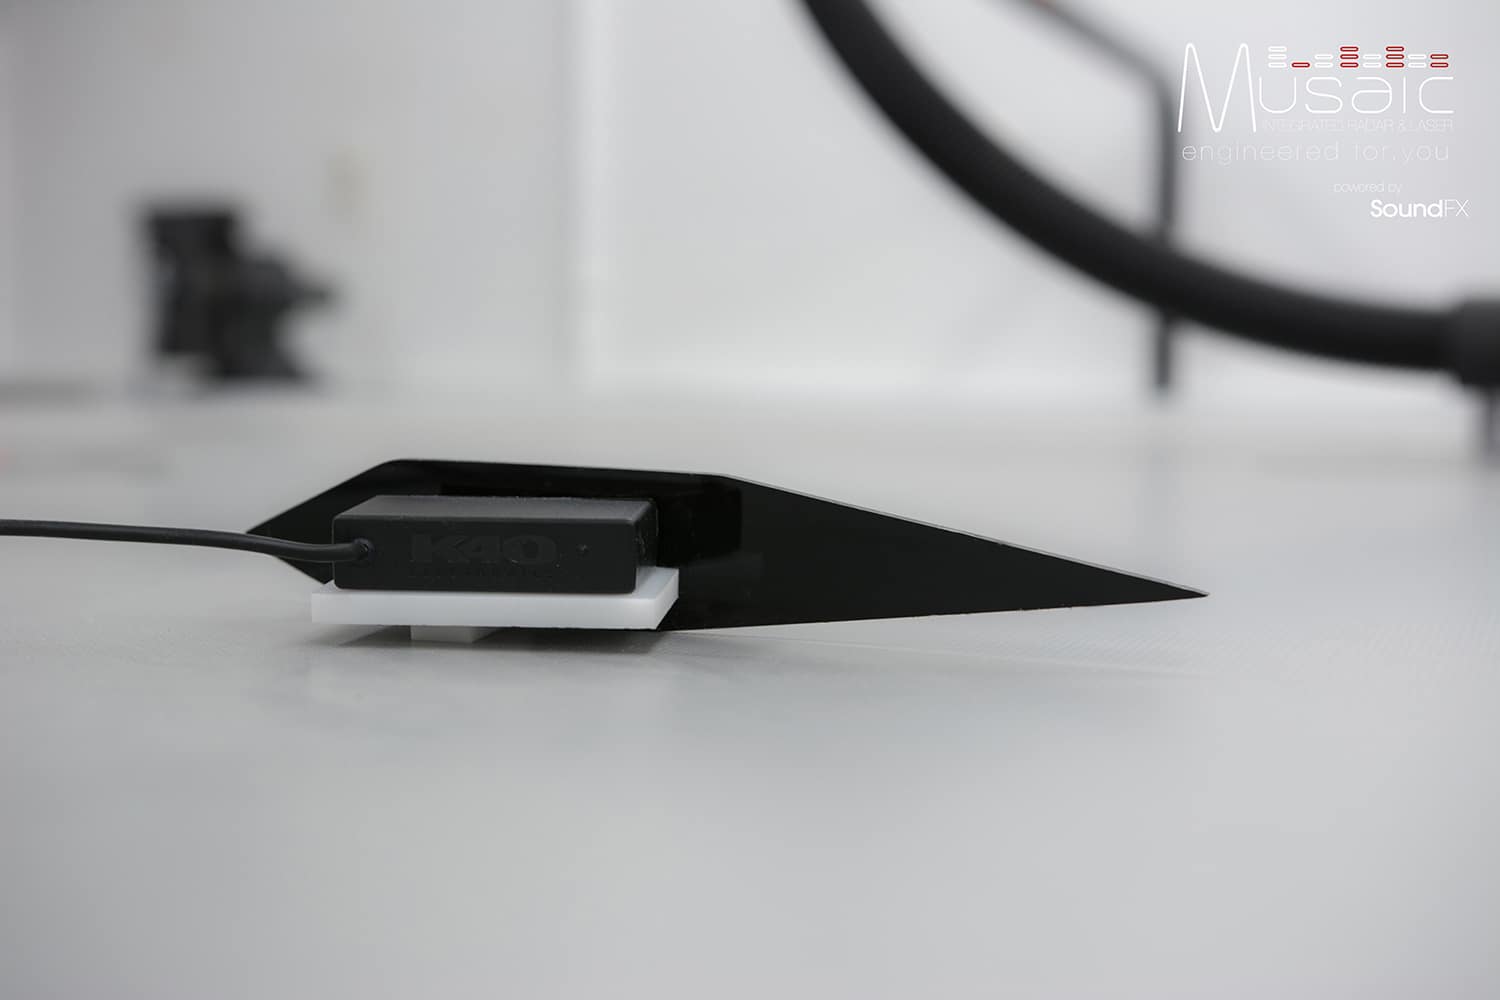
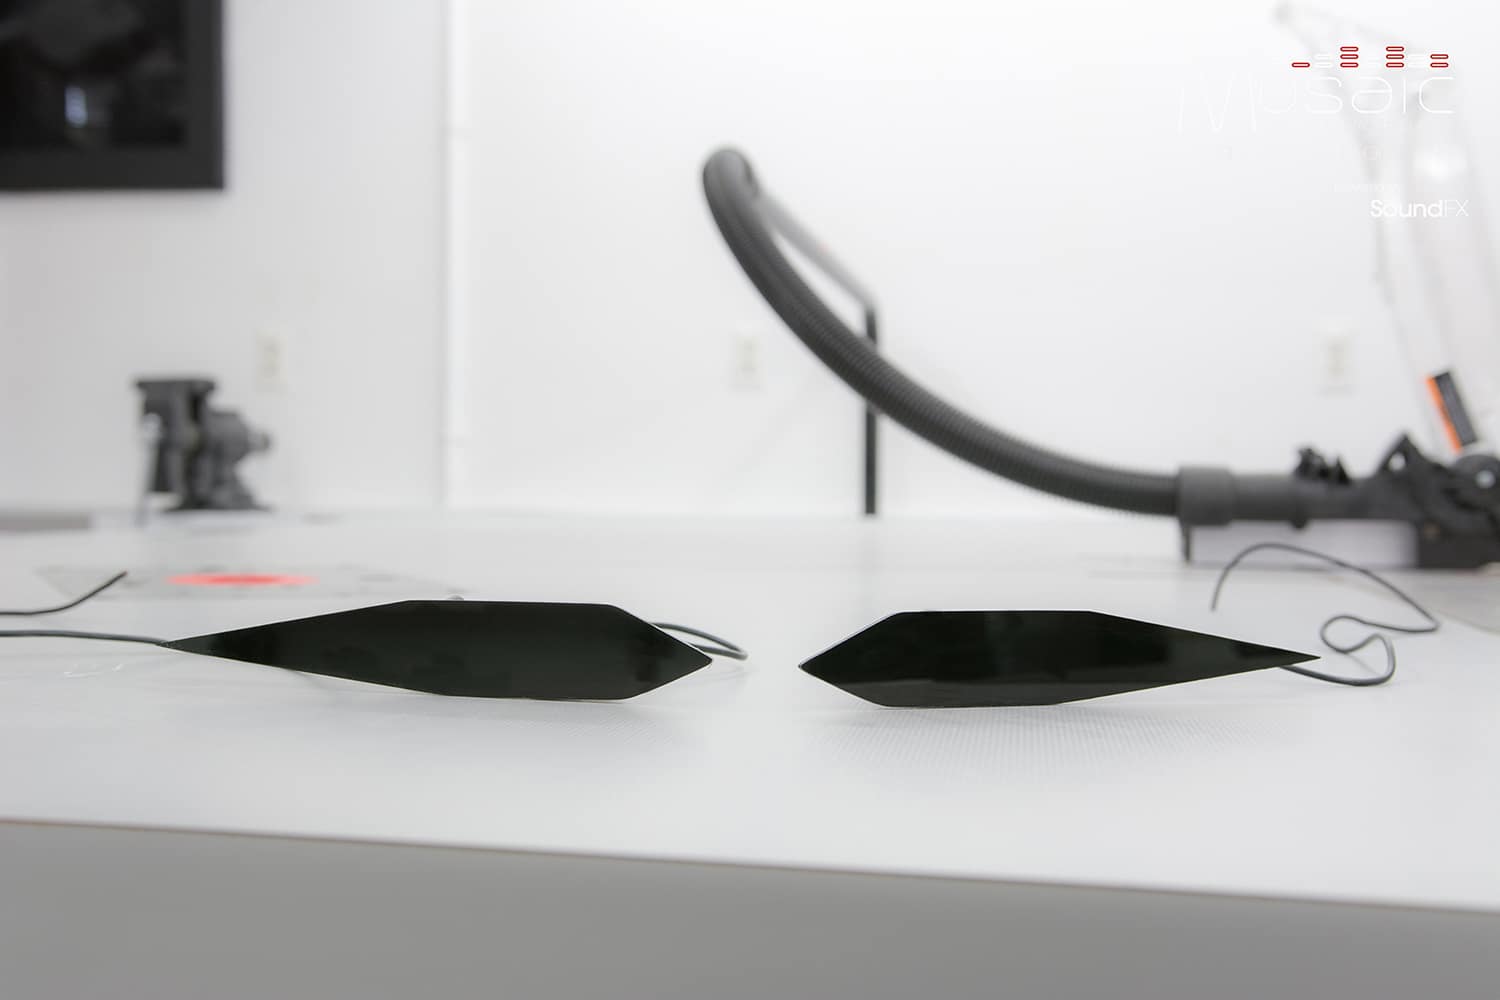
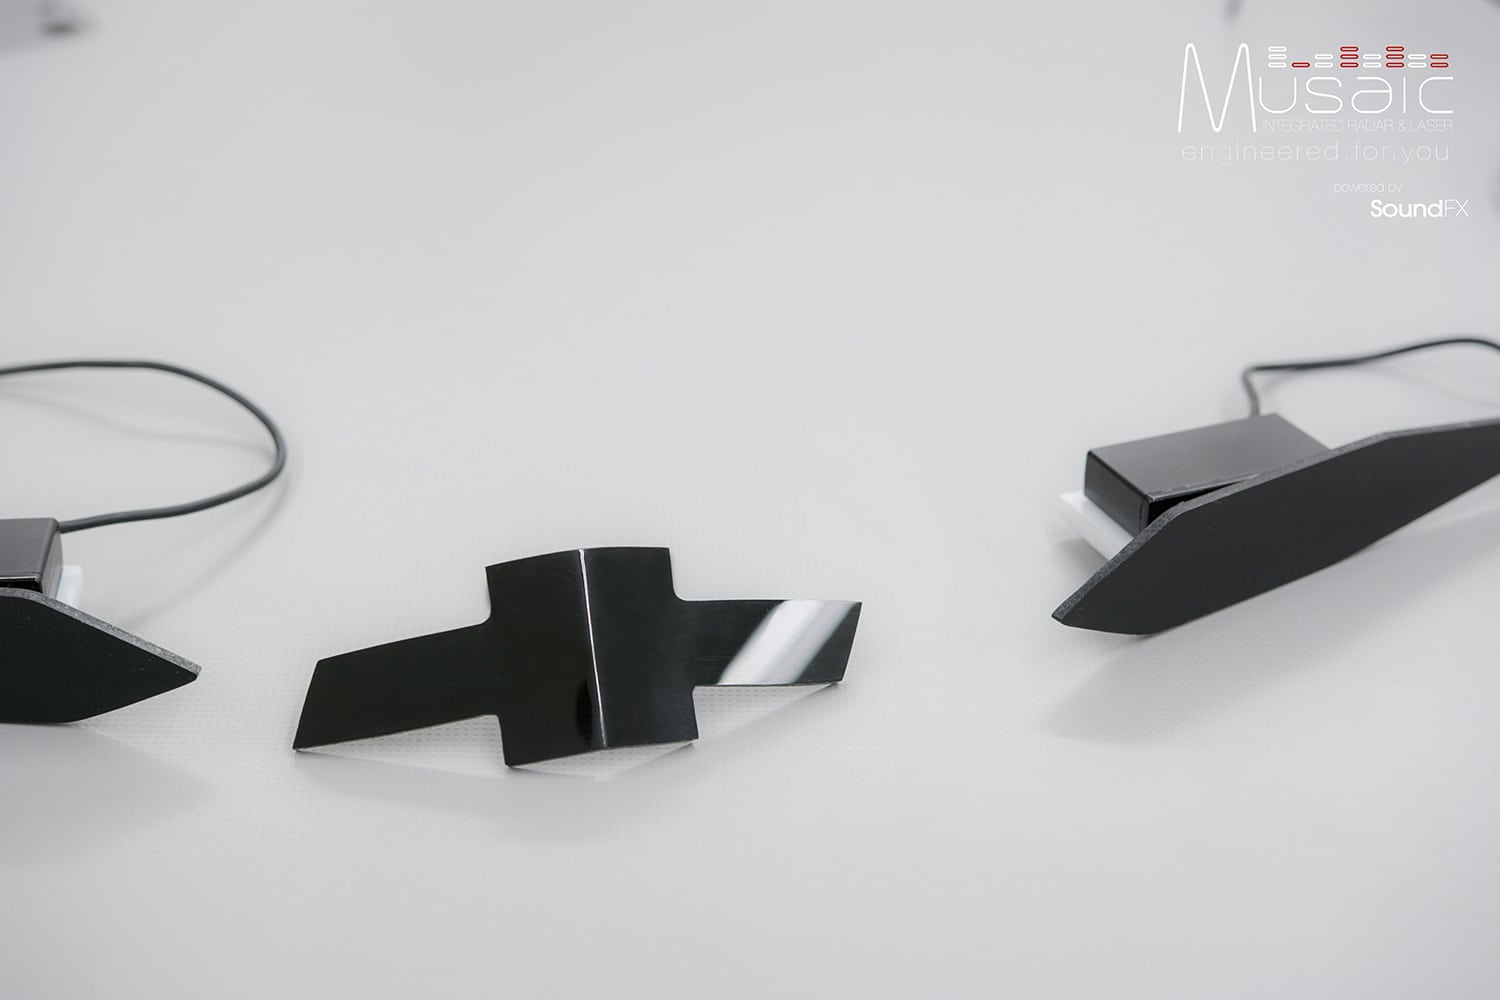
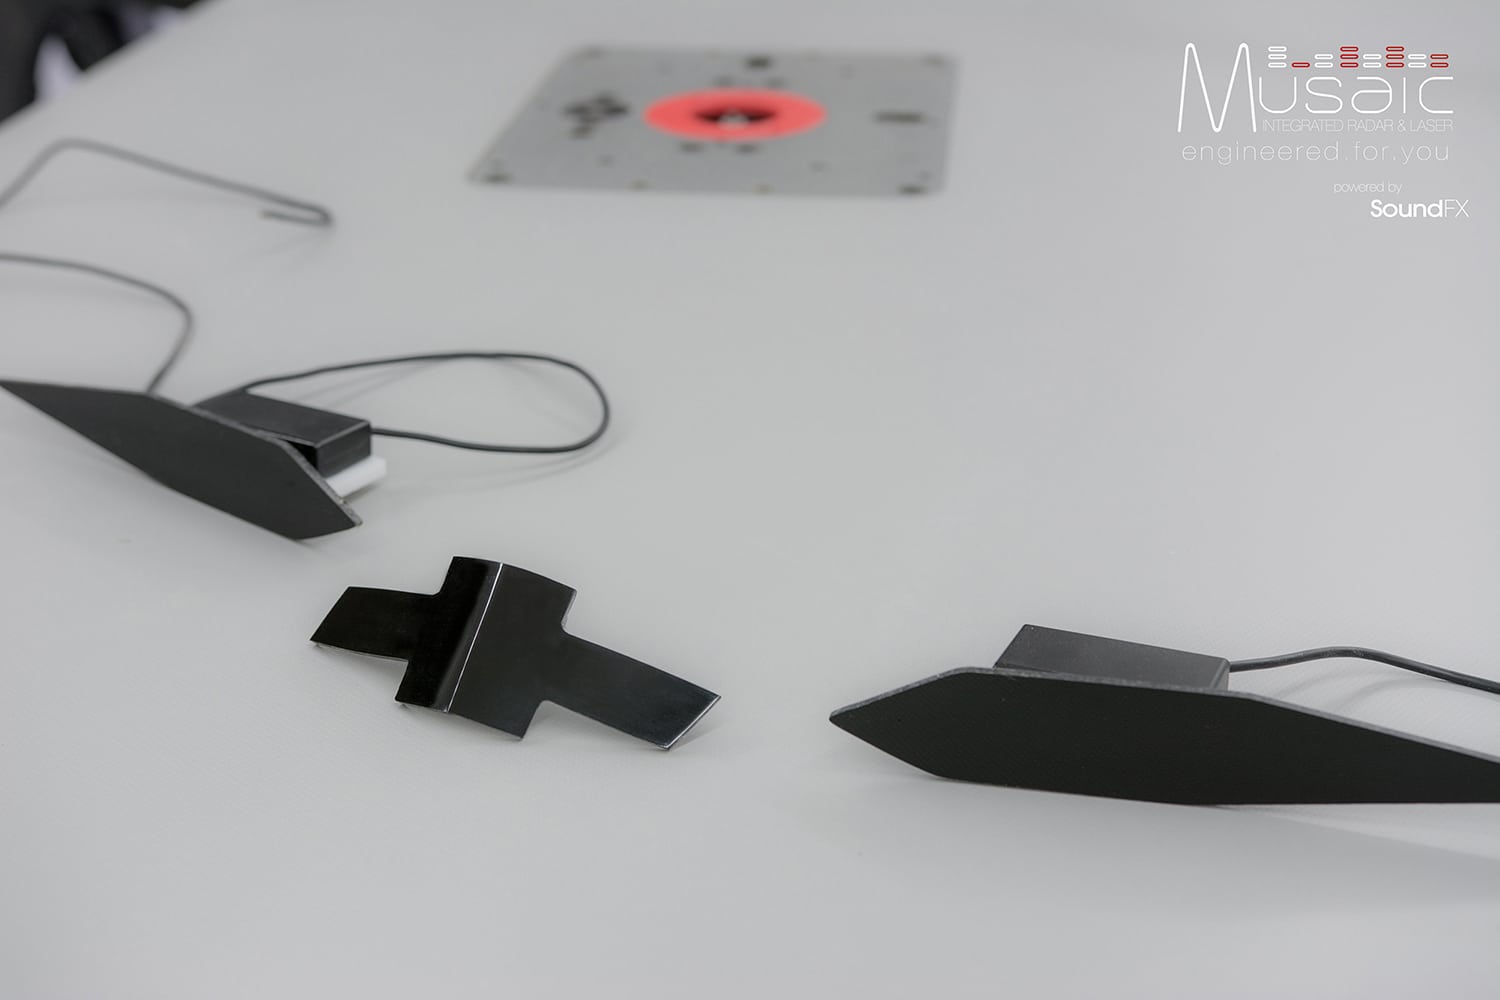
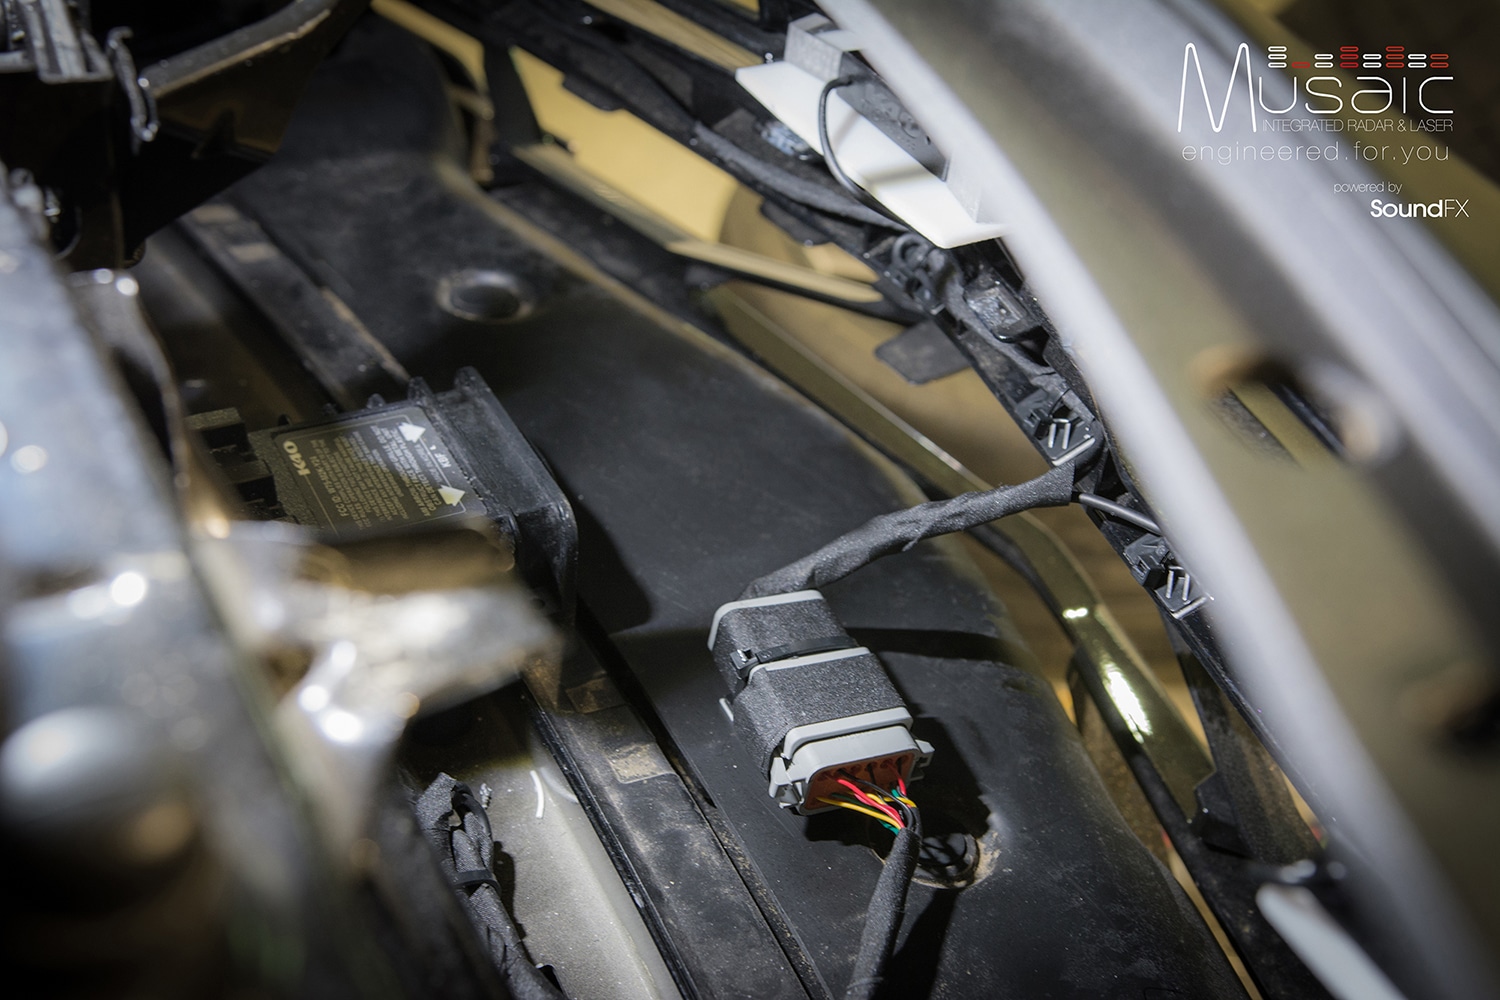
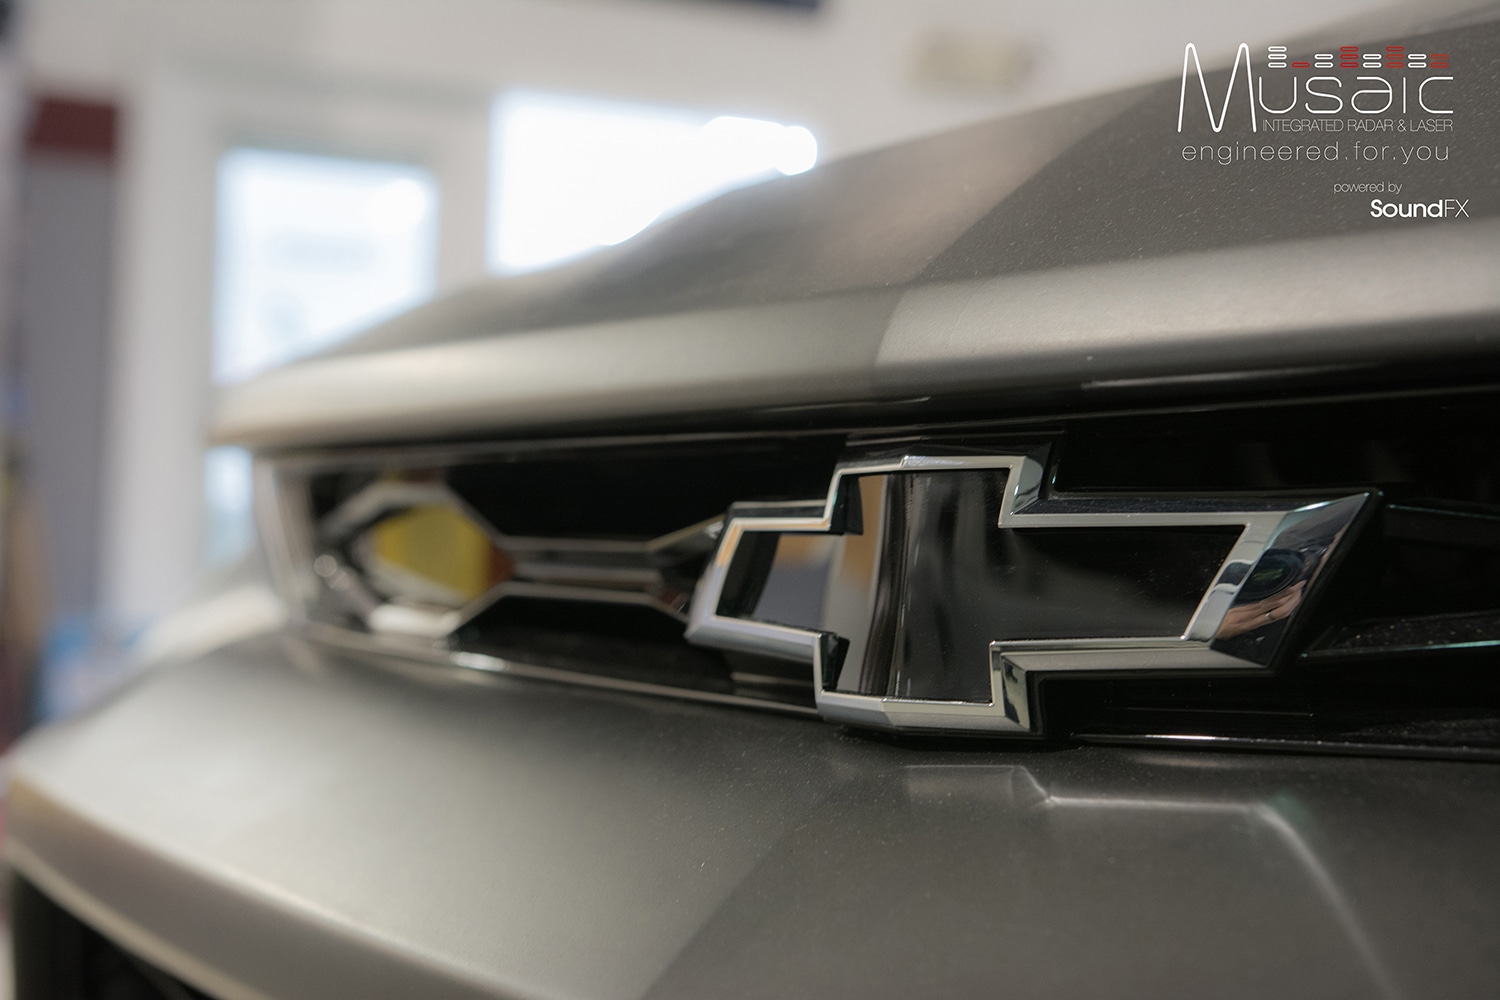
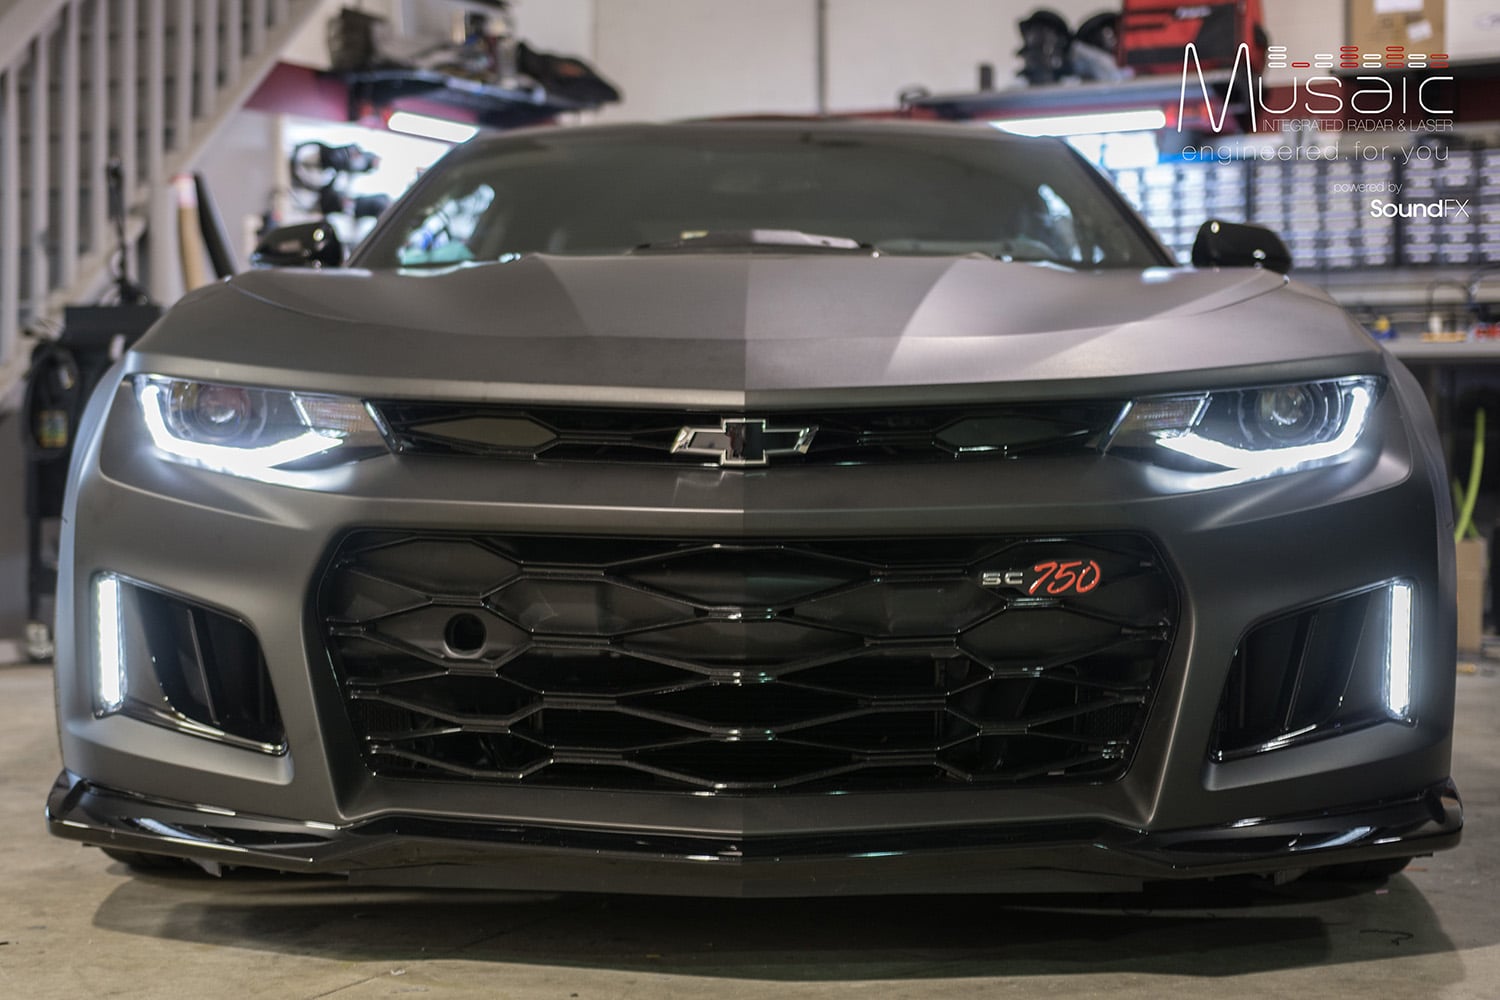
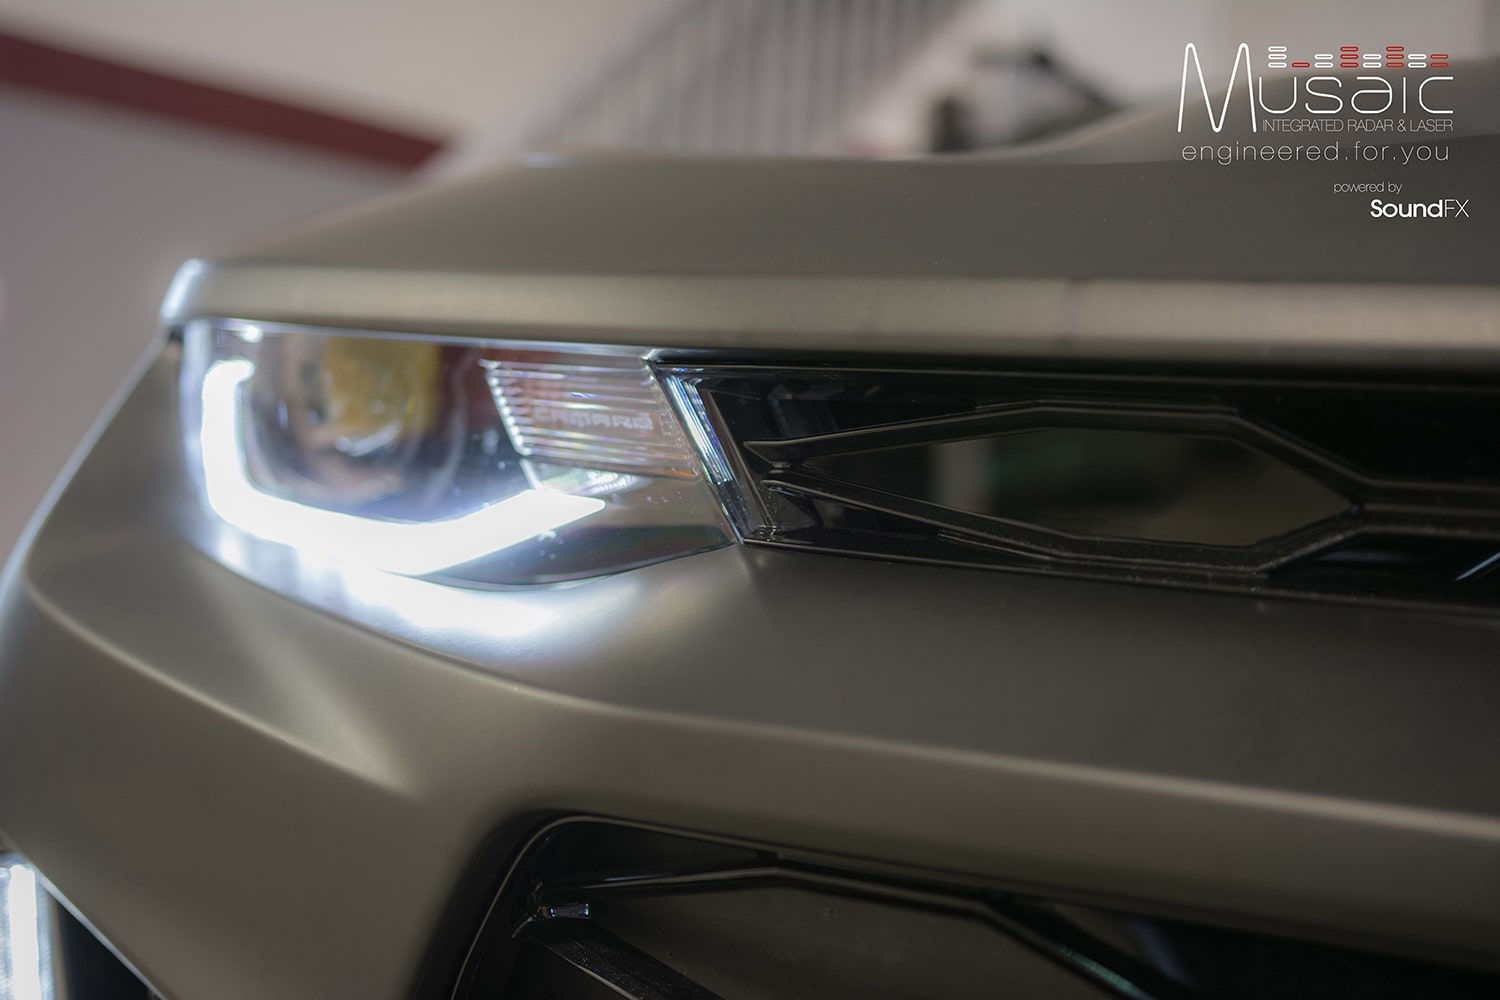
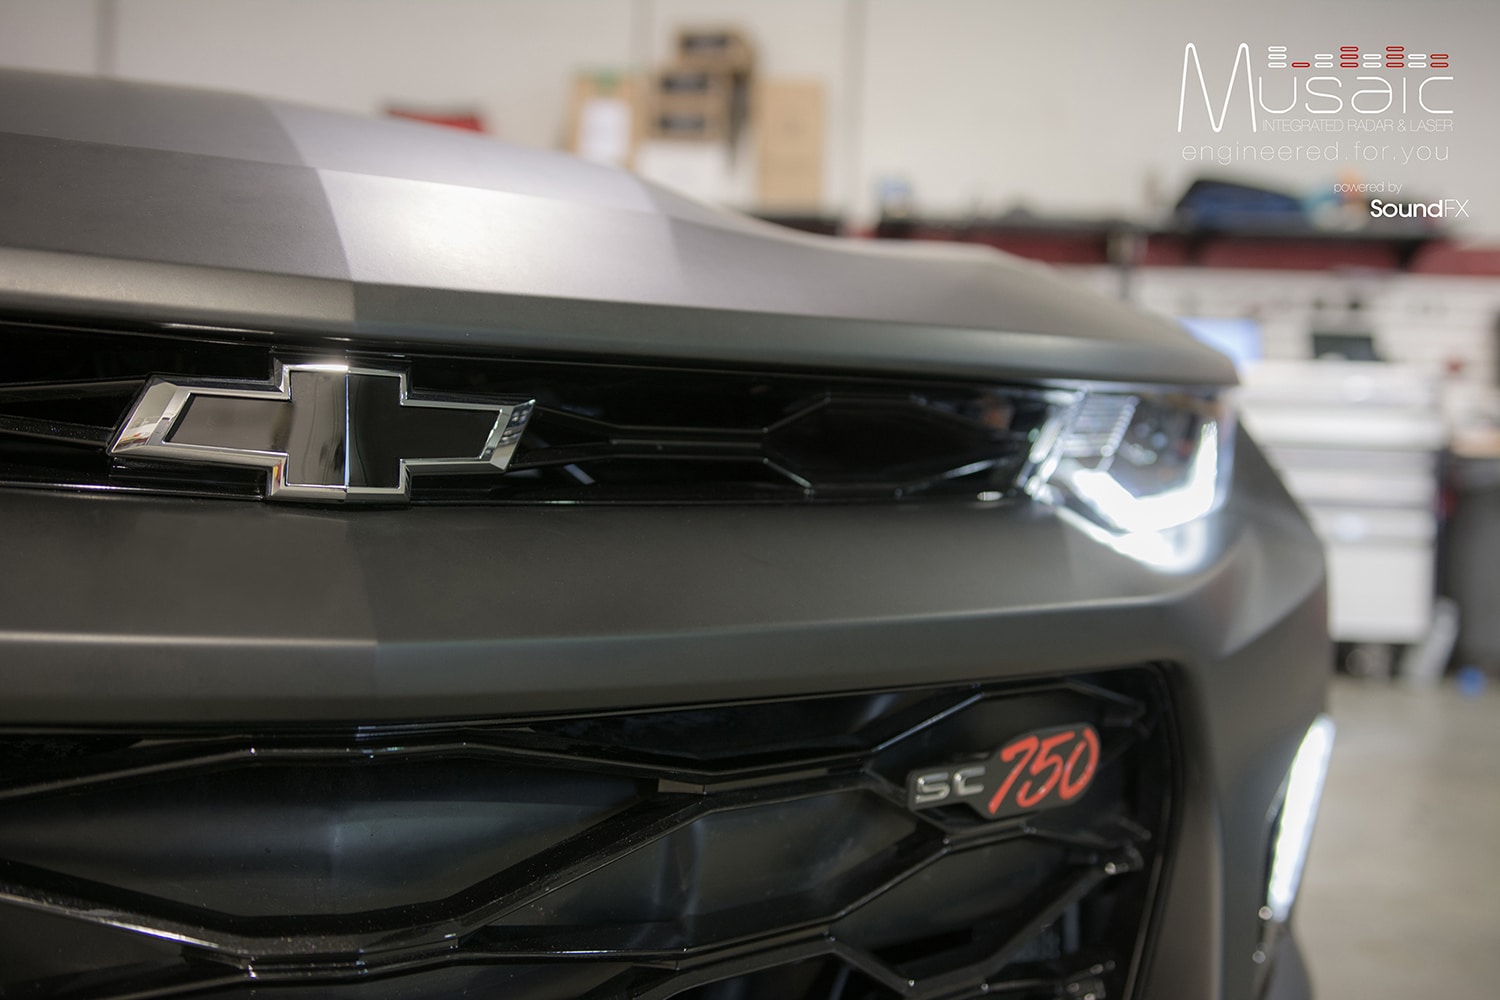
The amp rack was completely fabricated using multiple layers of acrylic and PVC. We made mostly everything by creating organic shapes using multiple router techniques and heat to bend and manipulate the materials. The materials used in the trunk were to bring focus onto what was used in the interior. Black Alcantara suede, brushed aluminum, matte black, matching black vinyl, and red and white accent lighting were used to layer the trunk. All panels are securely mounted used 1/4-20 Stainless hardware. Everything can be removed and put into the very same position as if the panels were OEM. For the Radar and Laser we used a K40 Electronics RL360i Expert utilizing a front and rear radar sensor and 4 separate laser diffusers. The front laser diffusers were fabricated to ghost into the front bumper openings. Molex plugs were used to terminate each harness going to the front and rear bumper for OEM like servicing. A static touch maser power kill switch was mounted behind the suede panel to the right of the factory radio over the Callaway emblem. Hit this once with your finger and you can easily kill power to the entire radar and laser system.”
Products Used:
• Focal No 7 Active Utopia Kit (Front)
• Focal Integration Speakers (Rear)
• Focal 21WX (2) Subwoofers
• Mosconi ZERO4 (2)
• Mosconi ZERO1
• Blackhole Tile
• Mosconi 8to12 Aerospace DSP
• Mosconi AMAS2
• NavTV GM650 Amplifier Interface
• Stinger Battery
• Stinger 10 Farad Capacitor
• Fiio X7 Mark II Hi-Res Player